

Interviewing: an essential skill in video production
Here at flycreative we know a thing or two about filming interviews. Interviews are the heart of many video productions and most corporate, event and documentary shoots will at some point involve someone speaking to the camera in depth about a subject. Whether the topic is eCommerce or the plains of Nebraska, it is our job as video production professionals to capture and create engaging content, regardless of our knowledge of the subject at hand. Whilst the subject may change however, our approach does not and there are some key considerations to be made whenever an interview is approaching.
Being able to conduct an interview is an essential skill for any videographer or producer, but are your skills up to scratch? Here are 5 top tips for shooting better interviews:
1. Location, location, location!
As they say in business, it’s all about location, location, location. This is important aesthetically as well as practically. Here are some things to consider when deciding on a location:
- Background – What is it? Does it portray your subject in a positive light? Are there any brands or logos you should be avoiding?
- Lighting – Where is the best available light? Do you need or want to bring in your own?
- Sound – Are you likely to be disturbed? Is there likely to be music or interference here?
- Practicalities – Do you need permission to film here? Are you causing an inconvenience to the public? Is it safe to be here?
Reccie your location in advance if possible, whether that be a day before or 10 minutes before your client arrives. Any preparation time is useful and being prepared makes you look professional. If you can’t realistically reccie in advance then ask your client to send a couple of photos of the available space. The more you know in advance the more you will be able to select the right equipment for the job – there’s no point lugging around a full lighting kit if you only have 10 minutes with your subject. Food for thought.
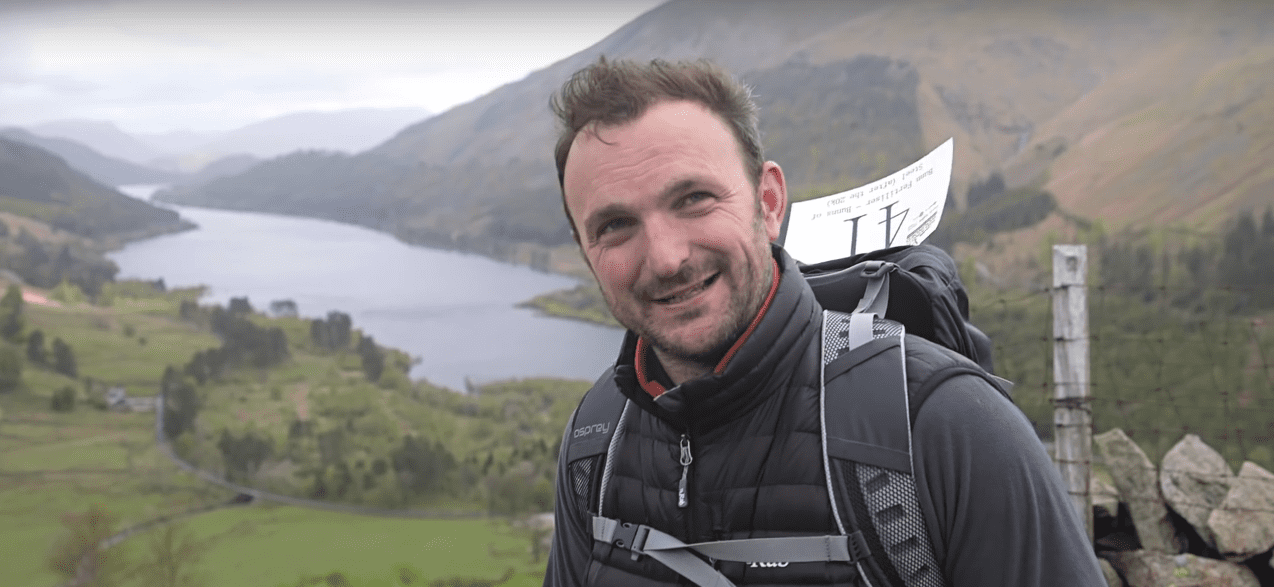
Sometimes you just get lucky with a view.
2. Be considerate with your composition.
Make your subject and the frame look flattering. Always shoot at the height of your subject and ensure that their eye line is level. Use the rule of thirds to create a nice composition, allowing space for text if necessary and have your subject angled slightly away from the camera. If your subject is not a professional actor or presenter then you’ll probably find you’ll get superior results having them speak off camera.

Level, uncluttered and a suitable eye line. Bob’s your uncle.
Think about your depth of field – lenses with faster apertures will give you shallower depth of field and if shooting outside you will need to use ND so you can stop down your lens and retain a nice bokeh. Don’t let your depth of field get too small however as some people can be quite animated and you’ll want them to stay consistently sharp. If you can, shoot with a high quality prime over a zoom lens for often increased sharpness, faster apertures and nicer bokeh although there are some excellent zoom lenses out there too.
Finally if you have time, change your framing and conduct the interview again (this works best for shorter interviews and is of course irrelevant if you are shooting 4K where you have the option to pan and scan if your output is downscaled). Giving yourself the option of a medium shot and a close up gives you options in the edit and can really bump up the professionalism of the final product that little bit more.
3. Think about lighting and make time for it.
Good lighting can hide the fact that you may not have the latest hi tech camera and the results can make you look very professional indeed. Even minor lighting adjustments can make a huge difference to the final image:
- Daylight exteriors: On a sunny day where the lighting is high contrast, consider your subject’s position carefully in relation to where the sun is. Try to avoid flare and over exposure from shooting directly into the sun as well as having your subject squint into the sun! A 5 in 1 reflector can also be useful in many situations here.
- Night time exteriors: Utilize any lighting fixtures at your disposal such as street lights. Set your white balance carefully and watch out for those street lights appearing too warm! It would also prove useful having a decent flicker free LED (and a twin hot shoe adaptor).
- Interiors: For interiors you may be faced with certain difficulties such as low light, a mixture of colour temperatures and tight working environments. If you don’t have much lighting equipment or time at your disposal then you can use any incoming daylight to your advantage (although if the weather changes then this may prove difficult for longer interviews). If natural light is being used for your key light then you need to think about your colour temperature and balance to daylight if you require a warm ‘positive’ look to your footage. If tungsten or interior lighting is providing most of your ambient light then consider the use of practical lights to increase interest in the image and overall exposure. If shooting in someone’s home utilize any lamps that they may have.
The key to lighting is obtaining control. Whether that be removing, changing the colour or softening a light source the point is if you have some degree of control then you can stylize your footage in a way that compliments the product and your abilities too! In fact, lighting can sometimes be more important than the camera itself..
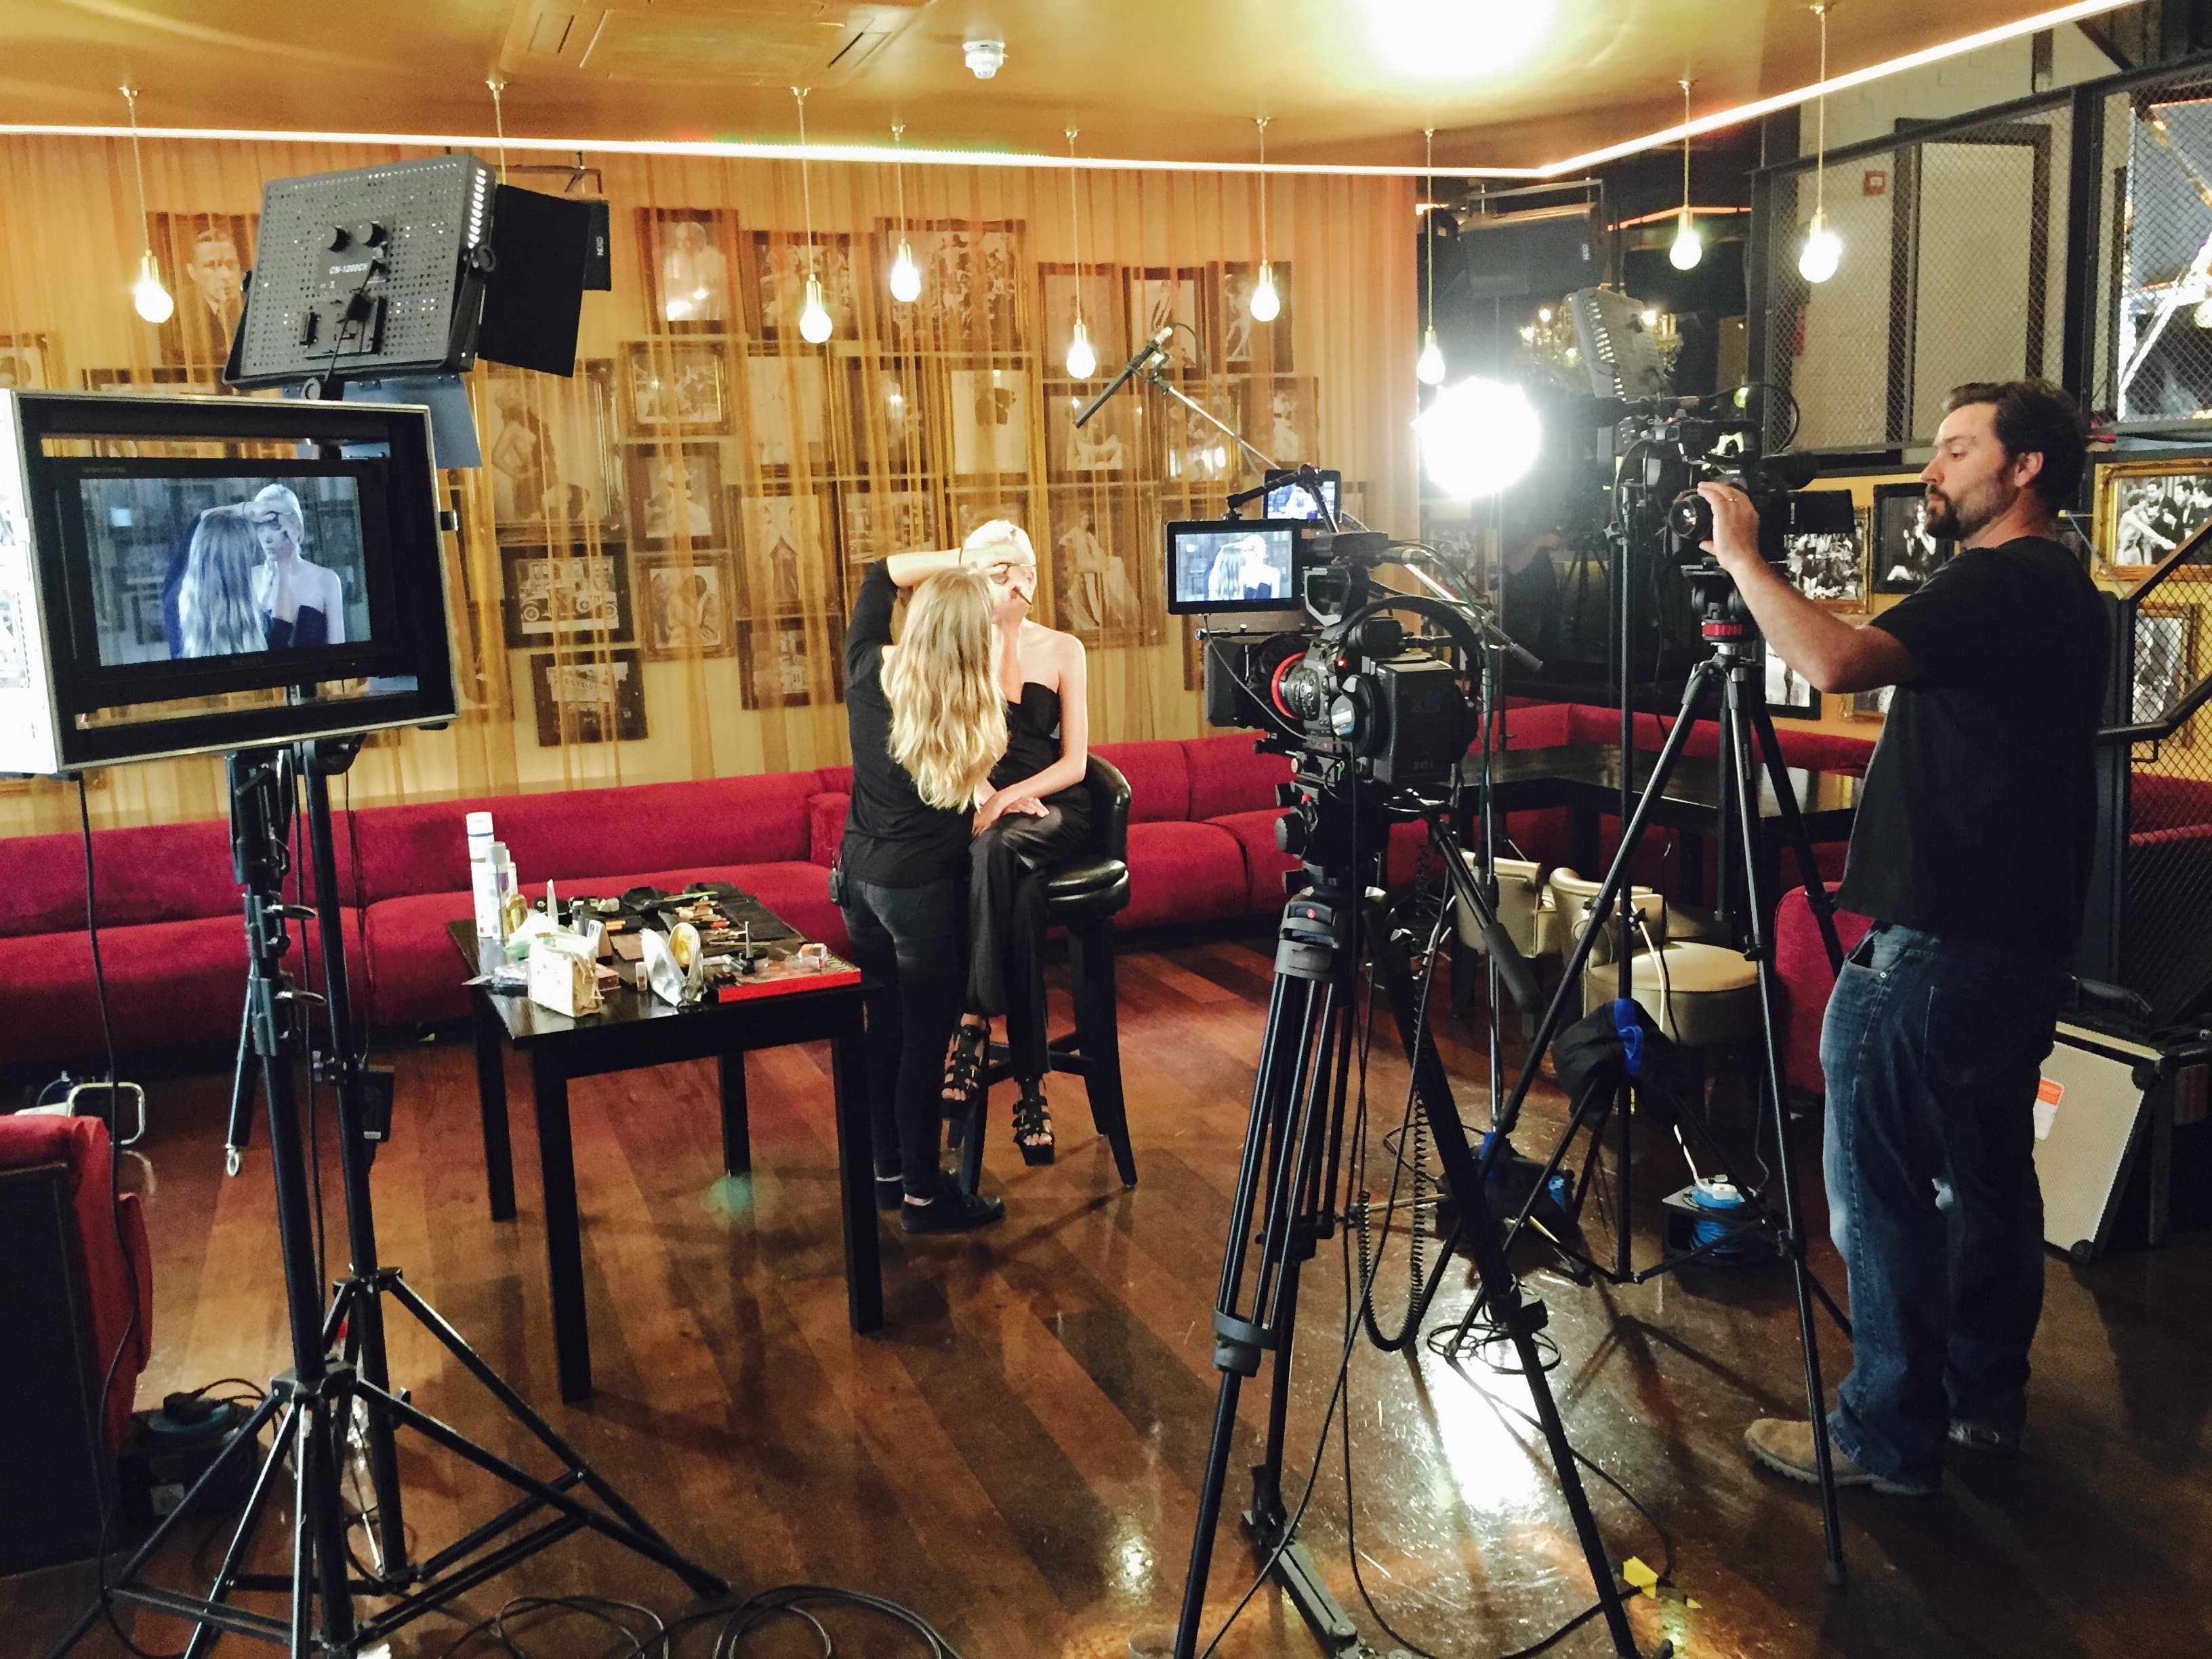
If you want high production values, don’t forget to light.
4. Get good sound (for the love of God).
No one likes bad sound. It is usually the first tale tale sign of an amateur. Here are a few dos and don’ts regarding the matter:
Do:
- Hire a sound recordist if your budget allows. Giving yourself less responsibility technically allows you to focus on getting results.
- Use the best mic and cables you can afford.
- Remember your windshield if filming outside
- Record externally if you can, especially in studio environments. Quite often you can get cleaner audio on an external recorder than recording in to camera, due to noisy pre amps.
- Generally aim for maximum levels between -12db and -18db when recording, although this is subject to individual preference. You can amplify somewhat in editing, but once a clip peaks it’s a goner.
Don’t:
- Ever record using your inbuilt camera mic unless there is an exceptionally good reason. Always use a high quality radio mic or shotgun mic.
- Record without headphones. Duh!
- Record if you can hear music in the background. Some background noise at a consistent level can be useable and sometimes removable however.
- Accept a take if you’re not 100% happy. If in doubt, do it again. You’ll thank yourself in the edit.
- Let your clients walk off with your radio mics!
Remember, sound is half the picture. Don’t neglect it!
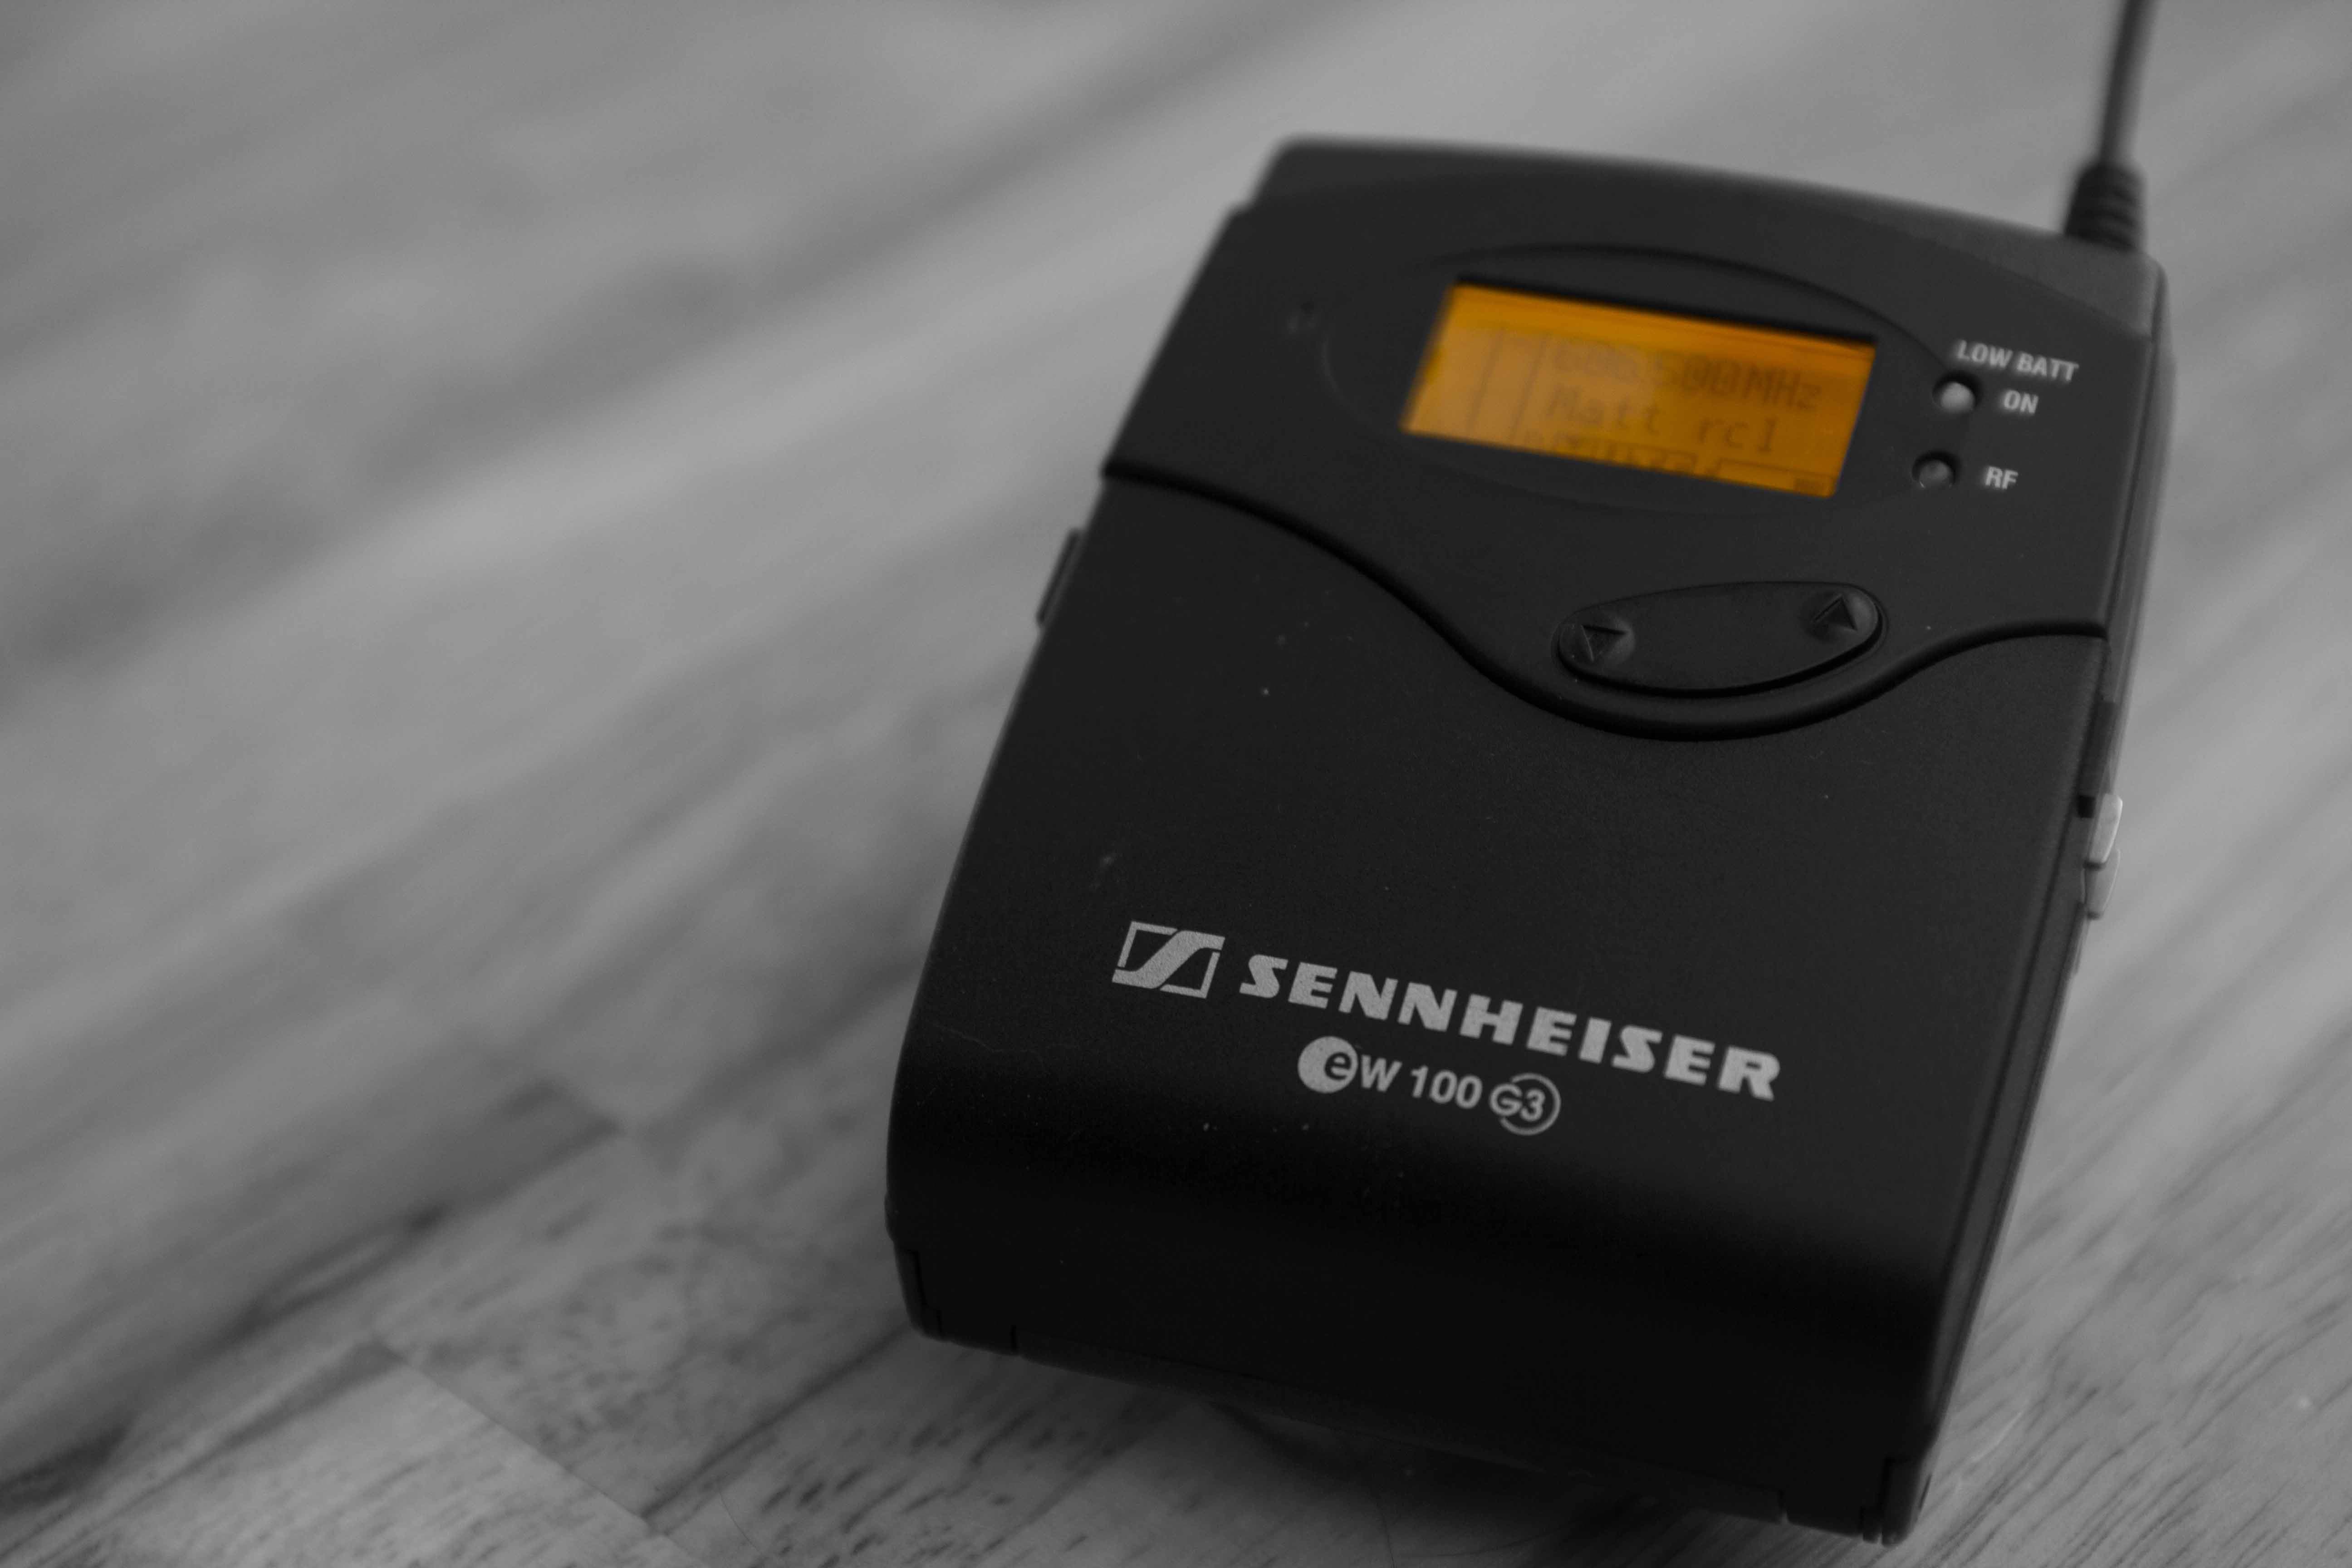
Sennheiser – money well spent.
5. Plan your questions & listen.
Whether you’re shooting an hour long interview or a dozen vox pops on the fly, you can still plan your questions in advance to achieve optimum results.
Speak to your subject about the question (s) you’ll be asking and find out what they would say in response before you roll the camera. Without the camera recording many people will find the pressure reduced slightly, resulting in more genuine answers (you can also sneakily use this time to do sound checks). When you do start recording your aim is now to get them to repeat what they’ve already said which makes it much easier.
Once the camera starts rolling listen carefully to the answers provided and work with your subject to make sure that what they are saying is relevant and efficiently worded. It’s OK to help them rephrase a sentence if it’s proving to be a bit of a tongue twister. Take notes if you can so that nothing gets repeated. You may get some ideas for cutaways here too.
Don’t forget – if your subject is looking off camera and there is no presenter as such then their answers must always be in full sentences. Make sure they allow a second of silence between your question and their answer and look out for potential cutting points within their answer. If you like the sound of an individual phrase within a sentence get them to repeat it as a standalone line. The beauty of video making is that we can often go for a second take; if in doubt go for it. Give yourself options in the edit!
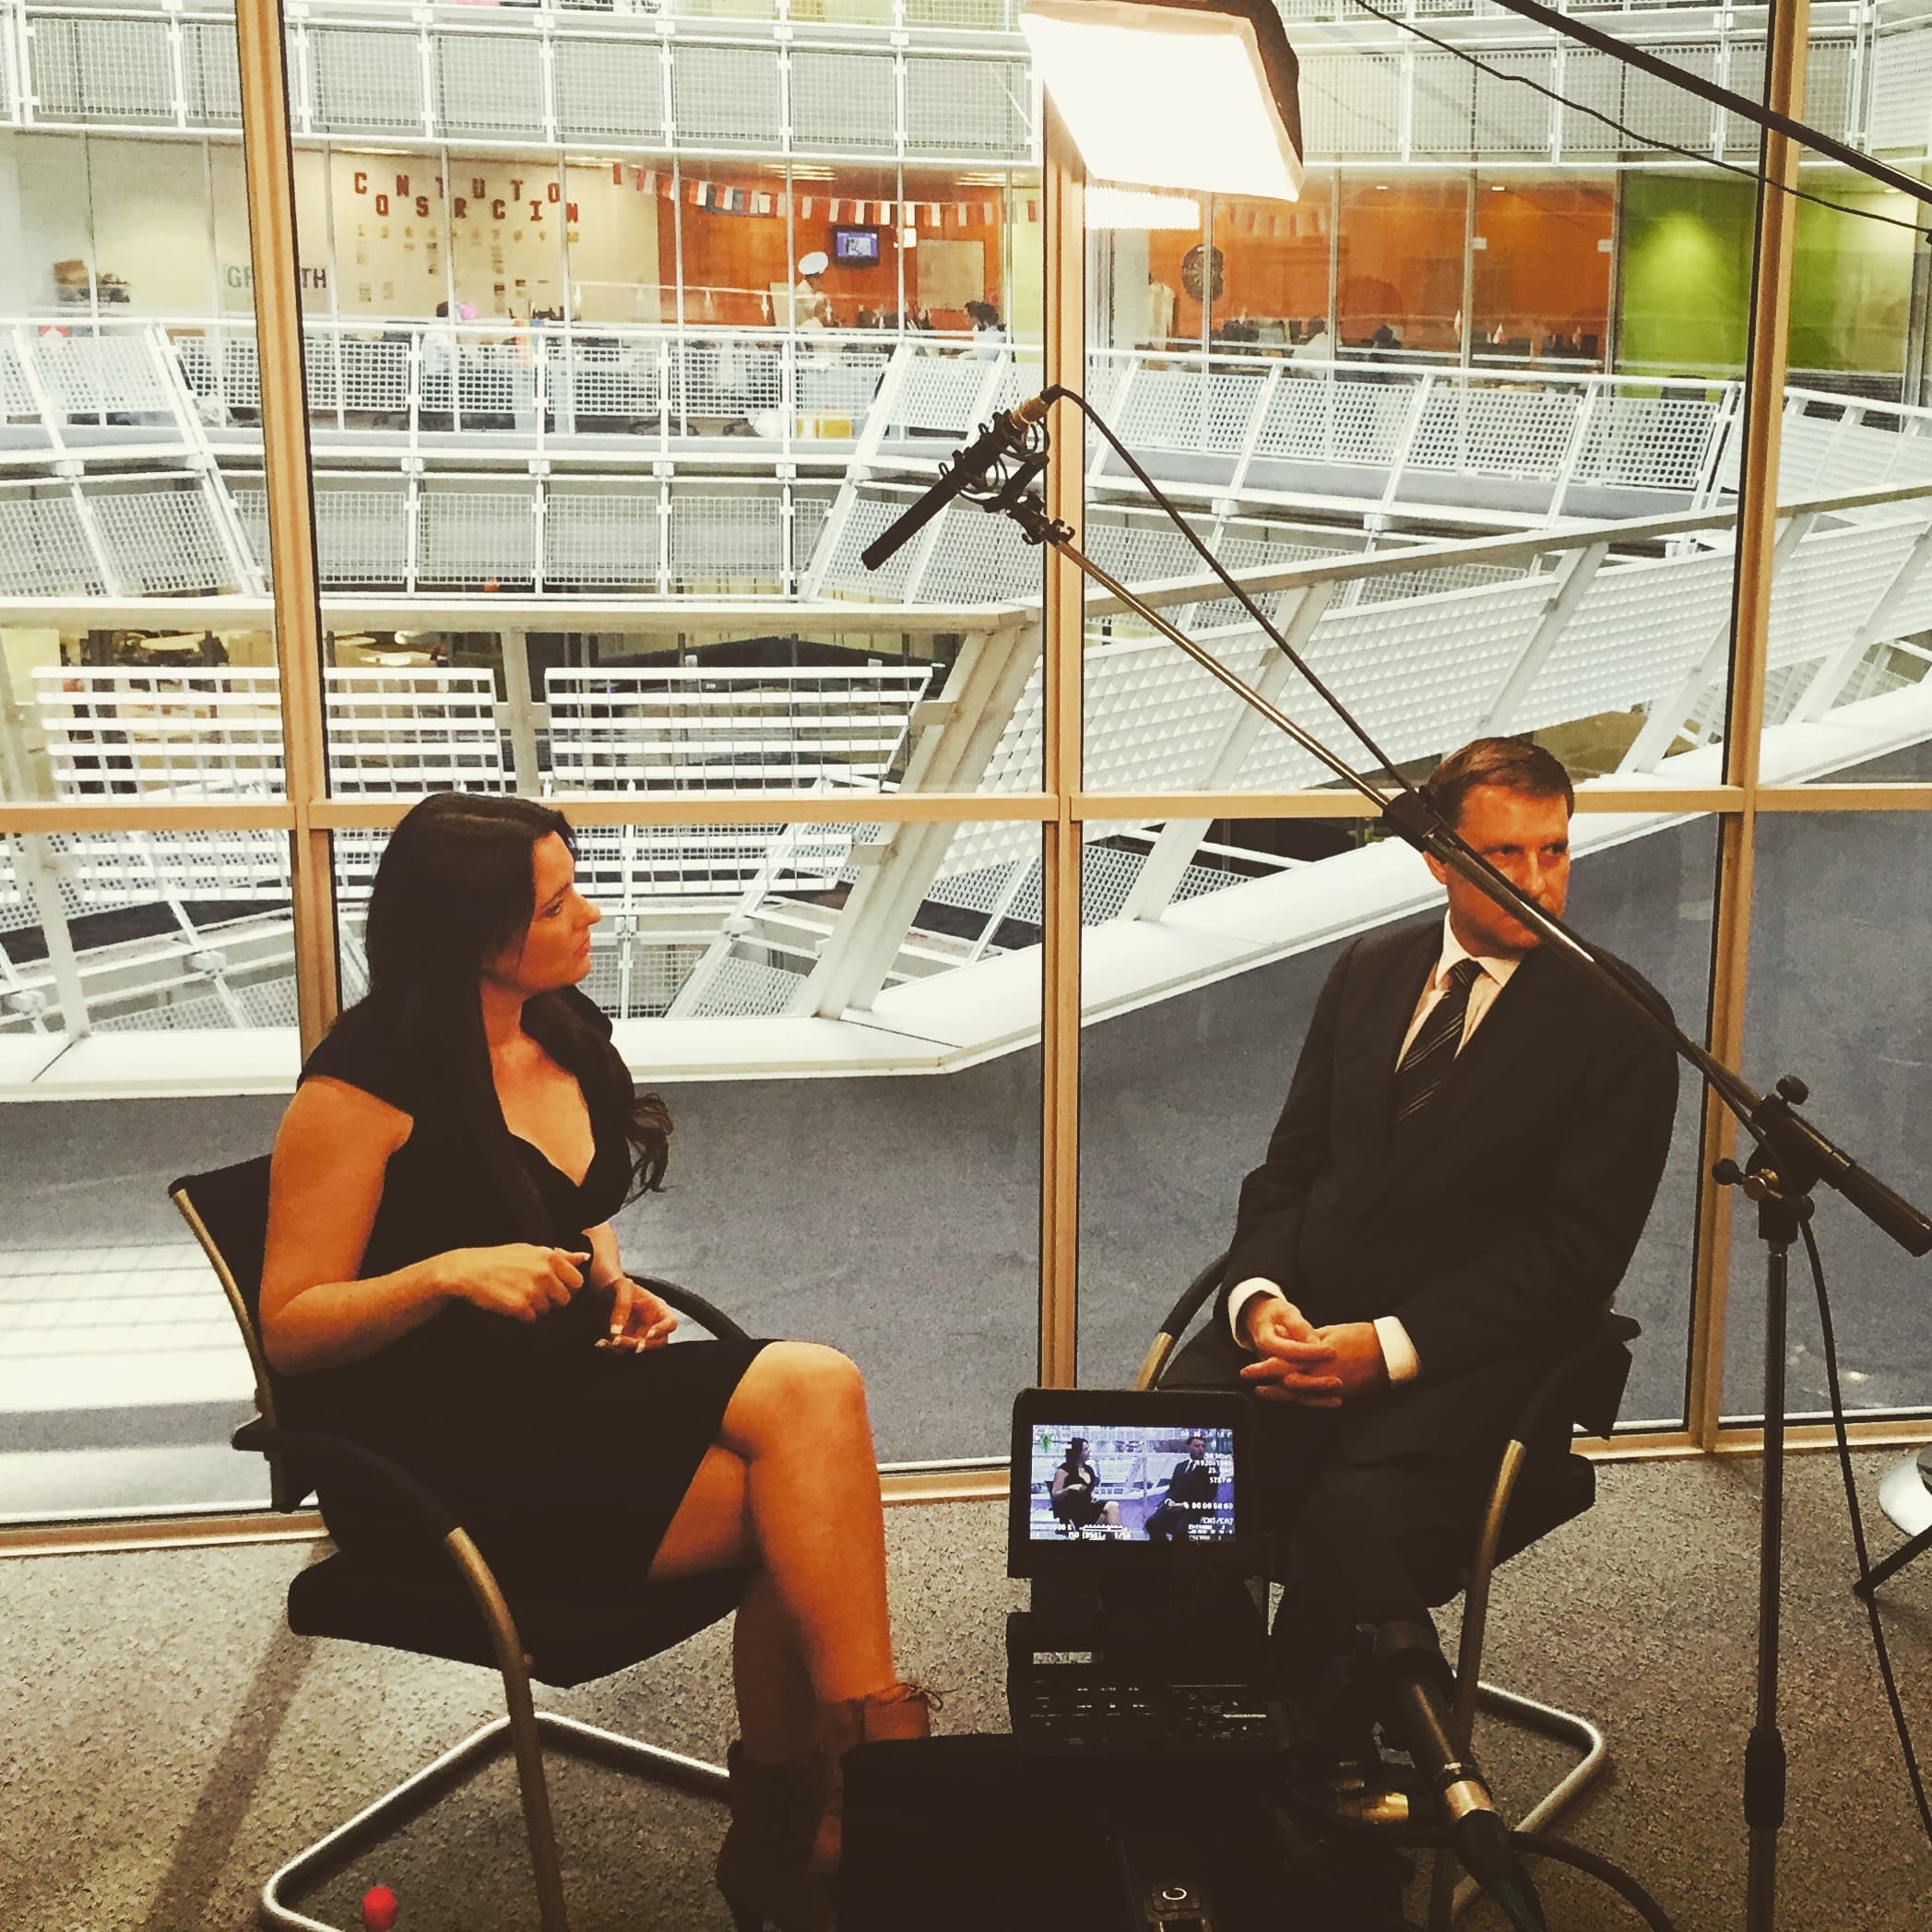
This interview had all the right ingredients.
If all of this seems a bit daunting at first, don’t worry. With a bit of practice and application of these techniques the quality of your interviews will increase over time and will gradually become second nature to you. For some inspiration, take a look at some of the interviews we have conducted over the years..