
The first tell tale sign of a video amateur is bad audio. It doesn’t matter how beautiful your images are, how long your steadicam shot is or how interesting your talent is; if your audience is struggling to hear the content they probably won’t give you the time of day. As sound is half of the picture it is crucial that video producers get their audio knowledge up to scratch.
So, what are some of the common causes of bad sound and how could we solve these issues?
Poor location choice

A thorough reccie will allow you to (somewhat) find out if you’ll be disturbed during filming
Background noise is probably the biggest problem when it comes to clean sound recording. Where ever we go, whether that be in the city or the countryside, some sort of background noise will try to interfere with our recordings. This could include traffic noise, chatter, sirens, aircraft, footsteps, air conditioning..and the list goes on.
Solution: If you are fortunate enough to do a location reccie, consider the audio elements as well as the visual. Filming under flight paths, by main roads, next to the staff room etc. should all be avoided where possible. If your location looks great but you’re going to be interrupted every 2 minutes, is it really the best place to film? Consider what time of day may be best to do the recording; if the office empties out at lunch time, why not film then? Also, turn off any appliances and equipment that you’re allowed to if they emit unwanted noise. It all goes back to a little foresight and planning before your shoot.
Poor acoustics
Recording in wide open rooms with hard floors and few furnishings can make your recordings sound reverberated. While it is easy to add reverb in post, it is much harder to remove it from a recording. Acoustically treated rooms sound much better to the listener, particularly if recording voice overs.
Solution: Where possible try to shoot in rooms with soft furnishings. Consider using old carpet to reduce the reverb somewhat and this will also reduce any sounds of footsteps. If recording voice overs, either use a studio that has been sound proofed, or set up carpet and pop shields close to the artiste to treat their voice as much as possible.
Unsuitable microphone choice & placement
Sometimes it’s good to have options
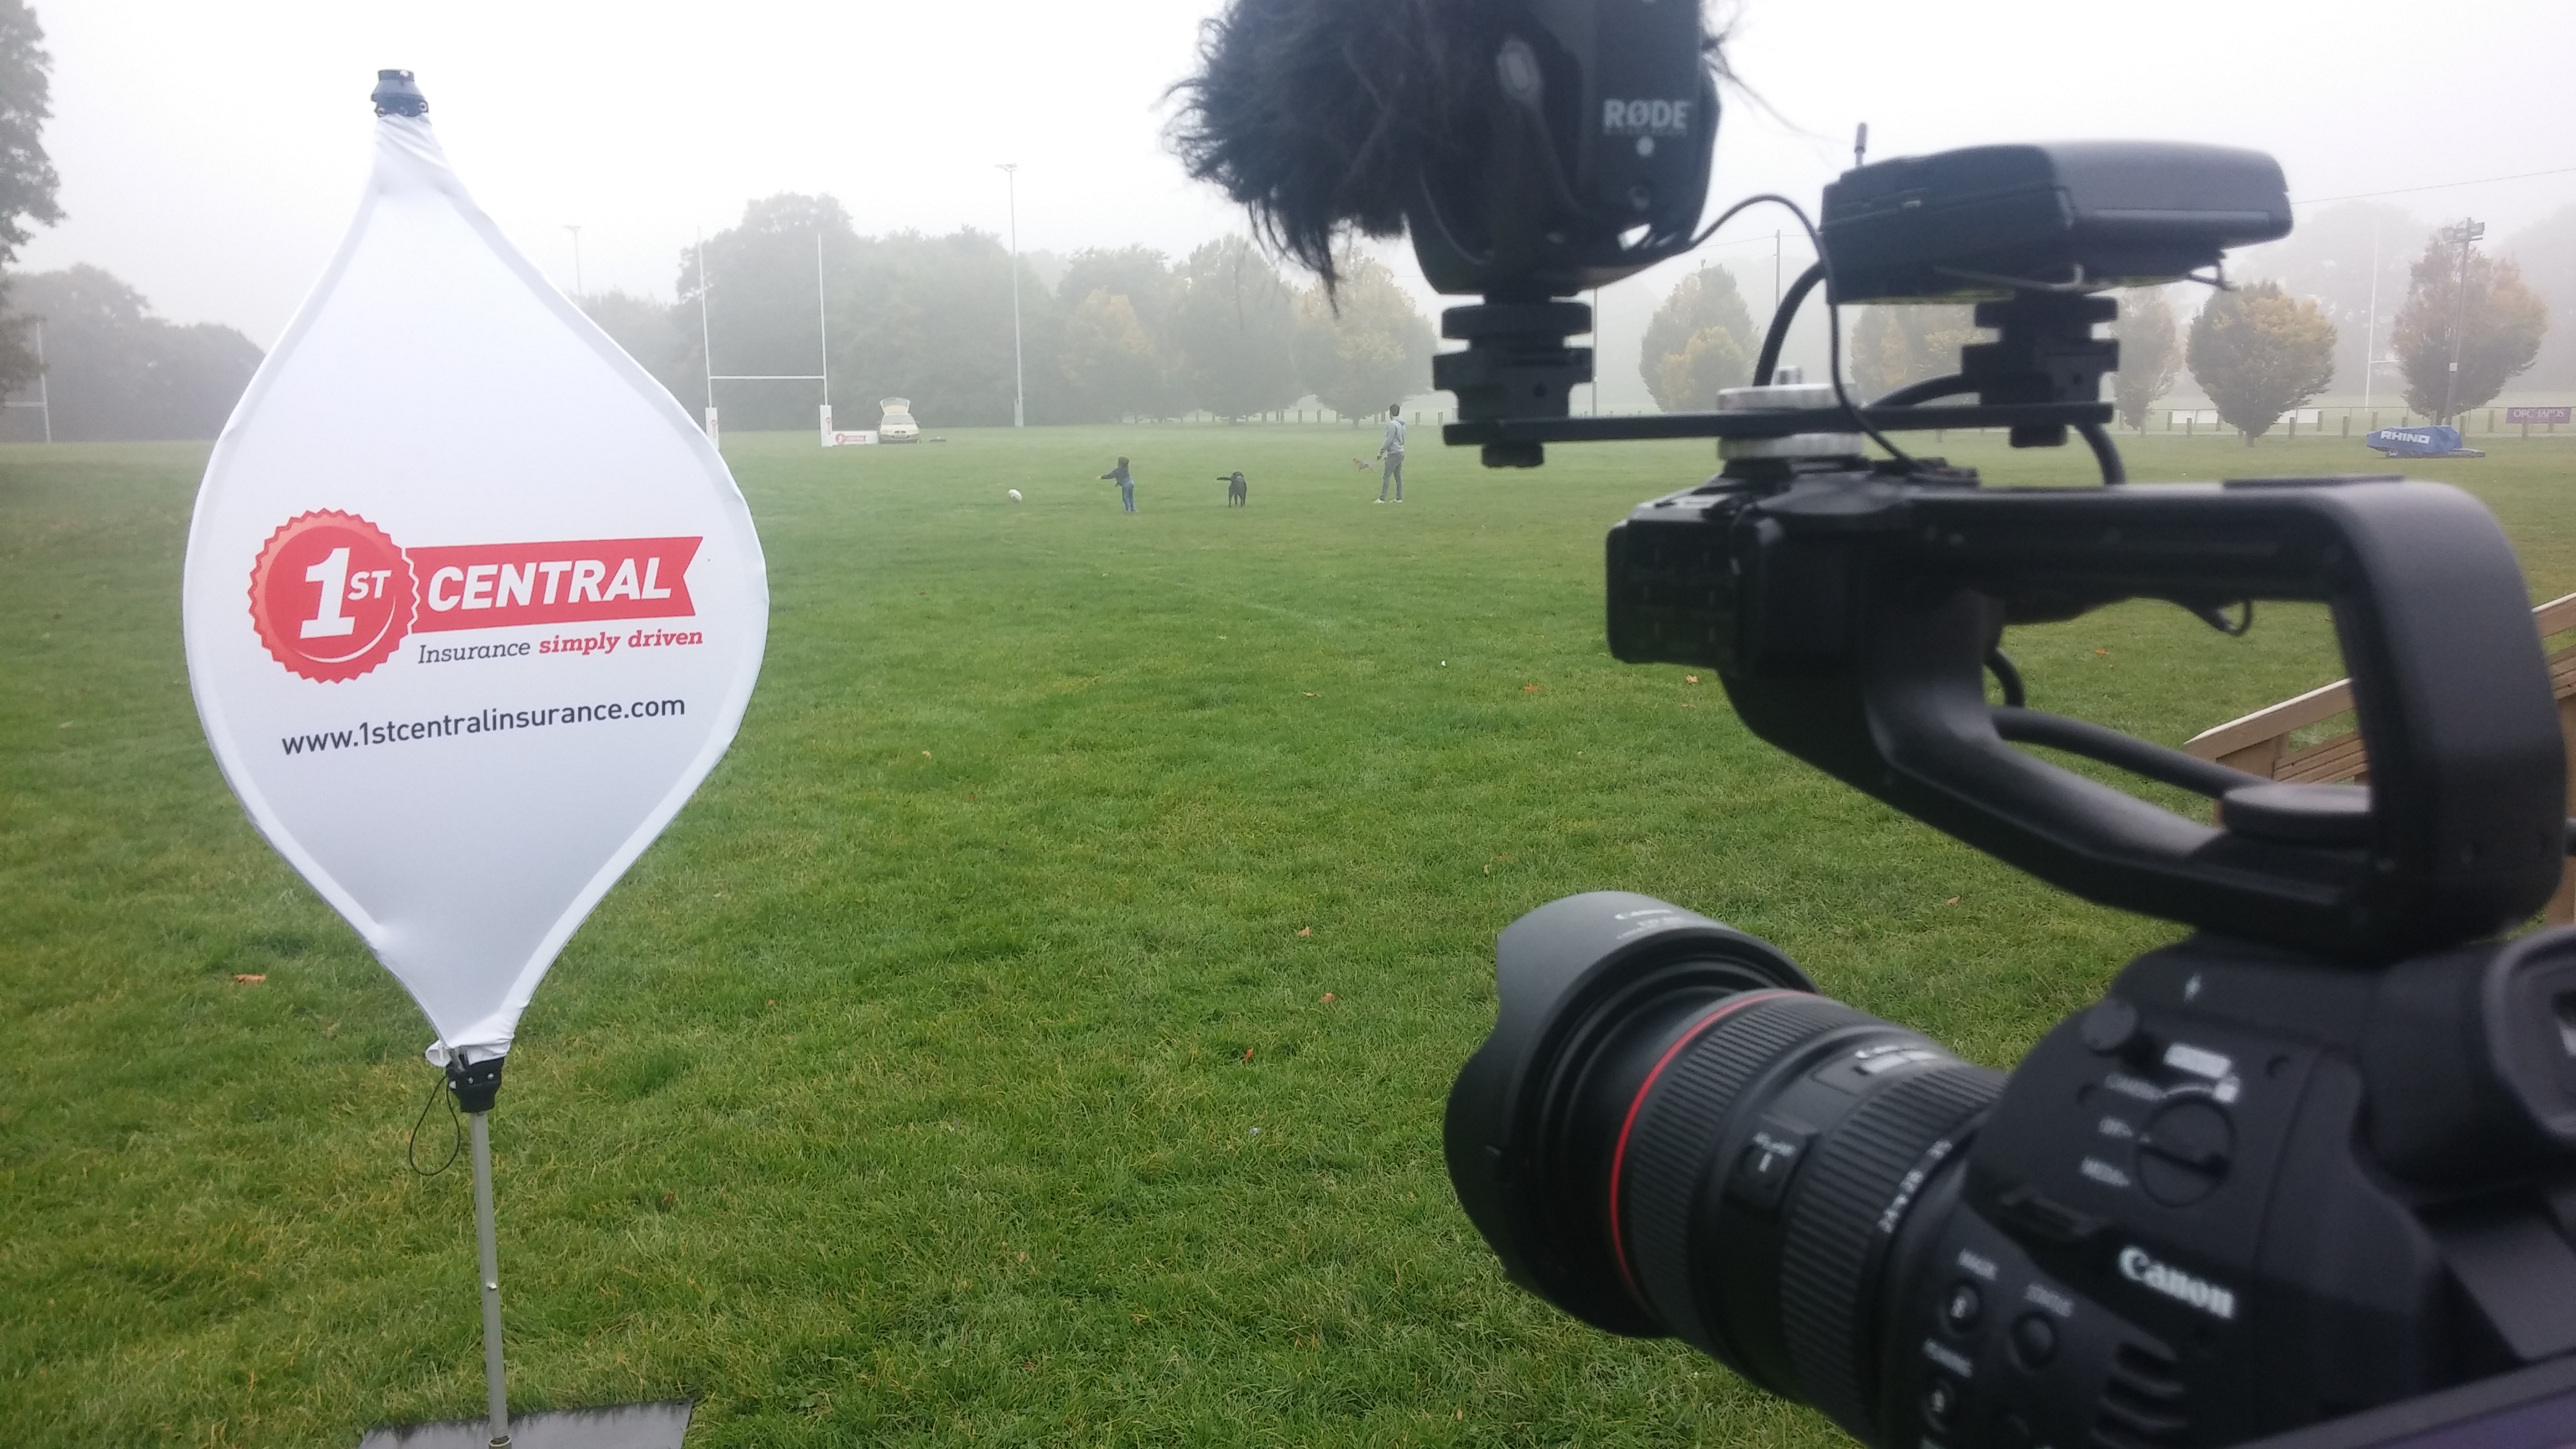
You can still record good sound if there is some background noise, but how manageable that noise is all falls down to your choice of microphone. Using the inbuilt mic on your camera is rarely the best option. These mics are often of lower quality, have poor bass response and aren’t usually that directional. High quality shotgun mics may be good alternatives but even those with the most directional pickup patterns can’t completely eliminate some background noise. Lapel mics can also be a good choice but if your subject moves a lot expect to hear a lot of rustling. You also might have trouble attaching a lapel on certain outfits!
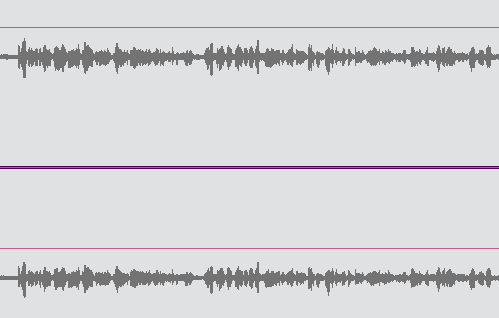
Solution: Only ever use your camera’s inbuilt mic for reference so that you can get rid of that tinny sound and reduce the likelihood of any handling noise. Shotgun mics can be great on location, but consider whether having one attached to your camera is going to get the clearest recording or if you need to get it in closer to the subject and purchase a ‘deadcat’ or ‘fluffie’ to eliminate wind noise if you are on location. If using a radio mic, attach stickies and under/over covers to eliminate wind and clothing noise. If possible, find somewhere to attach your mic where there is less chance of your audio becoming muffled – under a tie or a shirt collar for example. If you have the luxury of both a shotgun and radio mic, record using both into separate channels so you have options! Lastly, if your camera has AGC (automatic gain control), for Pete’s sake turn it off!
Imperfect recording technique
There are numerous ways that your recording technique can affect the quality (or lack of) in your recordings. Turning your microphone’s gain up so high that there is distortion and choosing a mic input when you should be using line are both suitable examples.
Solution: Different equipment manufacturers and sound recordists will have their own opinions on what is a safe level to record at. Some may recommend your maximum recording level hit -18db as it peaks, but some may prefer it to be closer to -12db or even -6db (which is a little dangerous for my liking). It’s important to remember that once a microphone distorts it is pretty much impossible to recover, whereas sound that is recorded slightly too quietly can always be amplified. However, recording as close to your devices’ nominal level is best as too low a level will result in amplification of hiss. This page from the Final Cut Pro user guide explains it well but basically you’ll want to use microphone and recorder combinations with the lowest signal to noise ratio possible. Before you buy any audio equipment do your homework first and look out for comments made by other users regarding this.
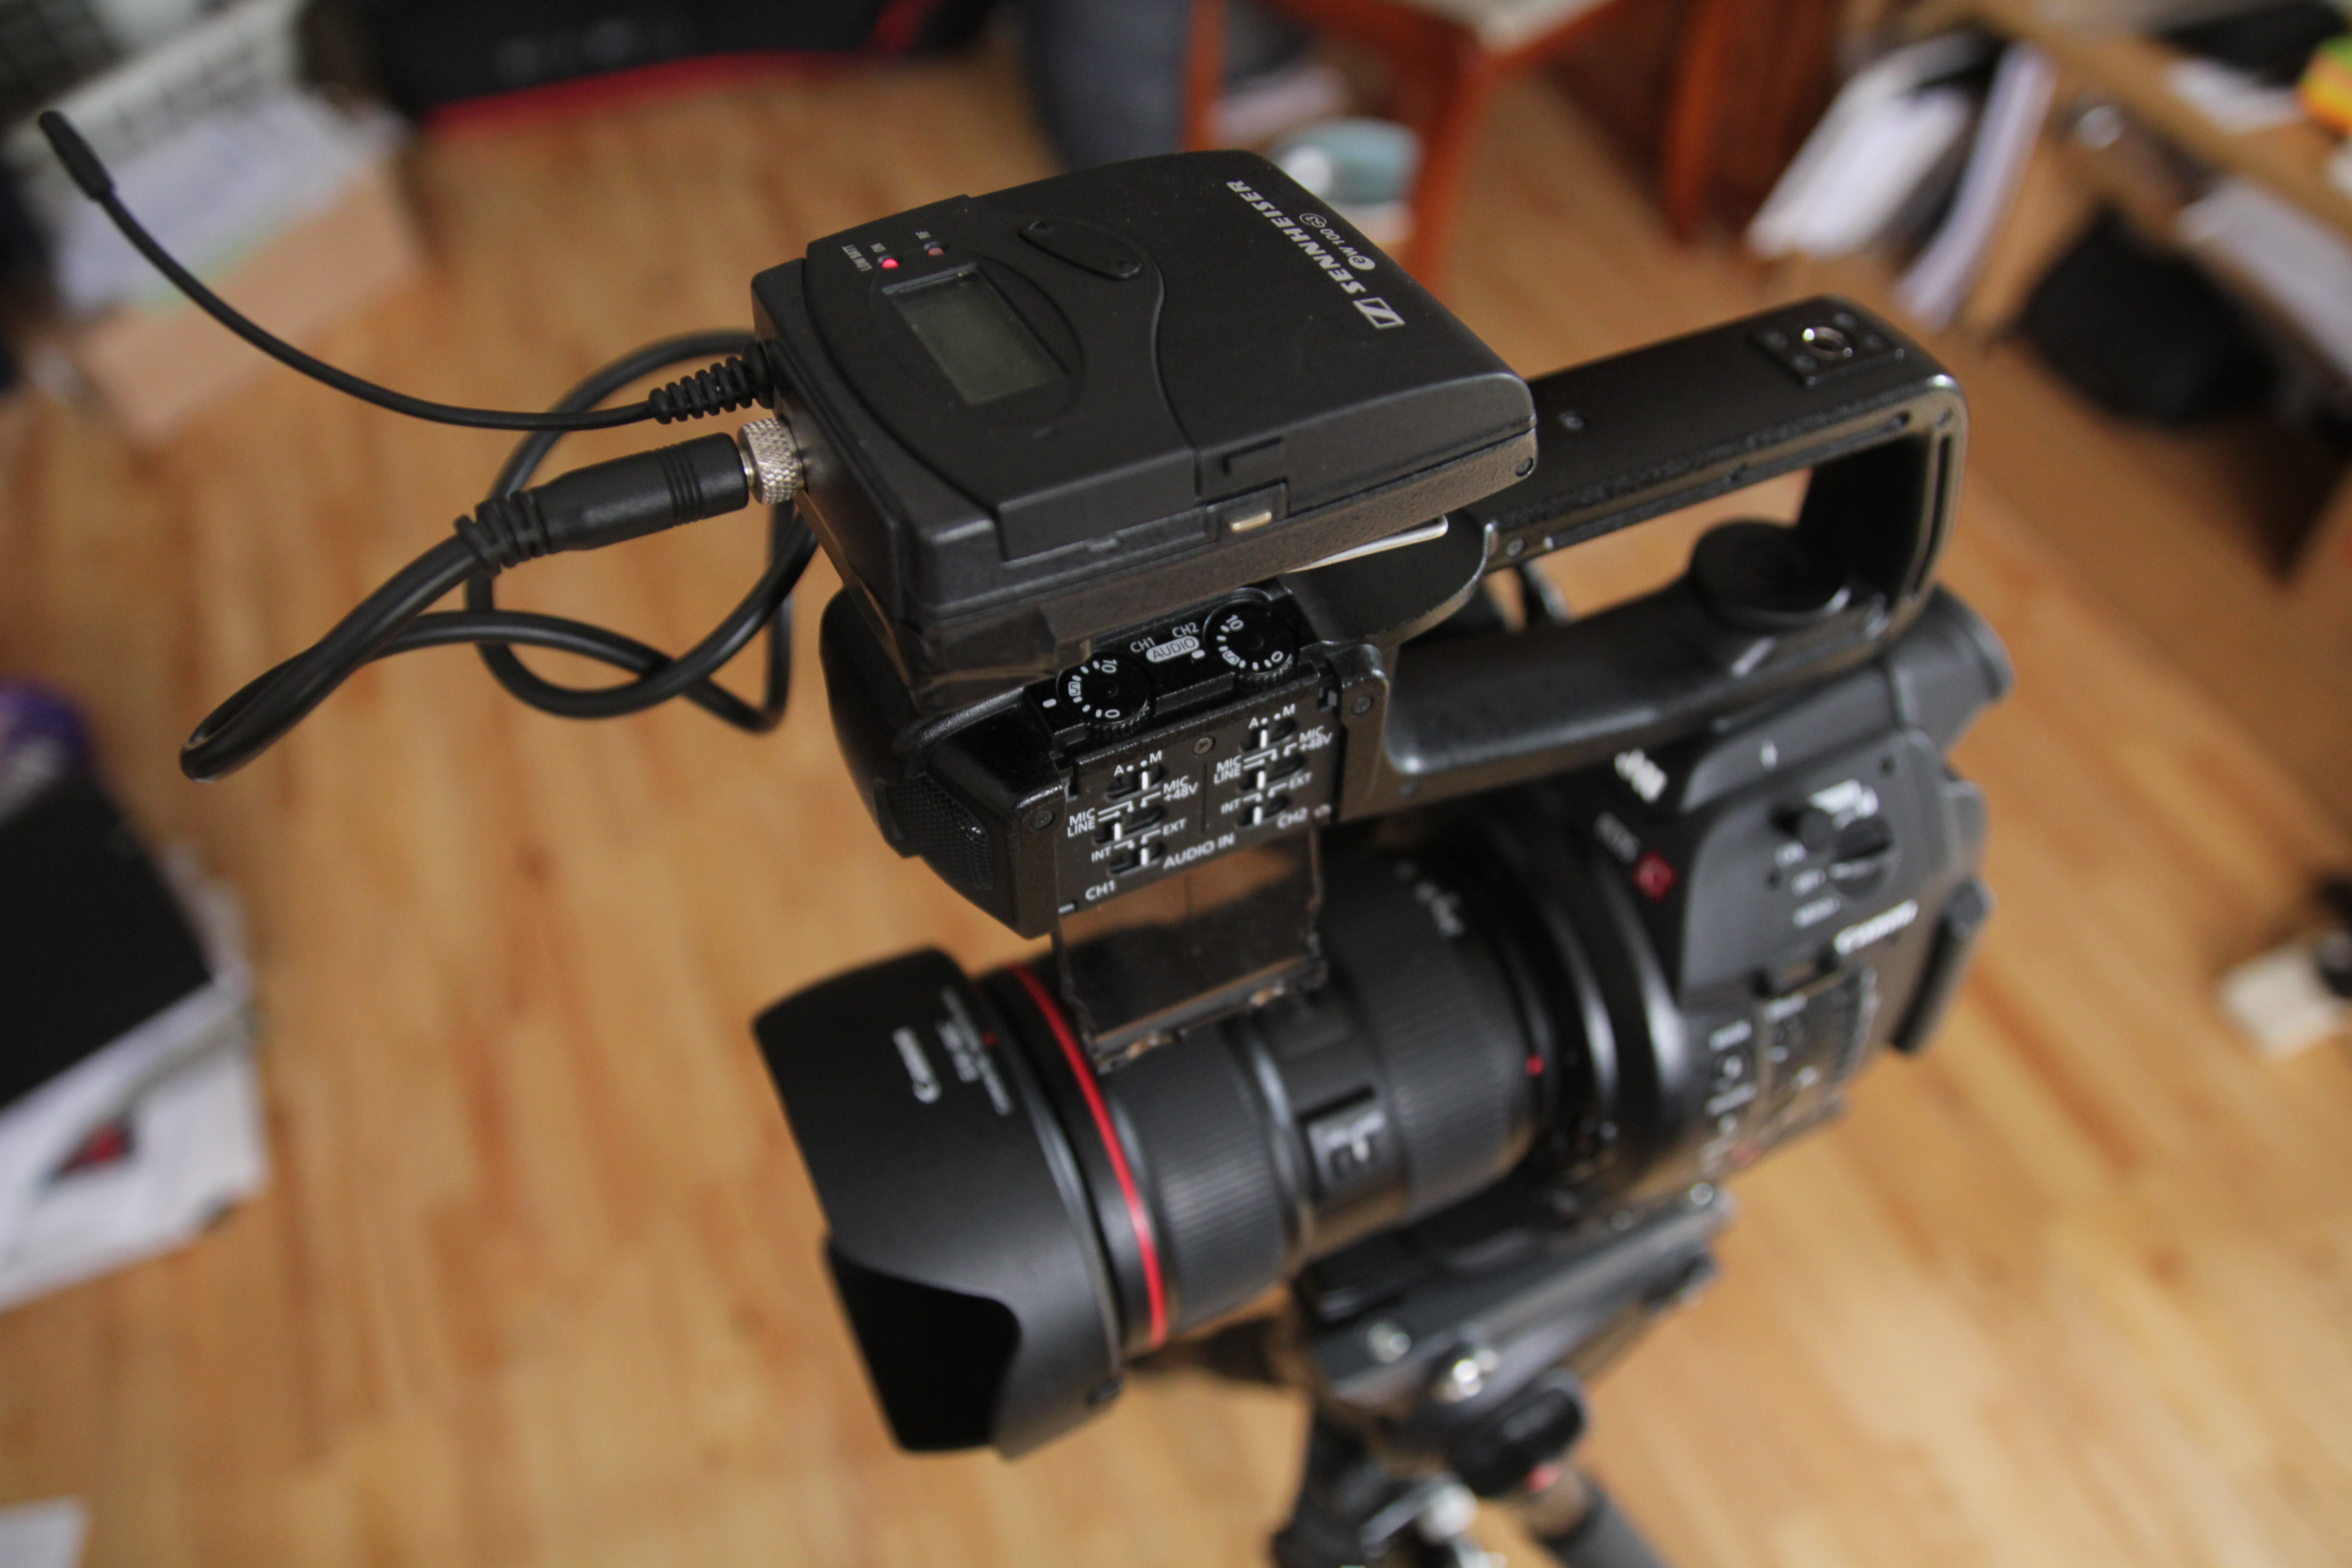
One way I found to get a cleaner radio mic recording into my C100 was to use a line input in and turn up the output of the receiver
One thing to remember is that recording into a designated audio recorder rather than a camera will in most cases give you the cleanest audio as some cameras have quite noisy preamps. On location this might not always be practical but in an acoustically treated studio this is definitely the best method. Either way it is always good to test and get to know your equipment before you go out on a shoot to see how you can get the cleanest recordings possible.
Insufficient mixing & EQ
 Is the music drowning out the dialogue? Does your subject become lost amongst the layers of foley? Recording good sound at the outset is important but mixing and equalizing that sound appropriately is just as important in order to produce a product that people want to listen to.
Solution: Check your levels using the audio meters in your editing program on both your speakers and through a set of headphones. You may notice things through your headphones that you didn’t notice otherwise. Experiment with EQ and see if you can make any improvements, continually referring back to the original audio. Maybe you’ll discover something, maybe you won’t, but there’s no harm in trying things out. Use fade ins and fade outs where possible so that no source jars when it starts or stops. Find out more about EQ here.
Too much noise reduction
Ever watched a video that sounds like it was made underwater? If so, one cause of this is too much or inappropriately applied noise reduction in post. It sounds bad; worse than most cases of background noise!
Solution: Get it right at the recording stage – do what you can to reduce the background noise. If this isn’t entirely possible, utilize noise reduction and other plugins such as high pass filters to eliminate certain frequencies. The latter cuts off all frequencies below a certain level, allowing the higher frequencies to pass through which can be good for consistent low level noise from an appliance for example. With this and any audio filter be prepared to spend time tinkering if you want the best chances of reducing the unwanted frequency without affecting the voice.
Not listening!
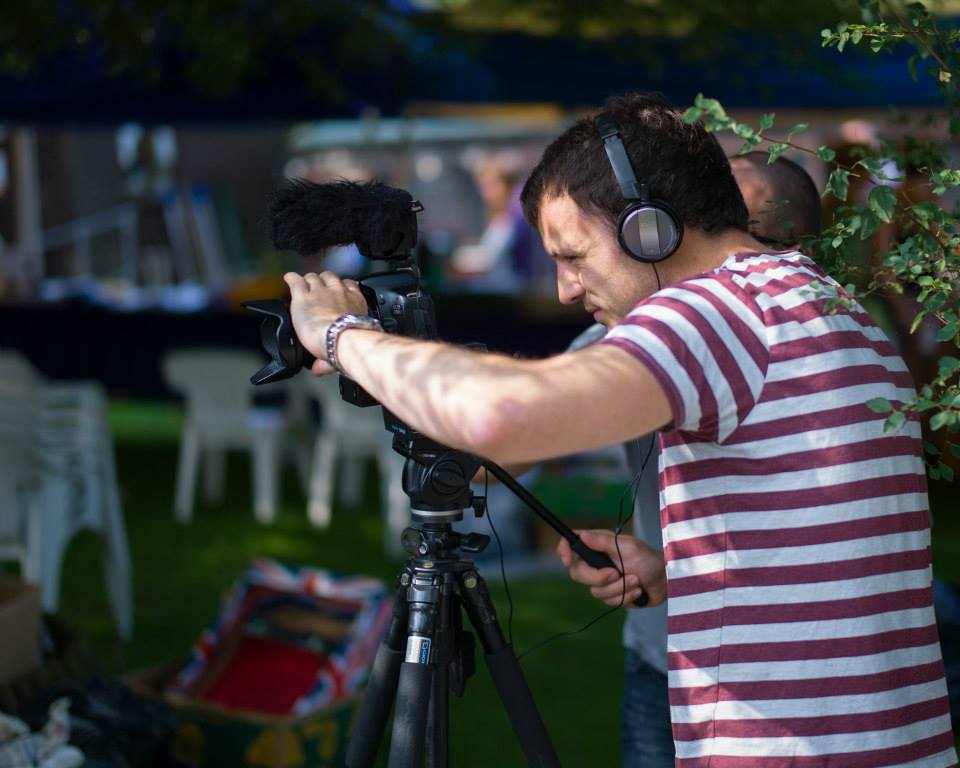
Despite what anyone may tell you I am a good listener!
Pretty self explanatory, really!
Solution: Always wear a decent pair of headphones and be prepared to playback takes if you can to ensure you’re recording the cleanest sound possible. Other things to listen out for include unsuitable gaps between questions and answers in an interview (you need room to cut), spikes in the audio from background noise (the consistent sound of traffic may be OK but a siren will stand out) and interference.
If you have even the slightest doubt about your recording, go for another take if you can. You will thank yourself in the edit.
These tips are just the beginning and should only be the start of your research into sound recording. However, by taking these points on board and applying them to your productions you should start to see a noticeable improvement in your audio. Plan as much as you realistically can, be prepared for the unexpected and when scheduling allow for interviews and pieces to camera to take a bit longer so you can get it right the first time.