Why, when and how to use a clapperboard

“Lights, camera..action!”

This is probably the most well known phrase associated with Hollywood and film making.

If you’ve ever watched those little behind the scenes extras on DVDs you’ll have probably seen at some point a crew member using a clapperboard. Standing in front of the camera before it rolls, shouting out some random numbers and letters before hitting the sticks together and preceding to hurry out of shot immediately afterwards. Have you ever wondered what the point of this little device is? If so, then look no further.

Clapperboards are pretty fun things and they make fantastic decorations (especially if a production or director’s name has been inscribed on it!) but they are actually very important tools in the film making process. Understanding why we use them, when to use them and how you should be using them can not only help you act professionally, but potentially save you time and money, depending on your production

clapperboard close up

Clapperboards give the editor lots of information about the production which can assist in navigating large amounts of footage.

Why do we use them?

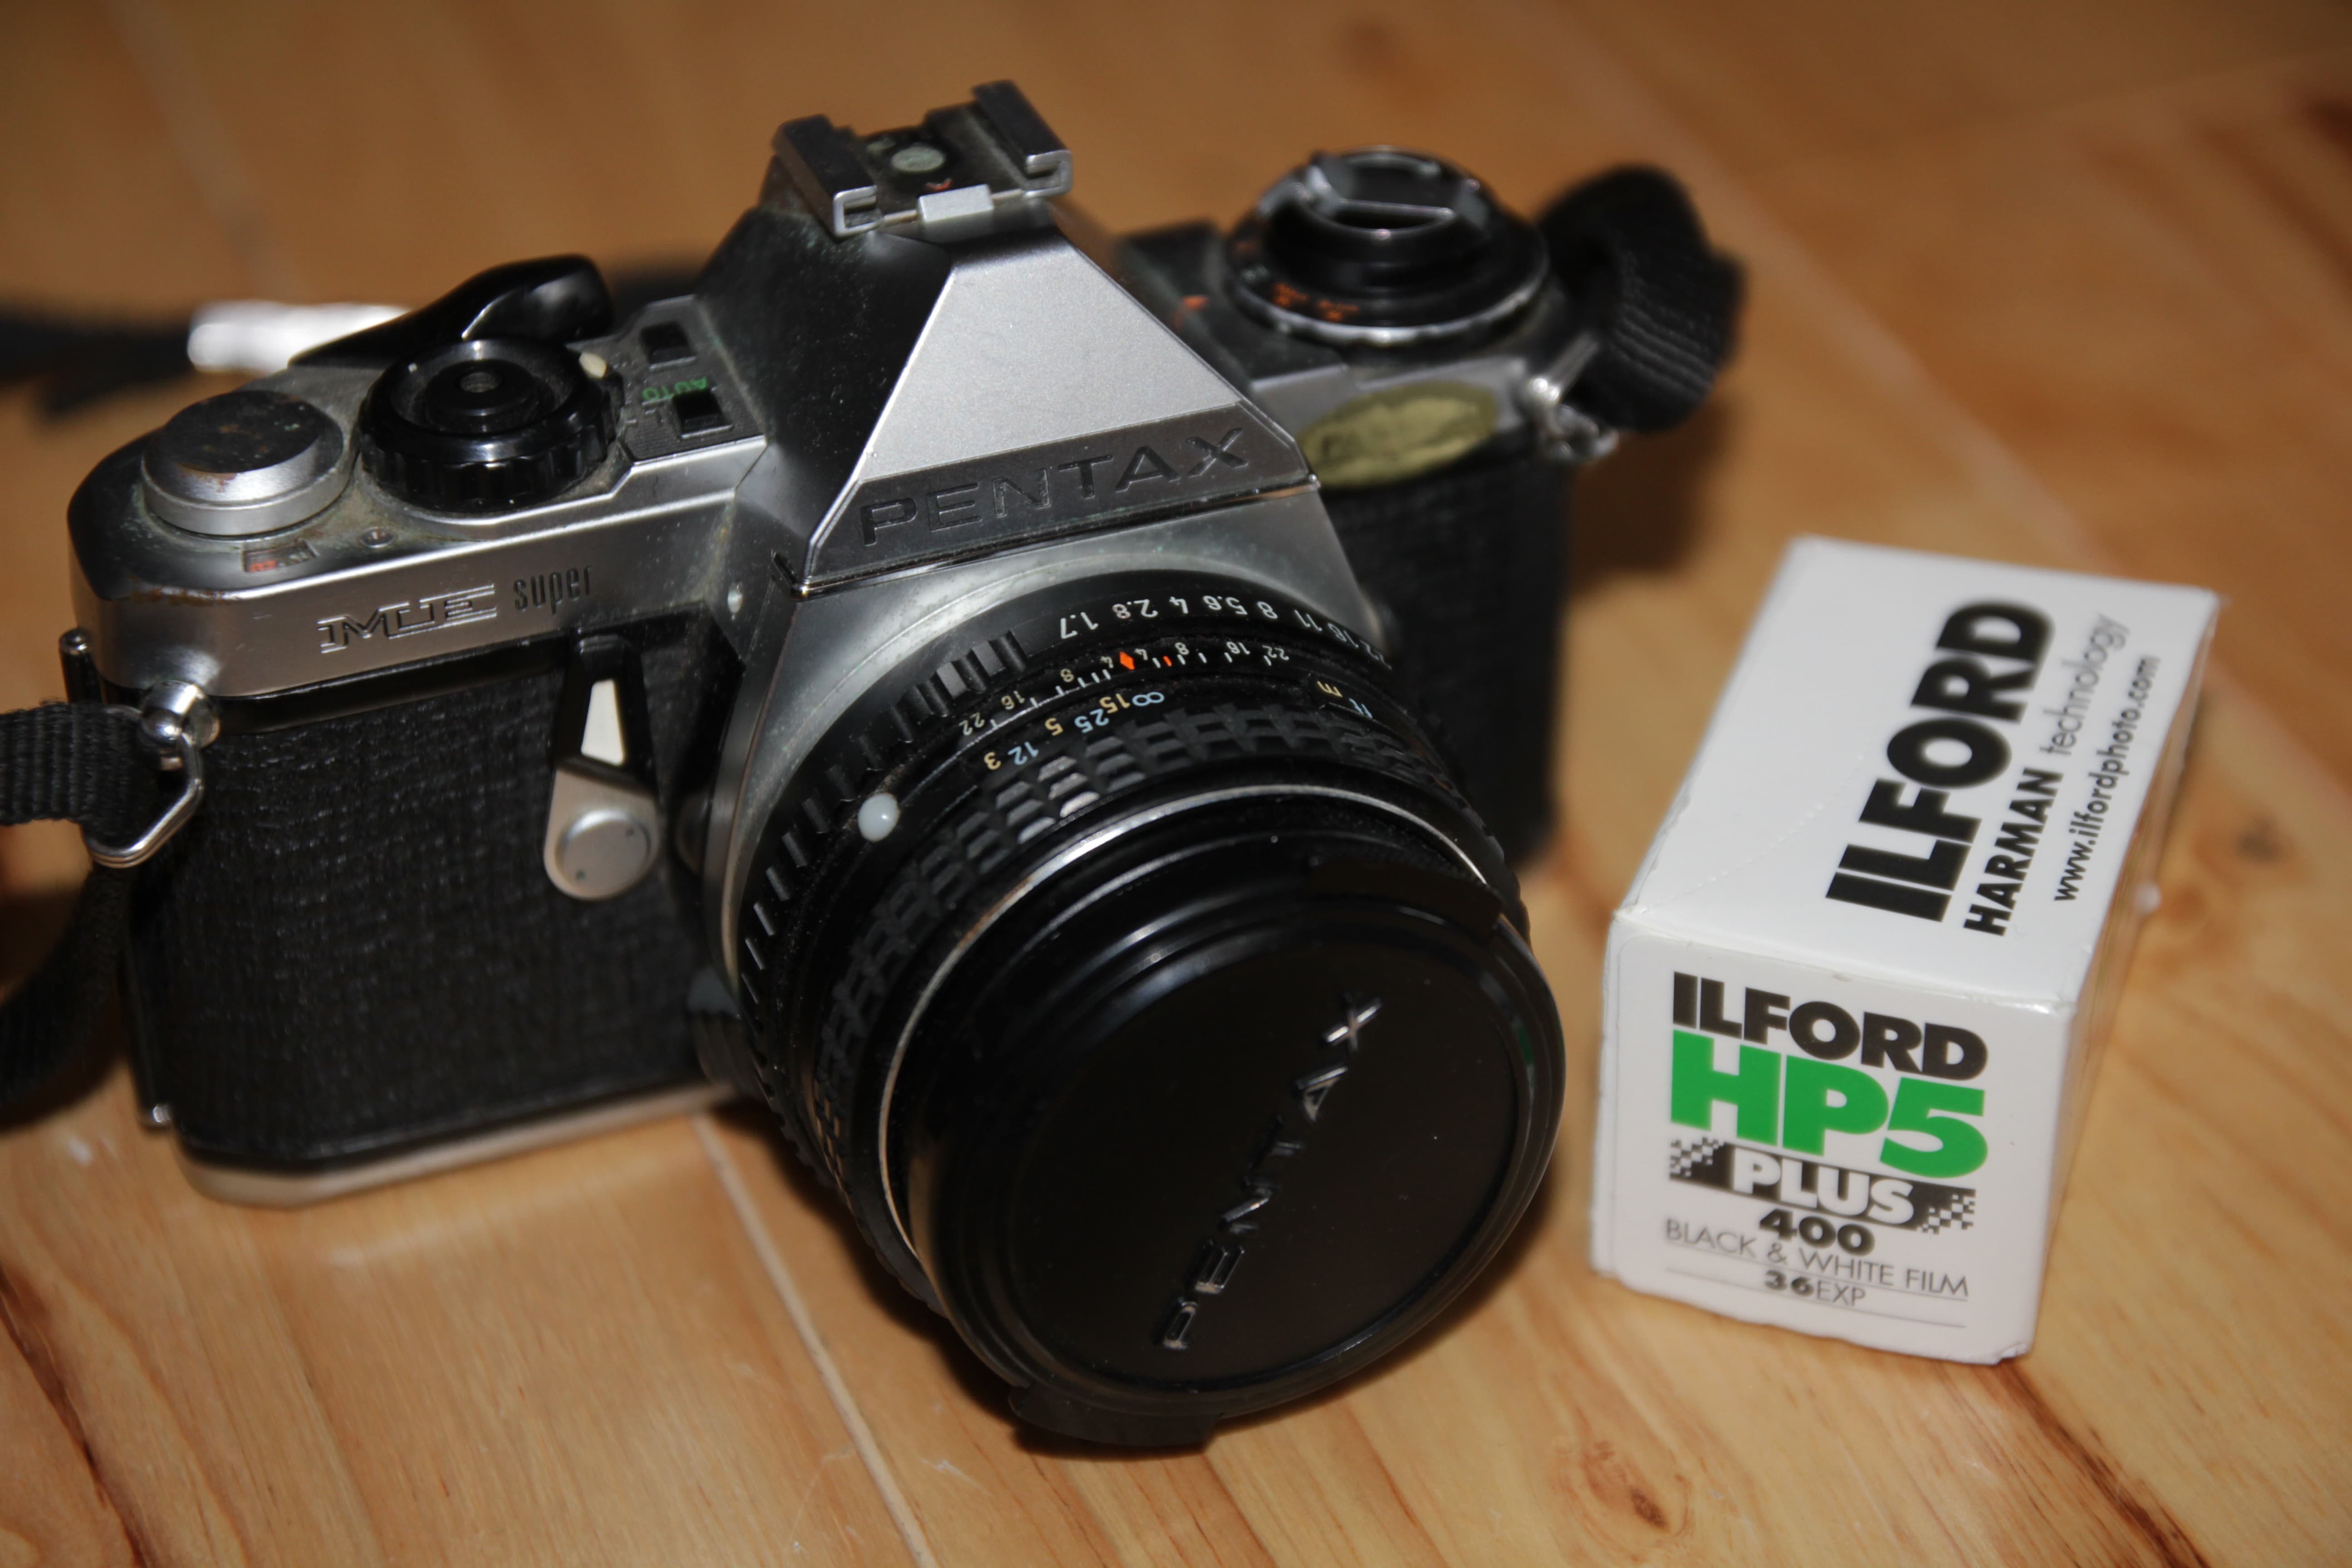
Lets turn back the clock to an age where 35mm and 16mm film were the standards for most people making movies. When the first ‘talkies’ were released way back in the 1920s, that is films that featured synchronized picture and sound, the sound was not recorded onto the film but separately (using a sound on disc system, recording to wax records). Early film cameras were also very noisy which contributed to the difficulty of recording live sound. Fast forward to the present day and in the 21st century on movie sets the sound is still recorded separately, albeit to designated sound recorders, rather than straight into camera. The primary purpose of the clapper board back in the early days and in the present is the same; to help sync up the visuals and the sound in the cutting room.

When do we use them?   

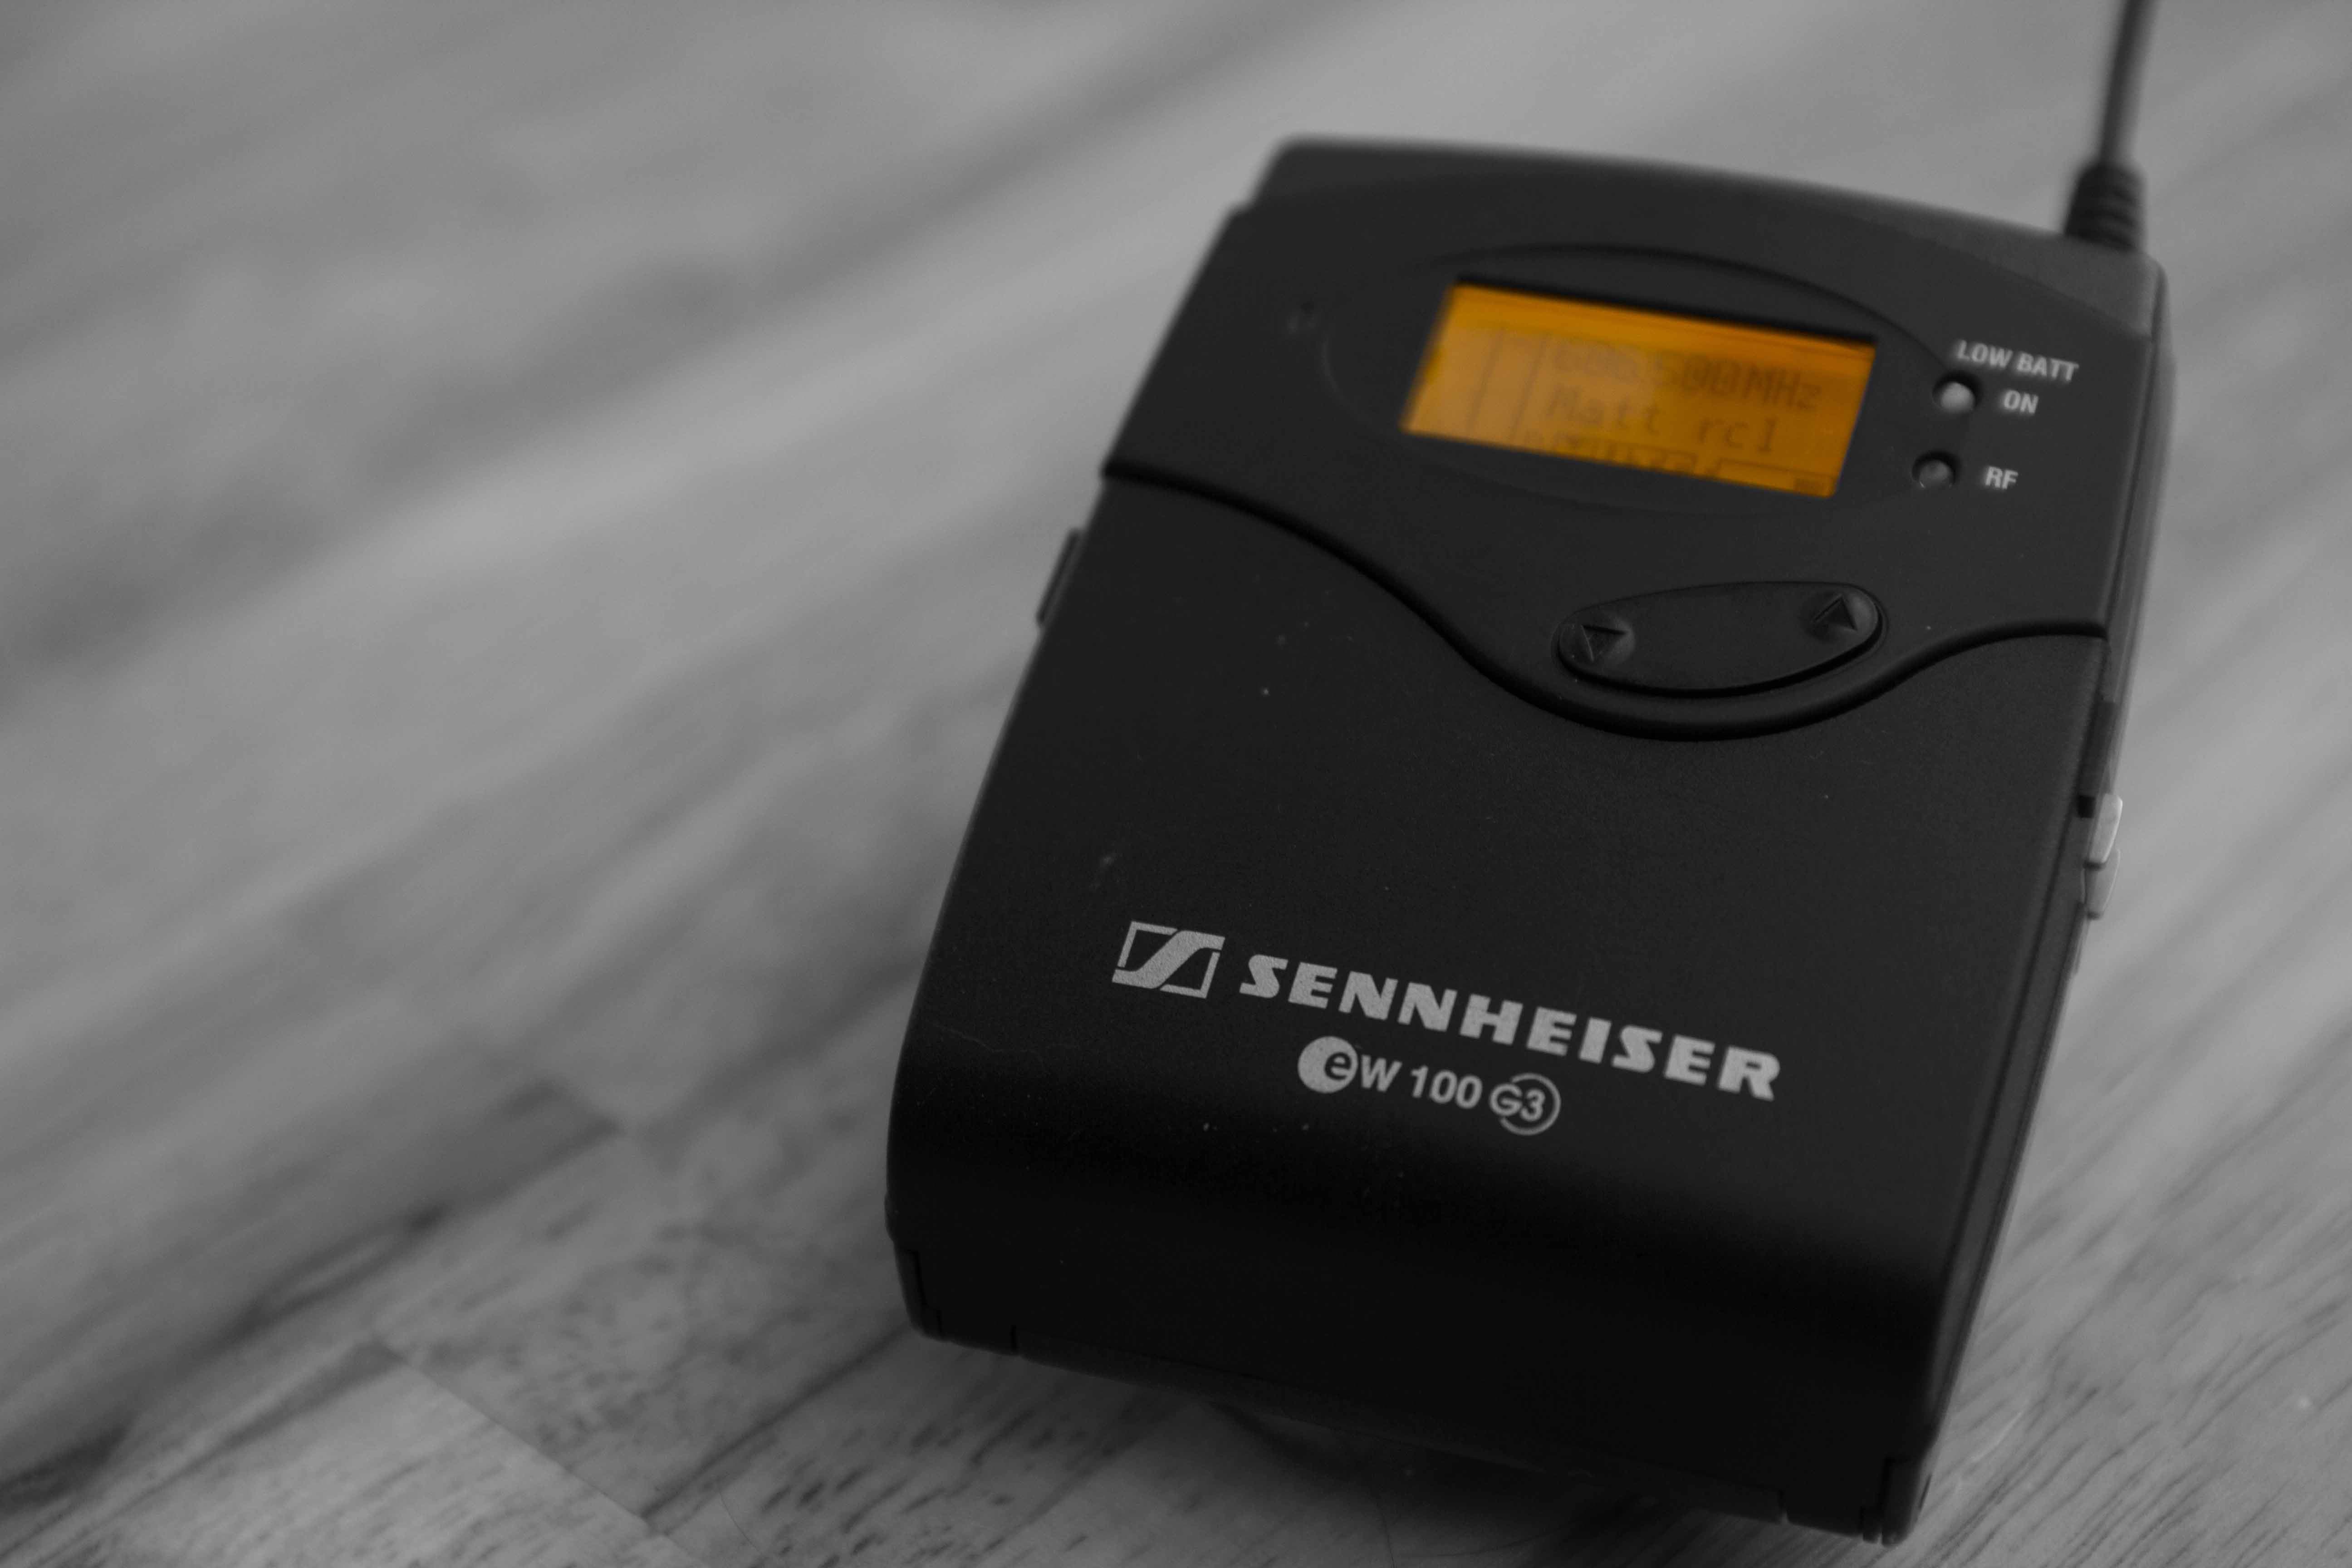
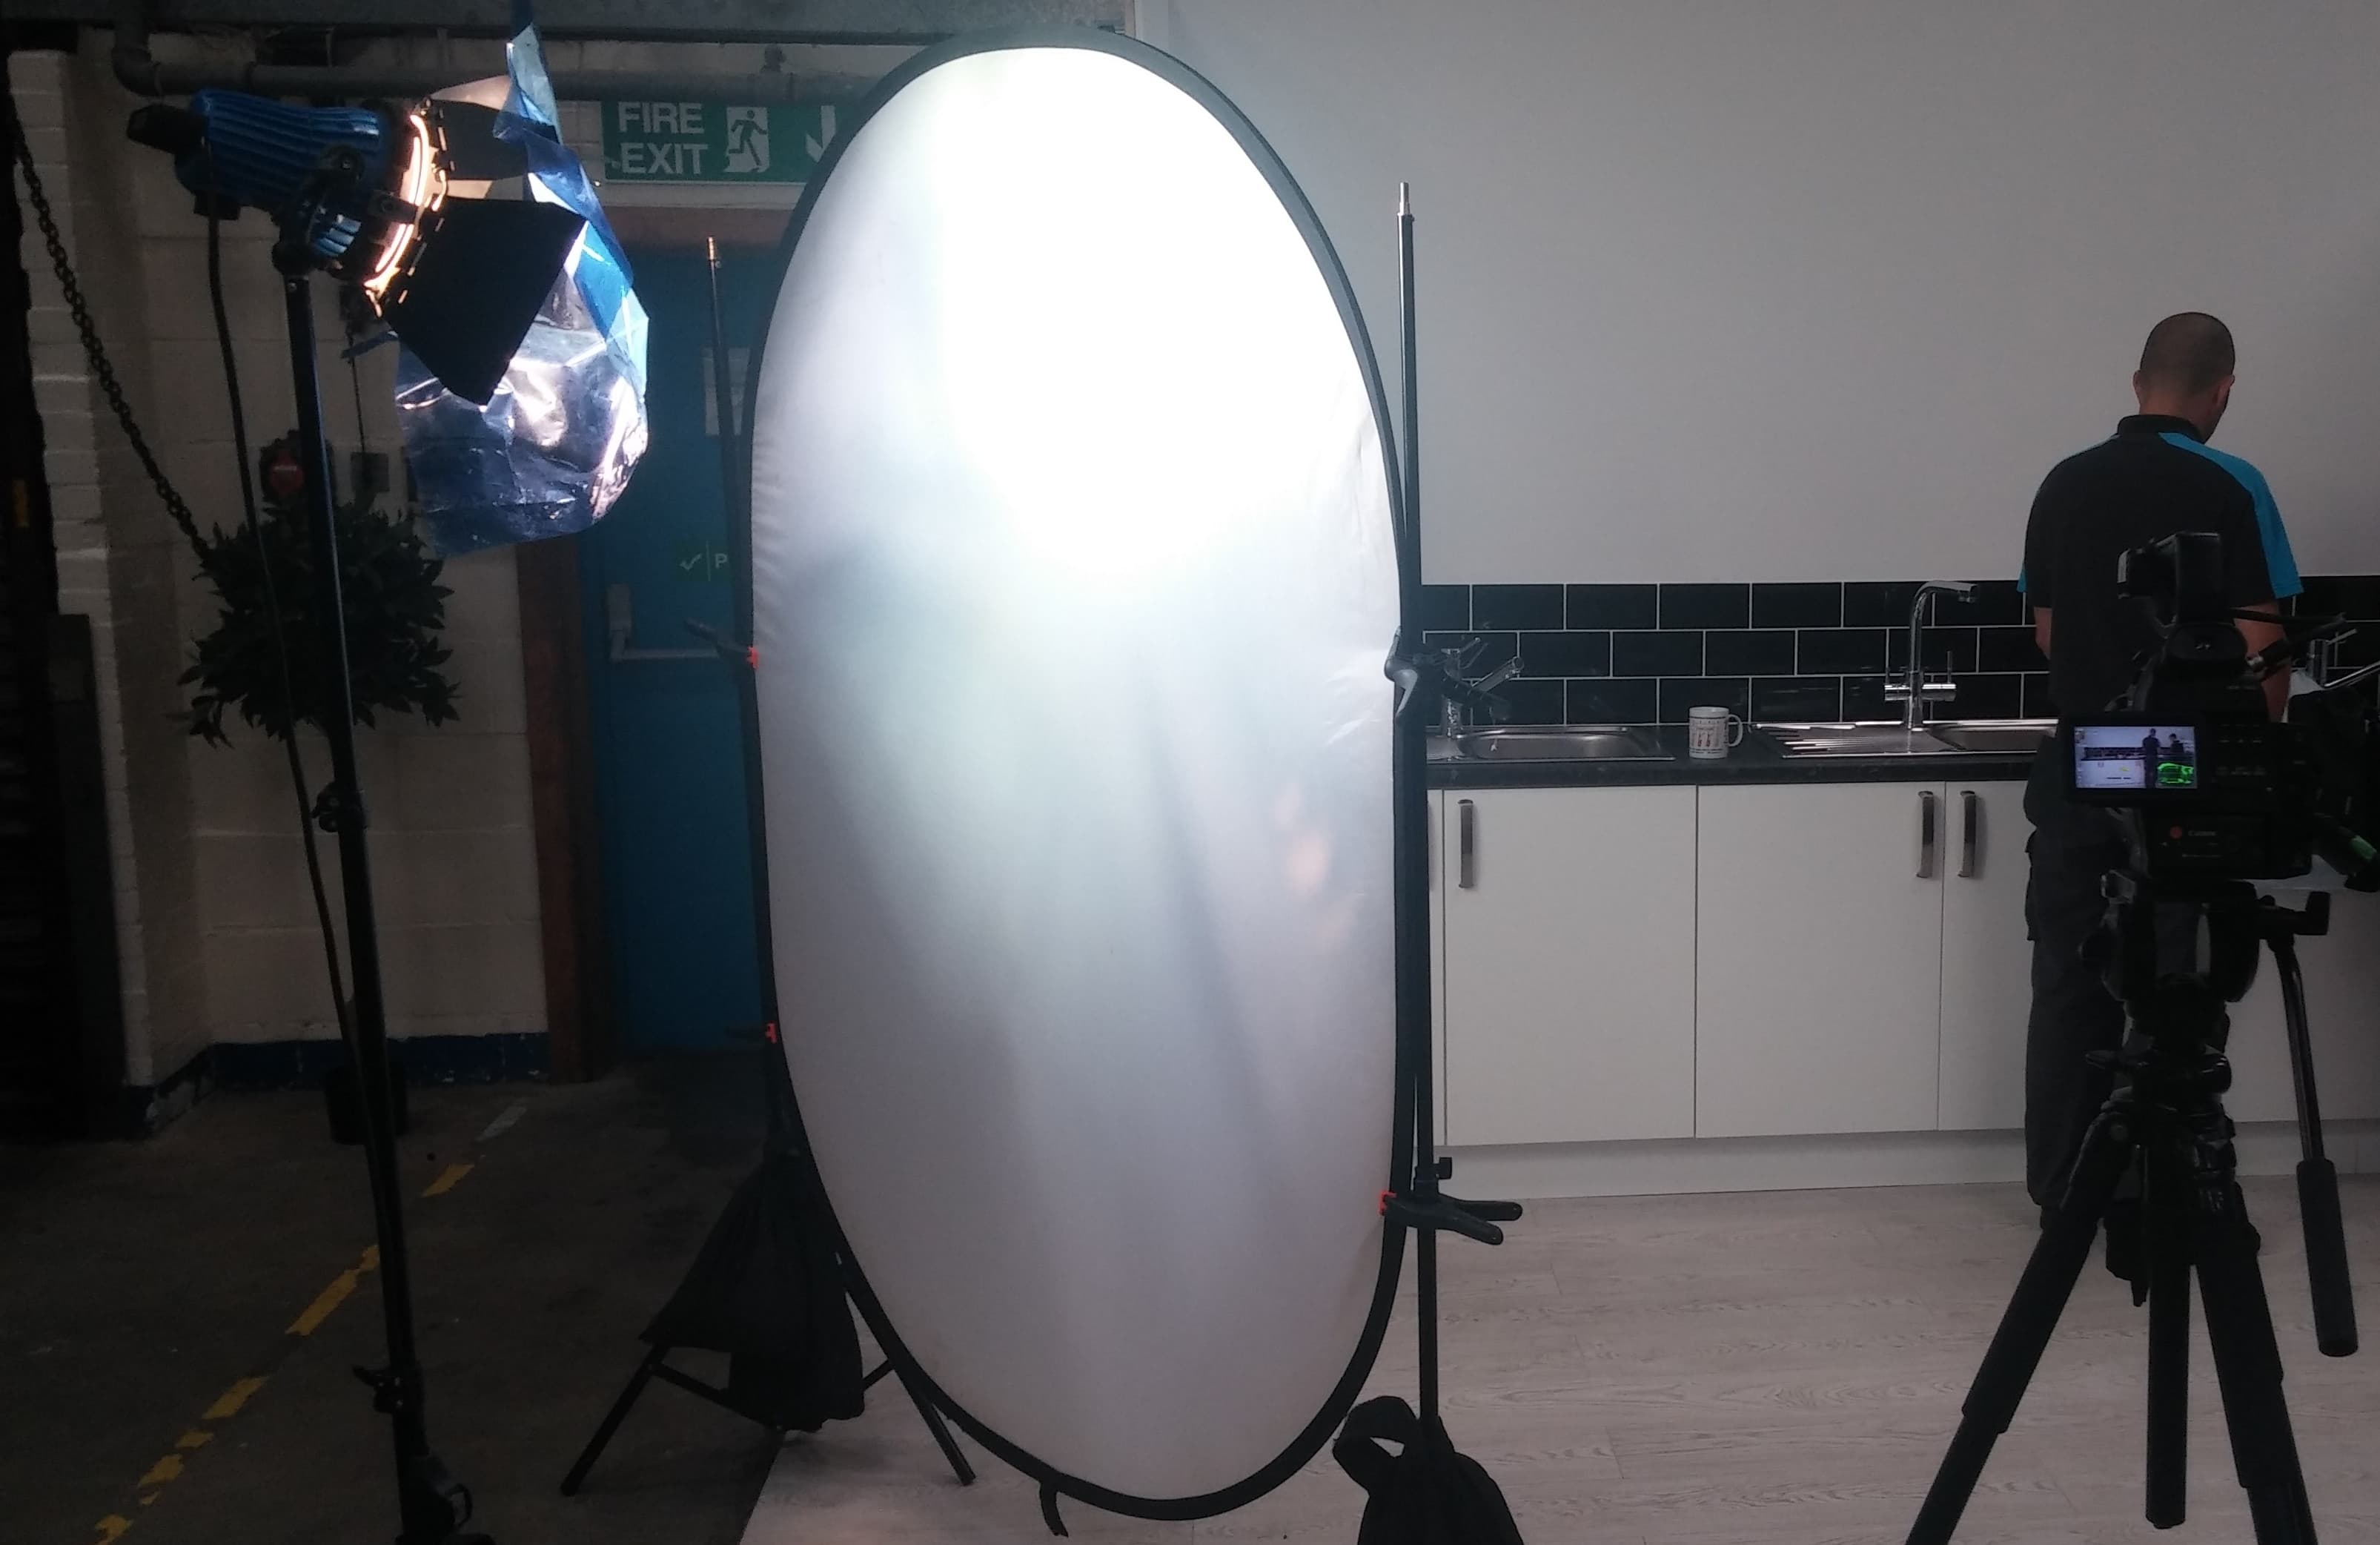
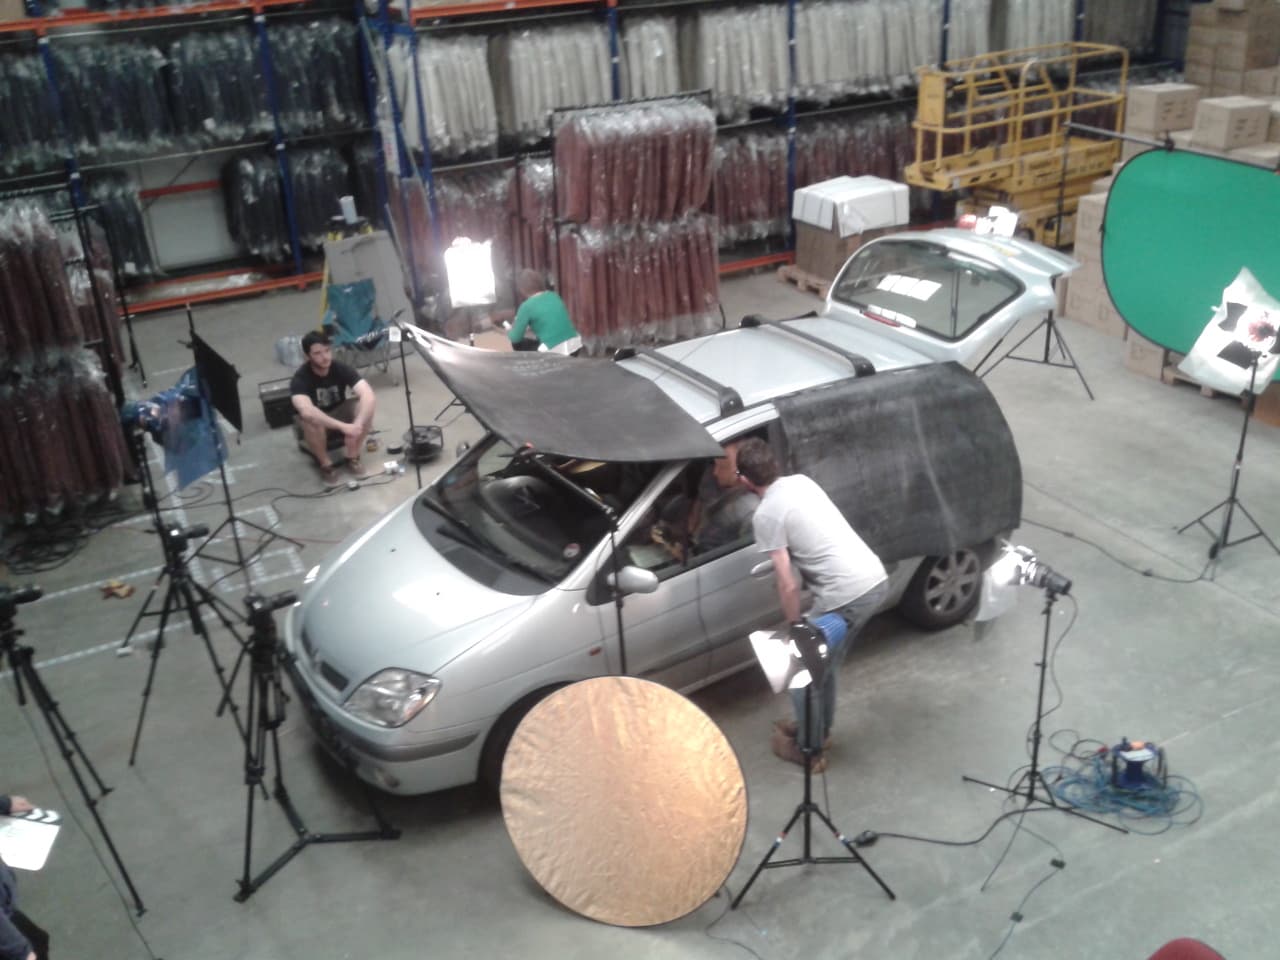
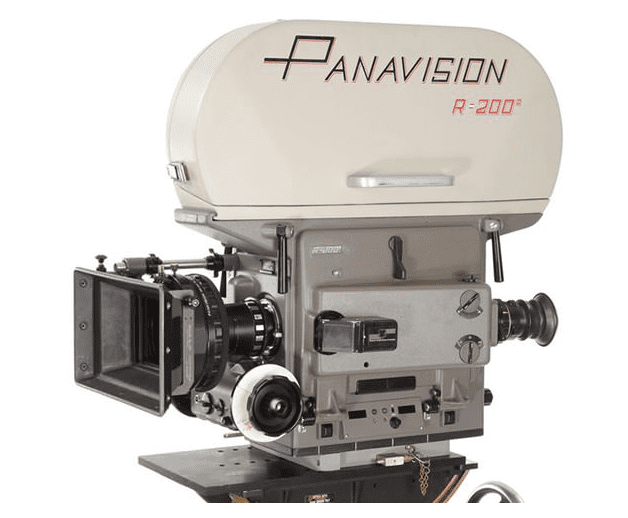
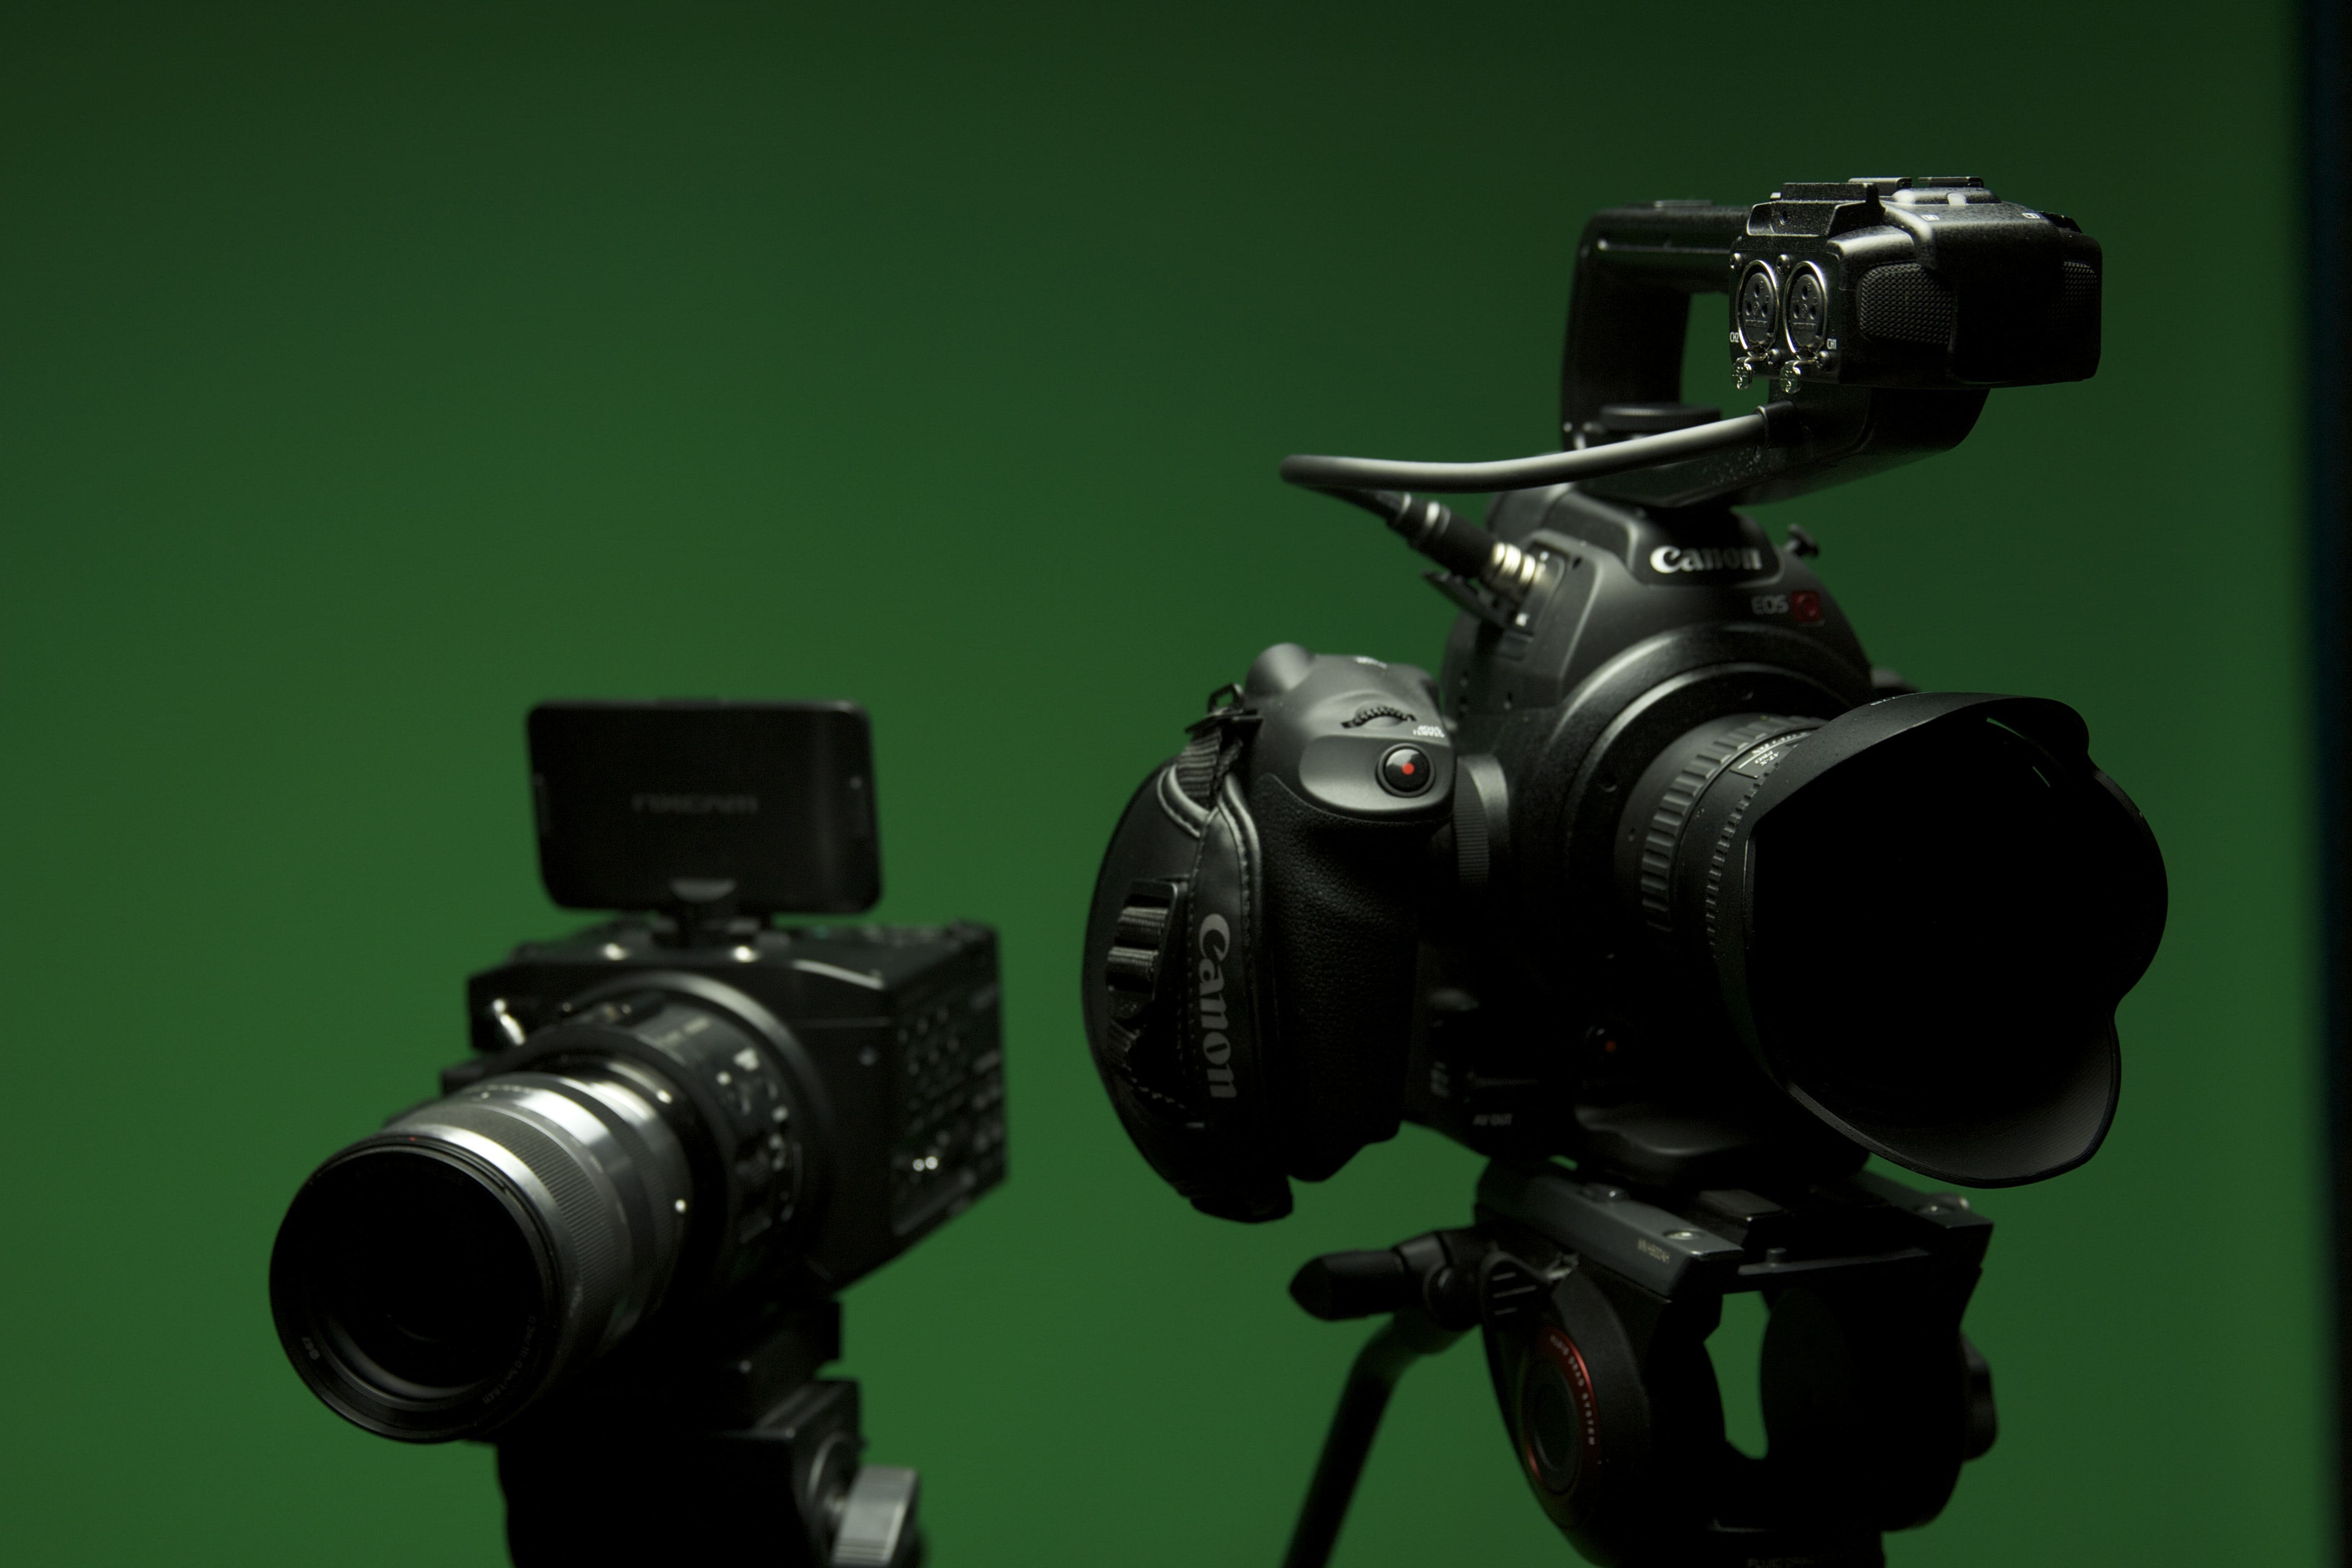
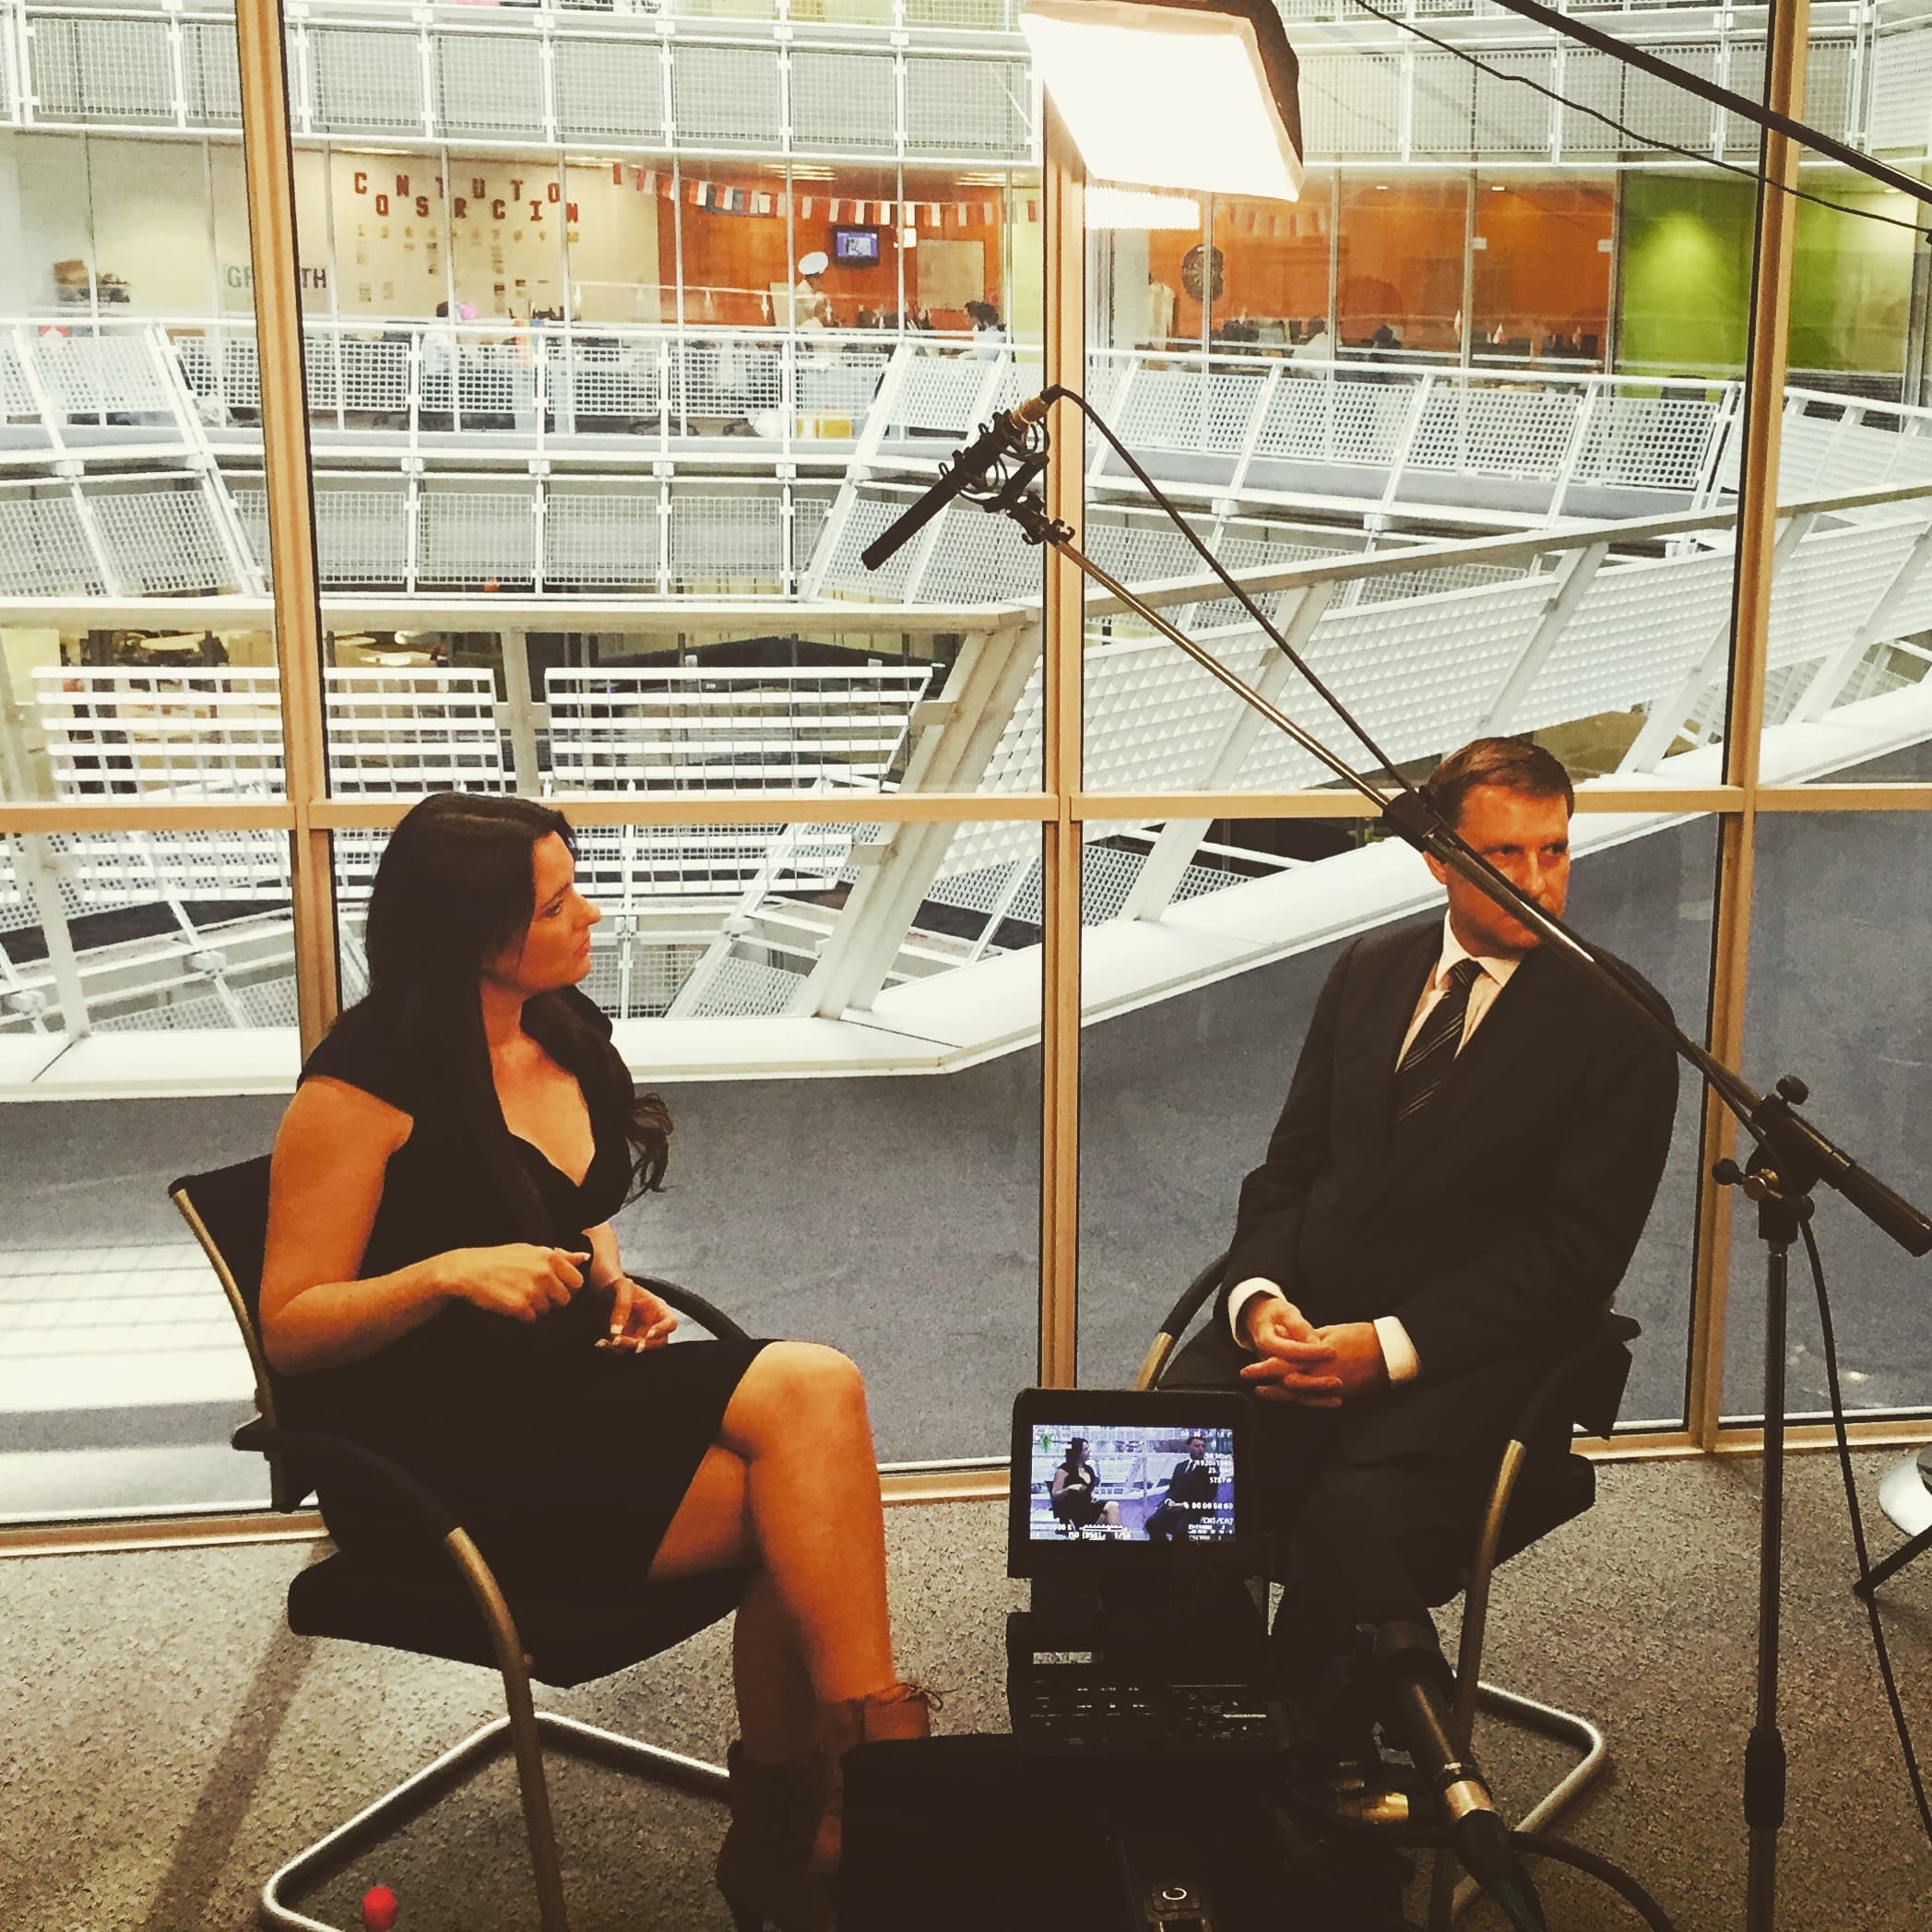
You may be thinking that in this day and age, why are we still recording sound and visuals separately? Isn’t the technology good enough to record both in one? There are actually many reasons why we still record separately. Firstly, being able to separate the camera operator and the boom operator means that the camera isn’t restricted and is free to move however the director wishes. The sound recordist and sound mixer are also free to record from multiple sources; using radio mics on each of the actors and/or condenser mics for room ambience for example. Furthermore, designated sound recorders are manufactured to record the cleanest sounding audio possible, whereas most cameras aren’t designed with this in mind.

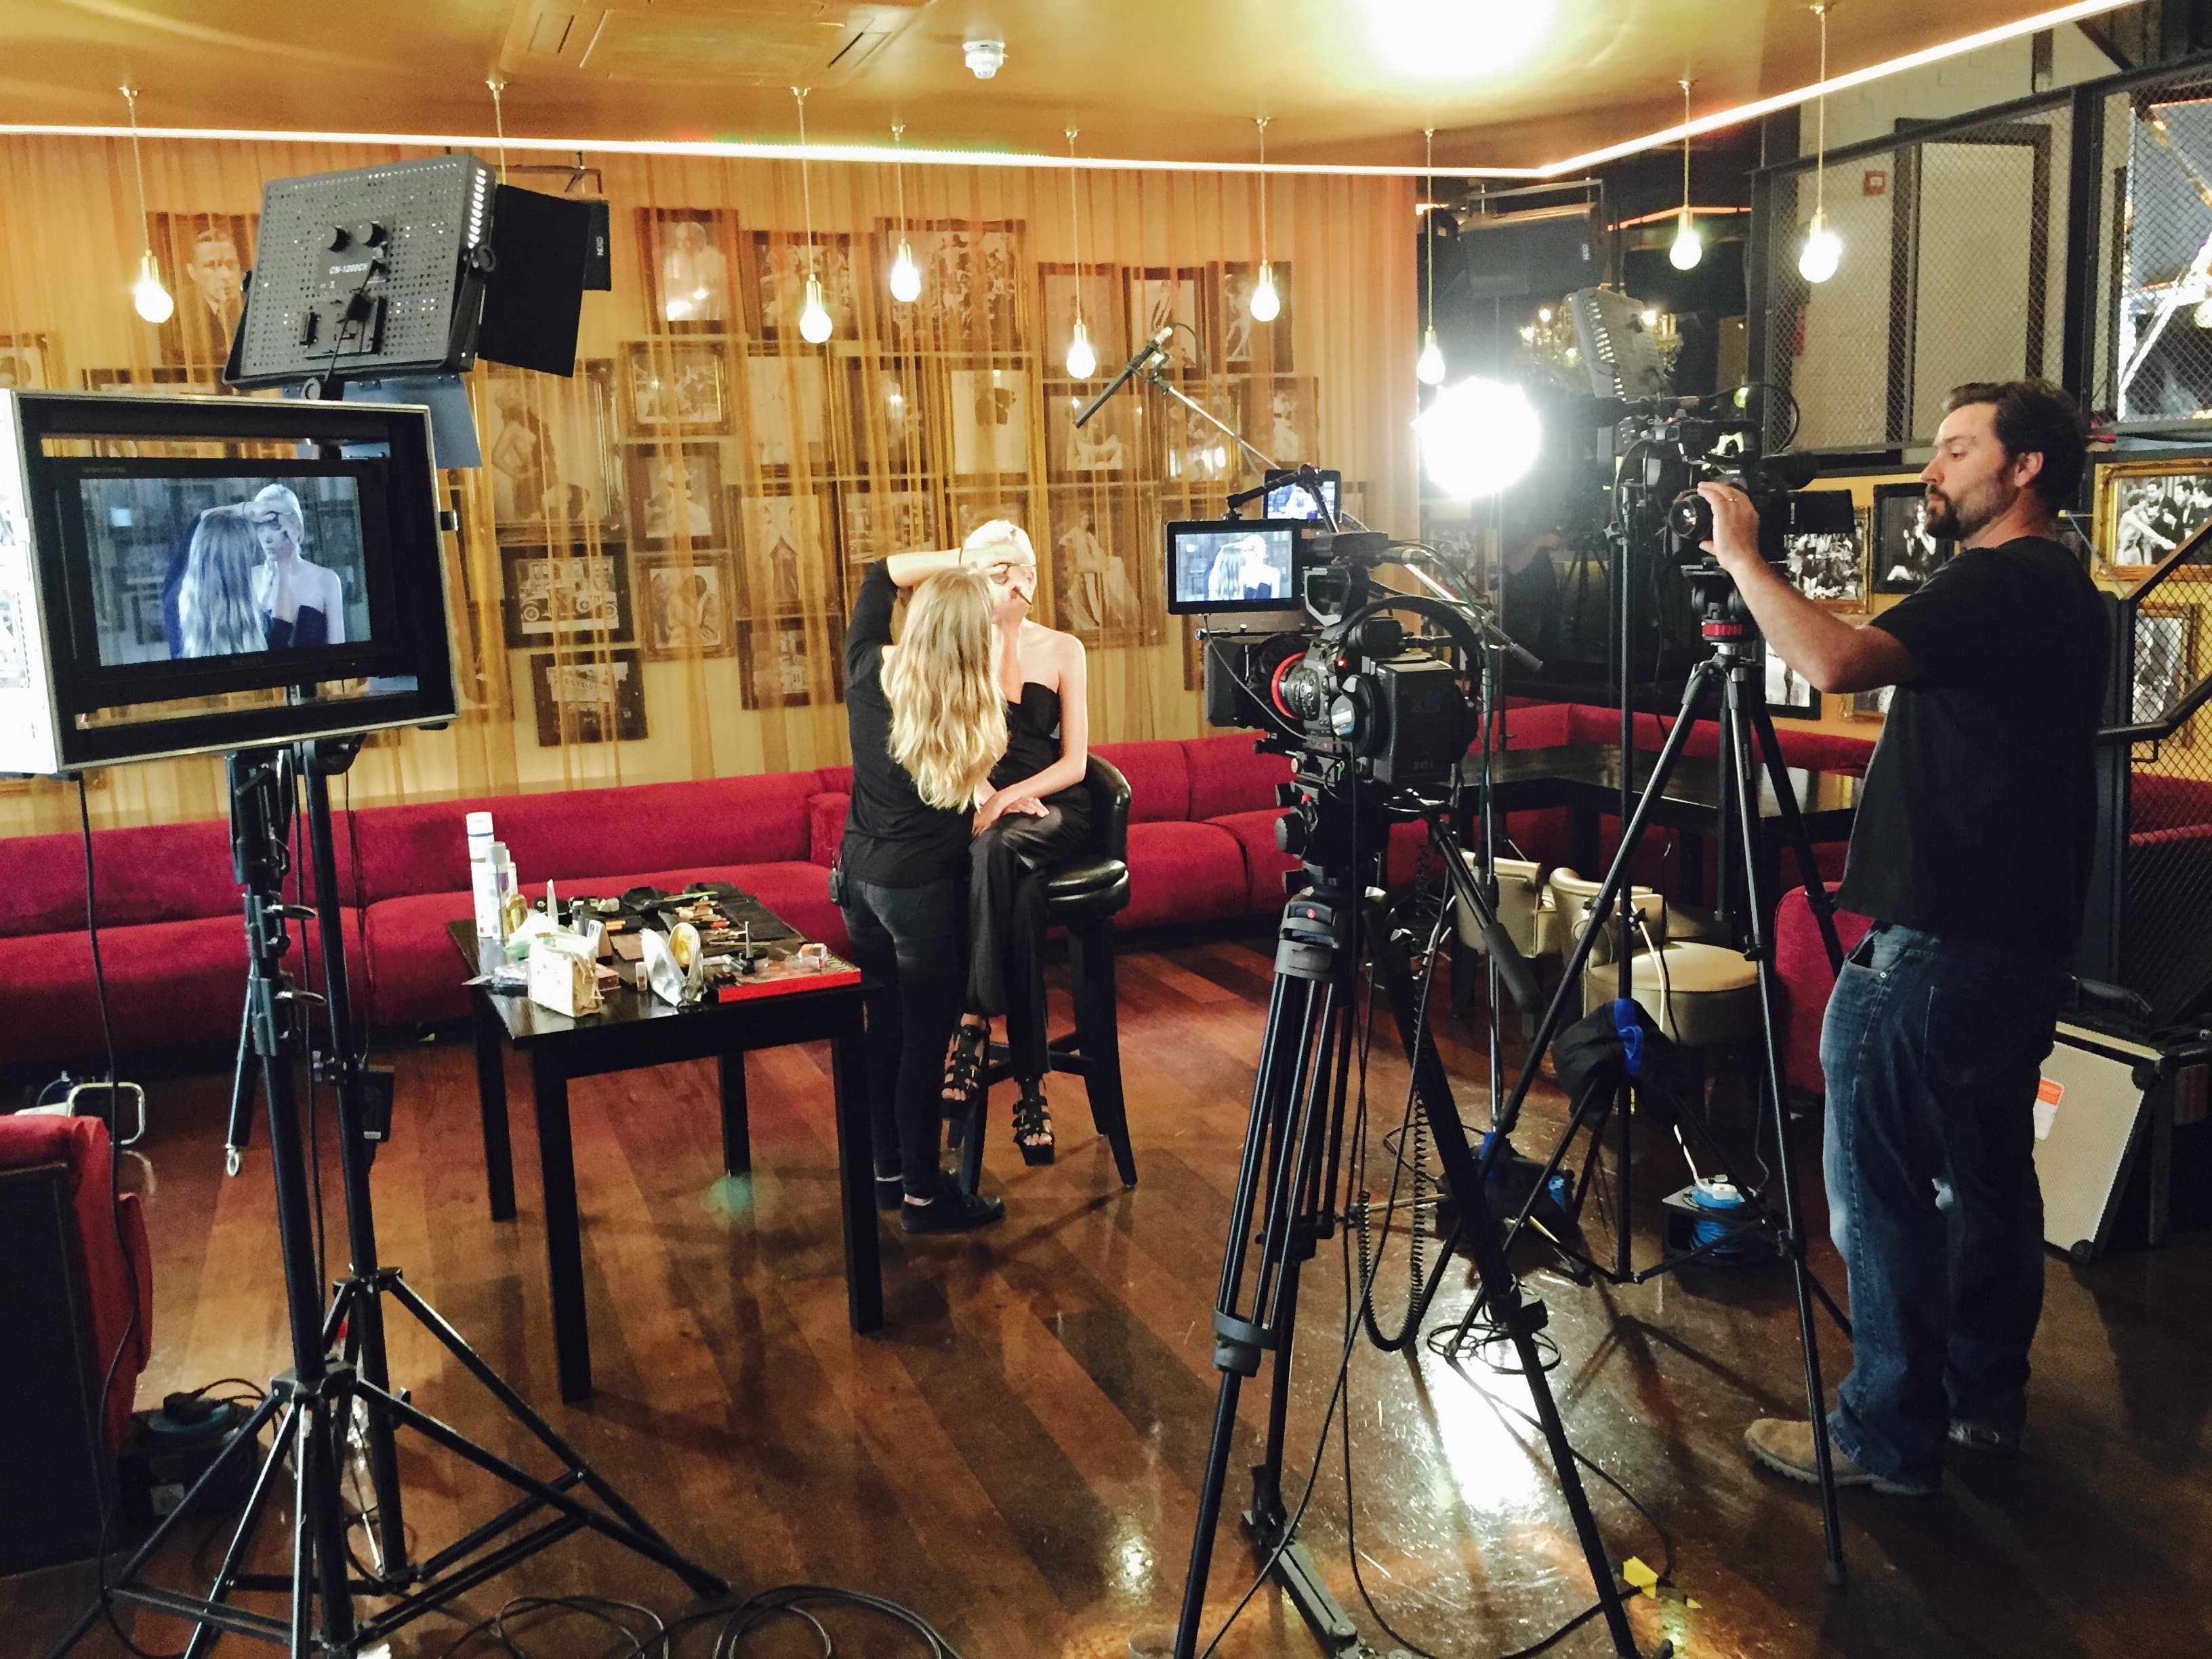
So, we use clapper boards whenever the highest quality audio is required and when the situation allows.

using clapperboard

Tip: If clapping close to an actor it is good etiquette to do a quiet clap for the sake of their eardrums!

How do we use them?

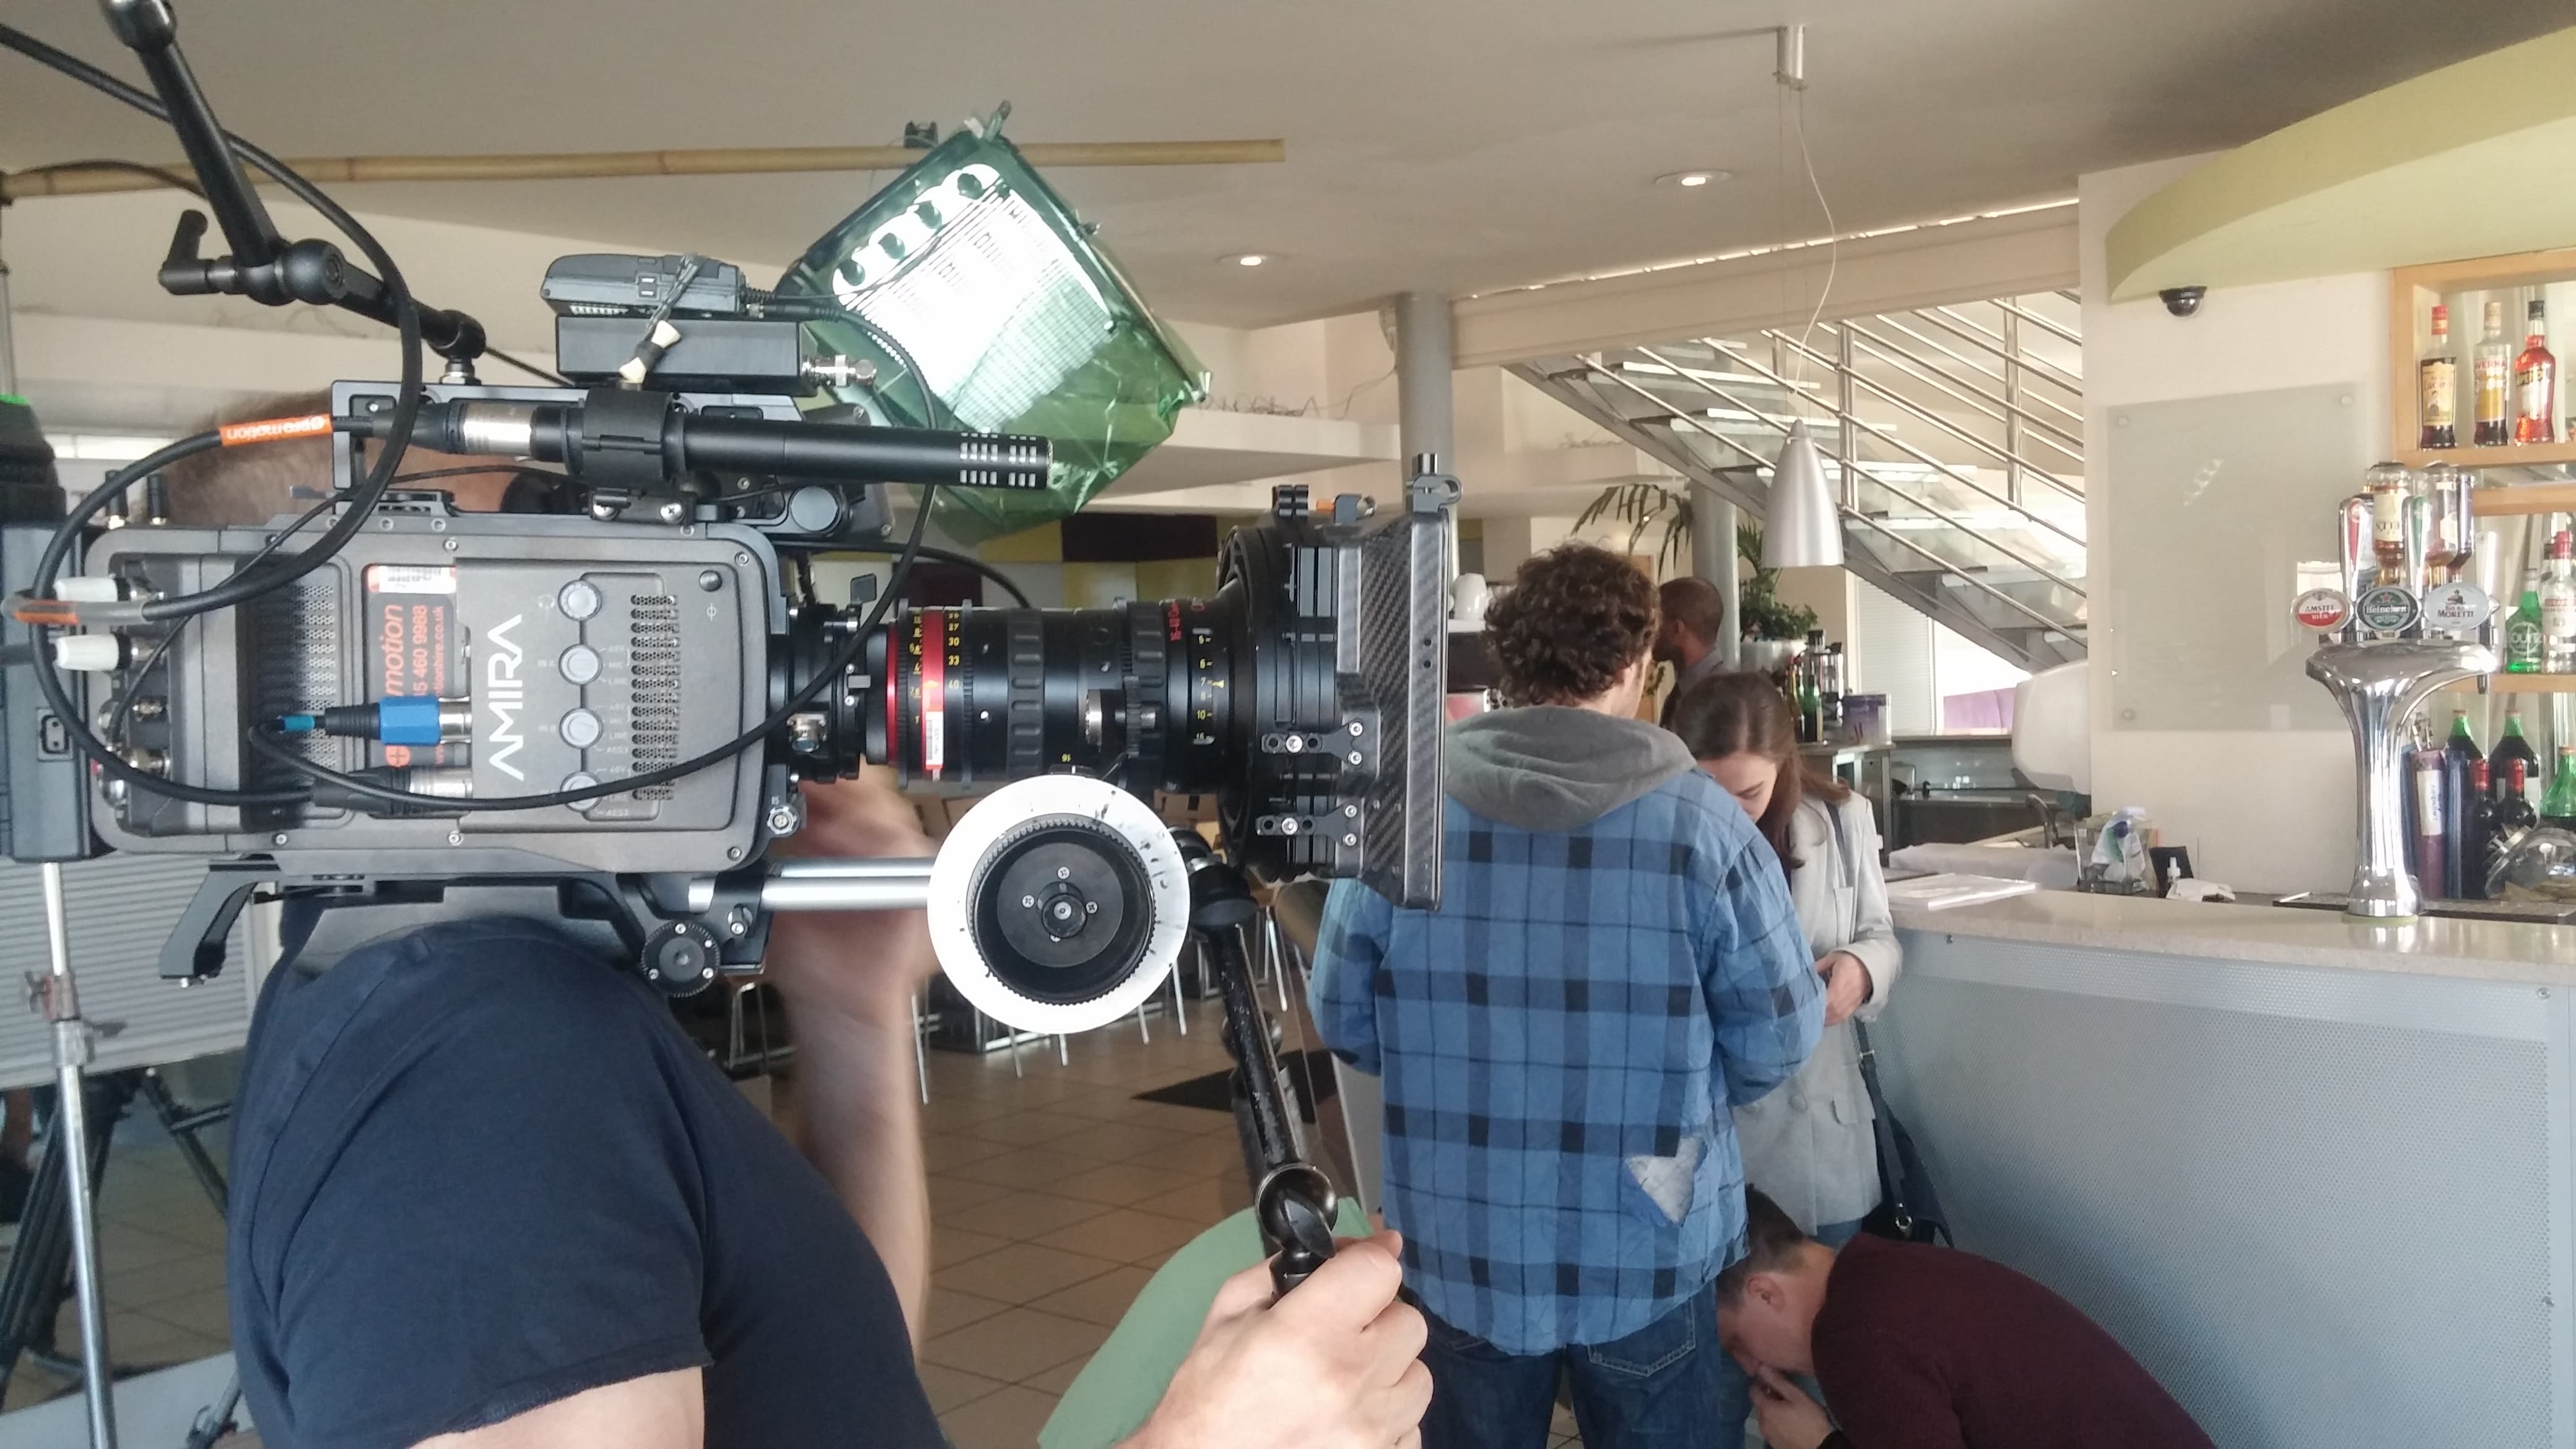
On feature films, the 2nd Assistant Camera is responsible for the clapperboard. On a smaller production a camera assistant or even a runner could be responsible for this.

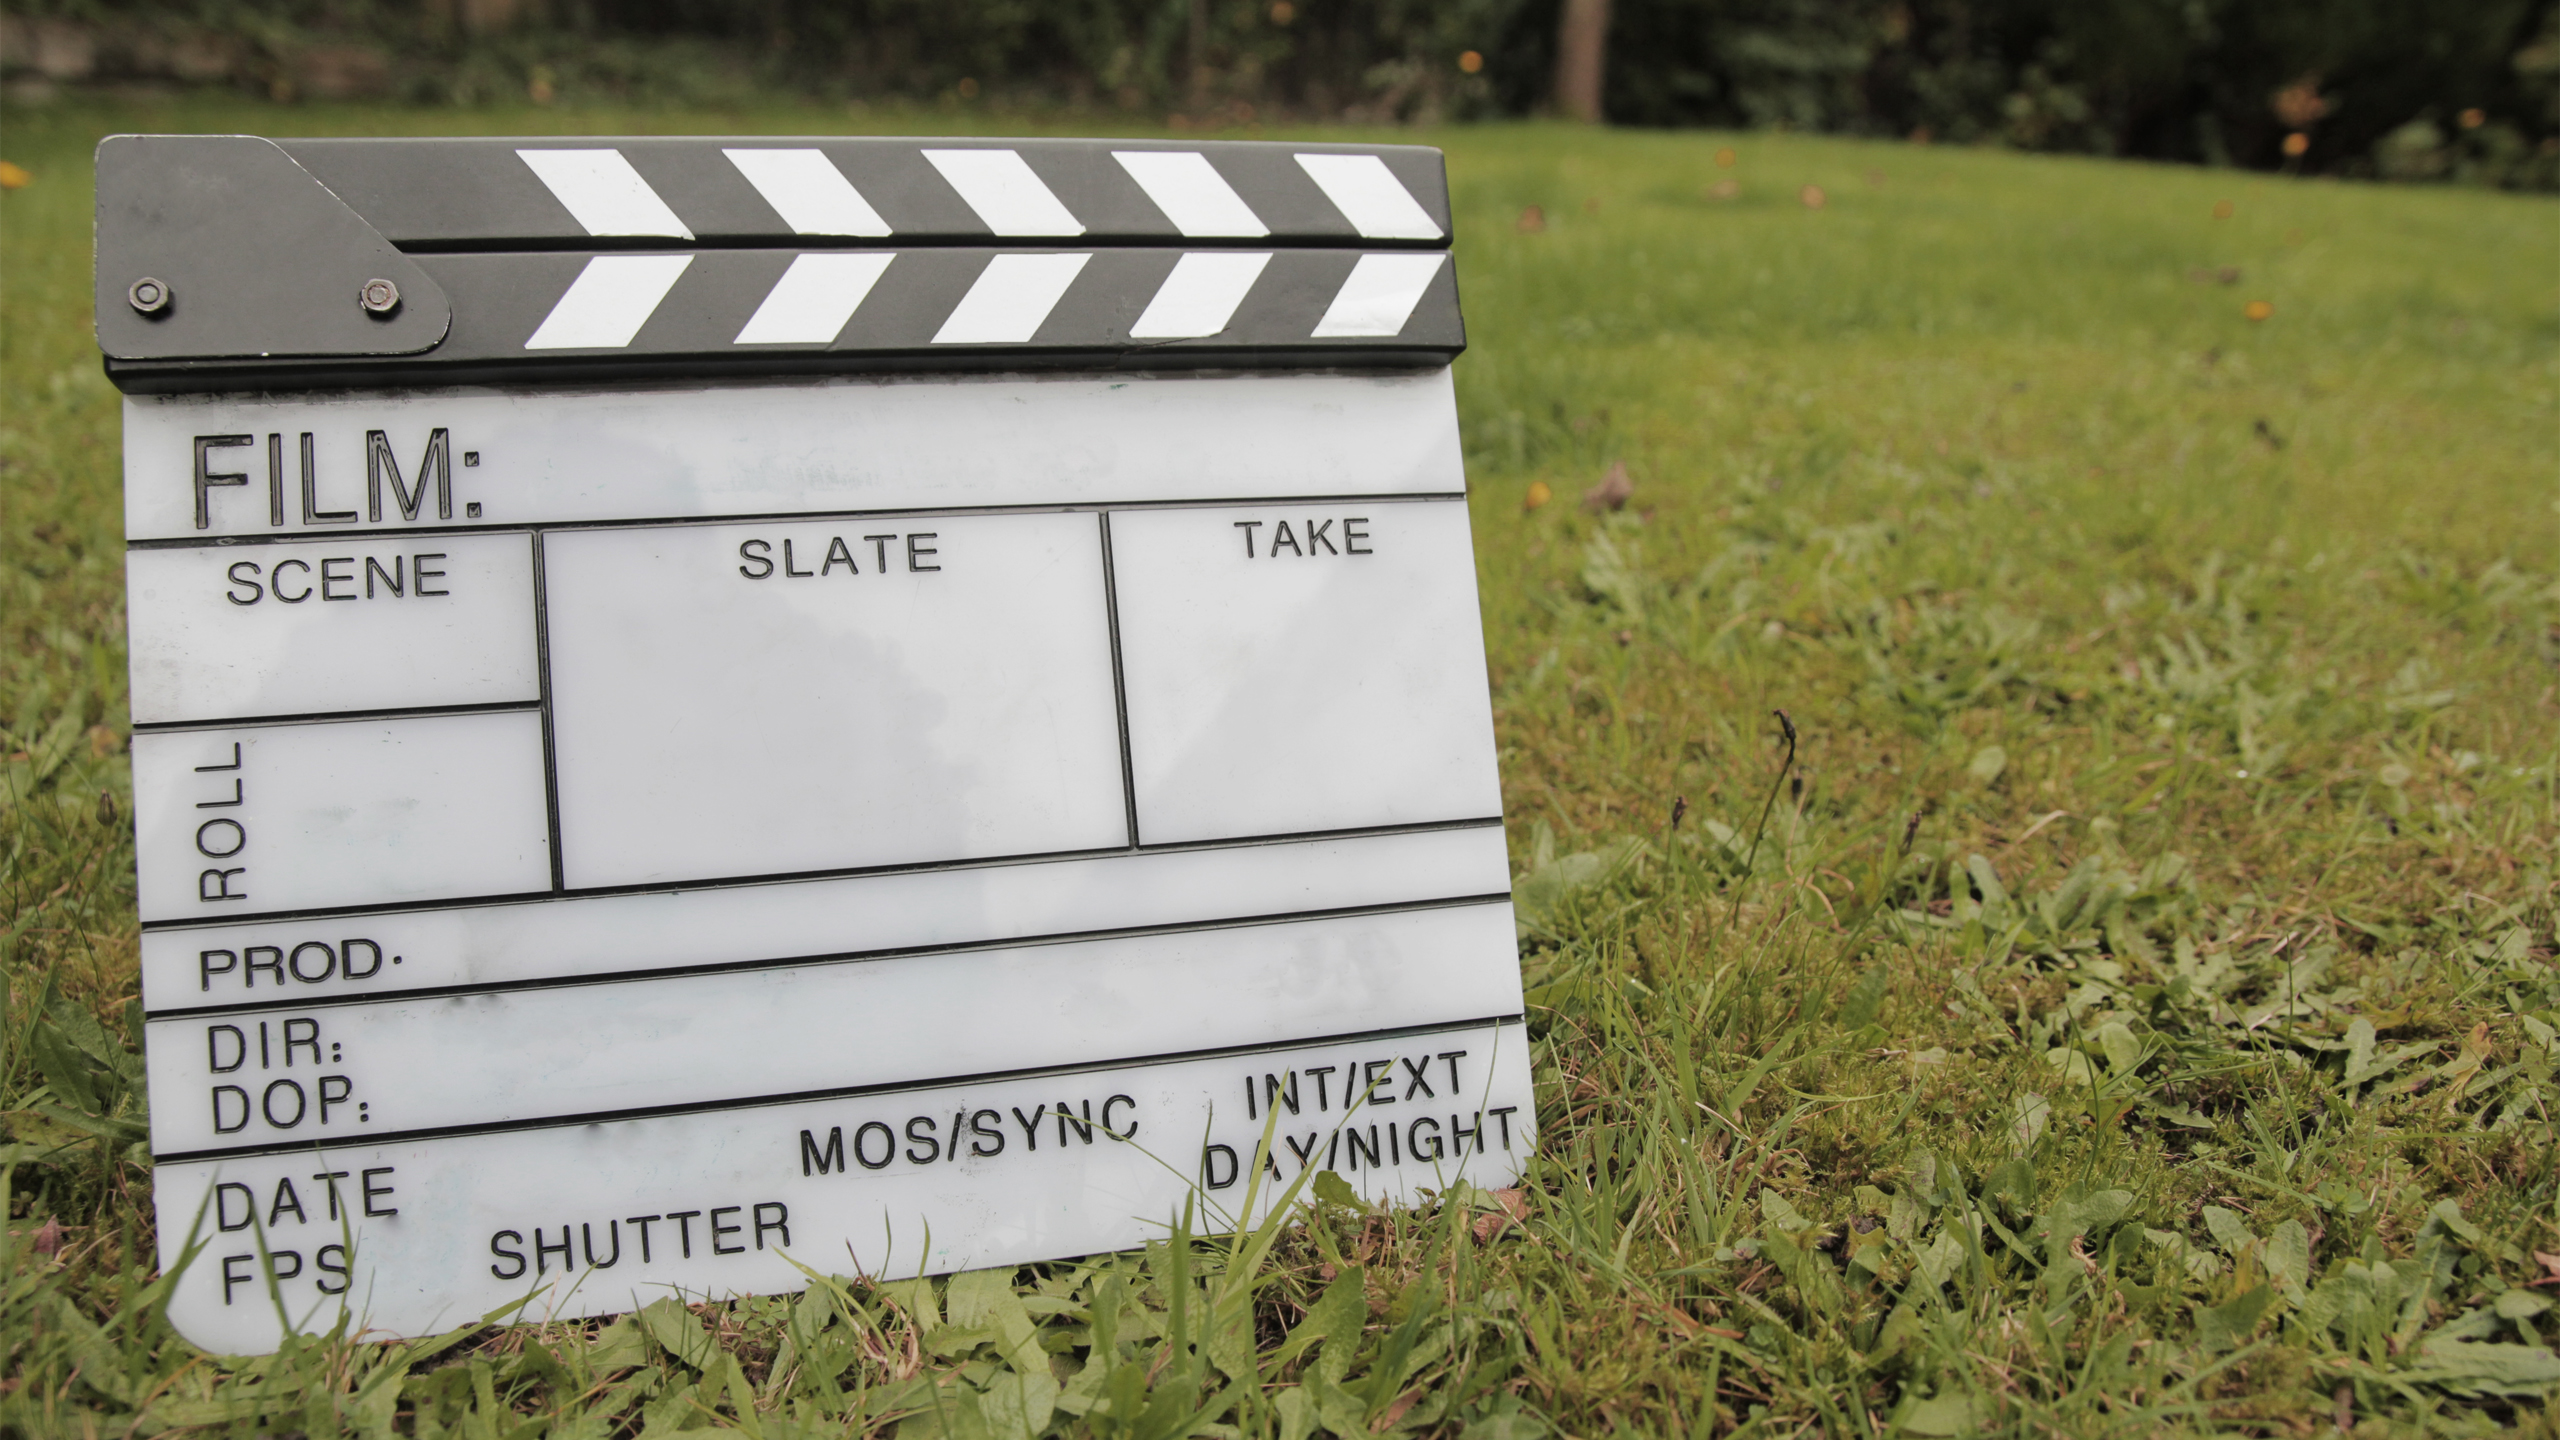
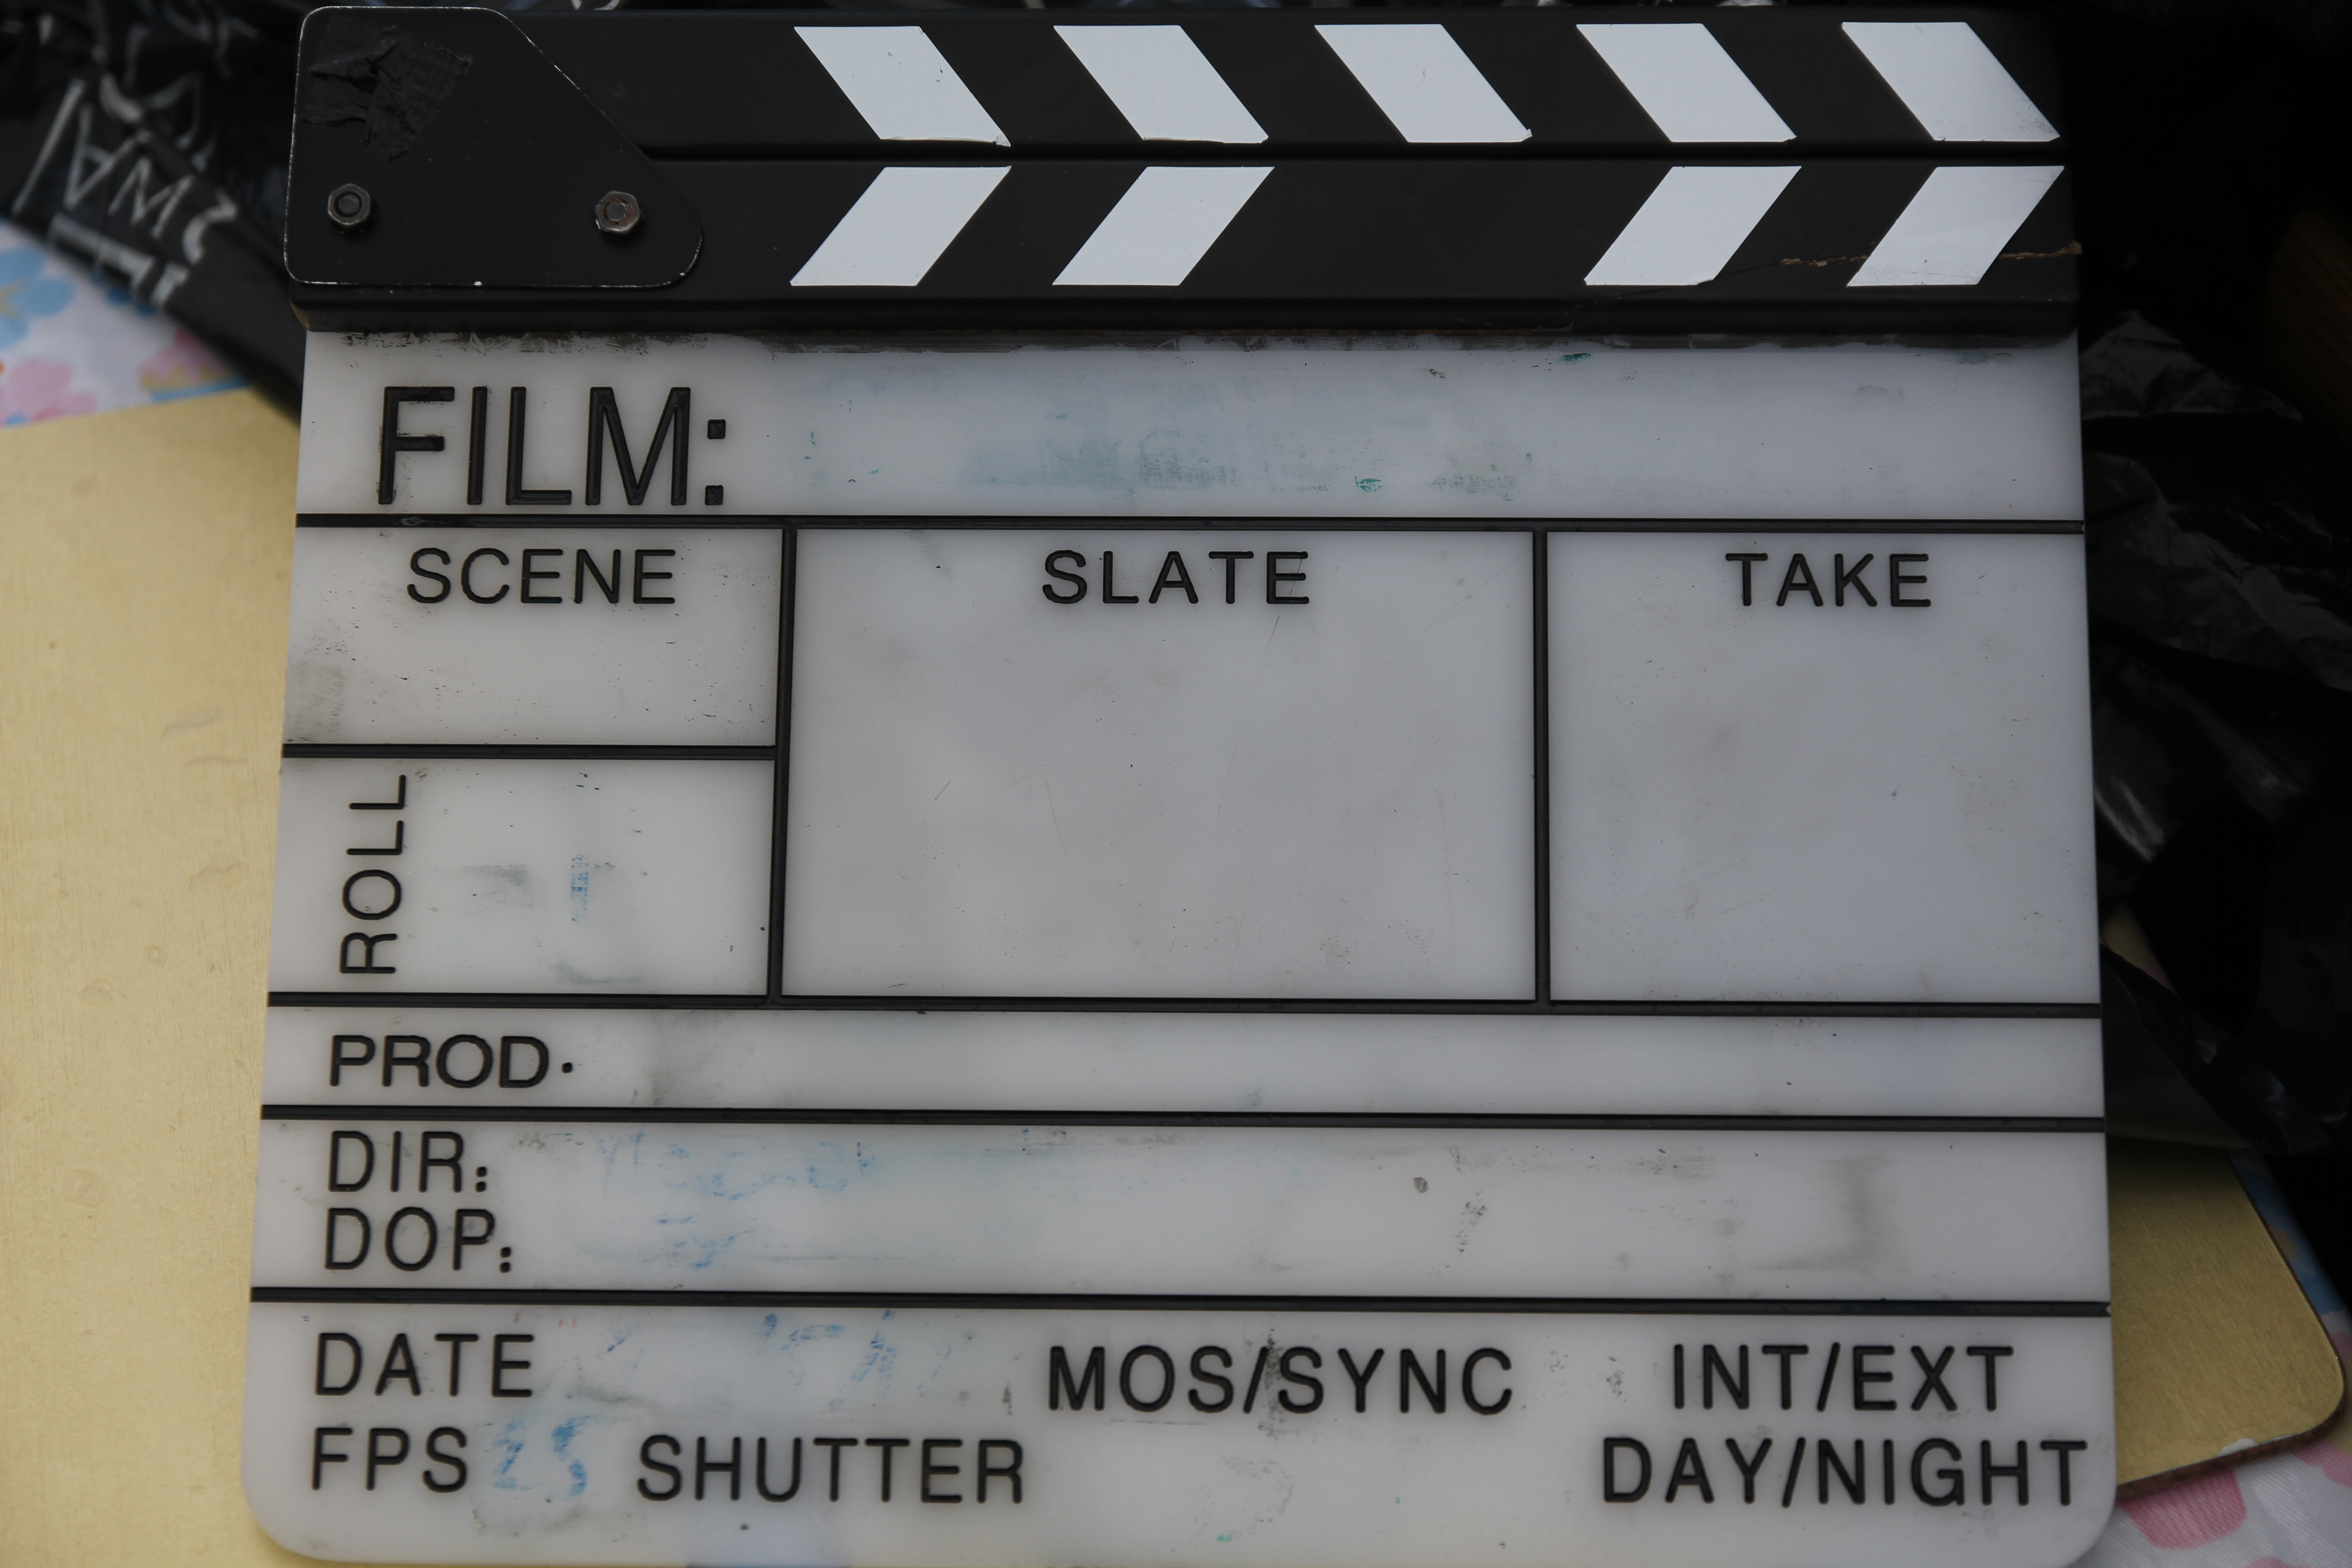
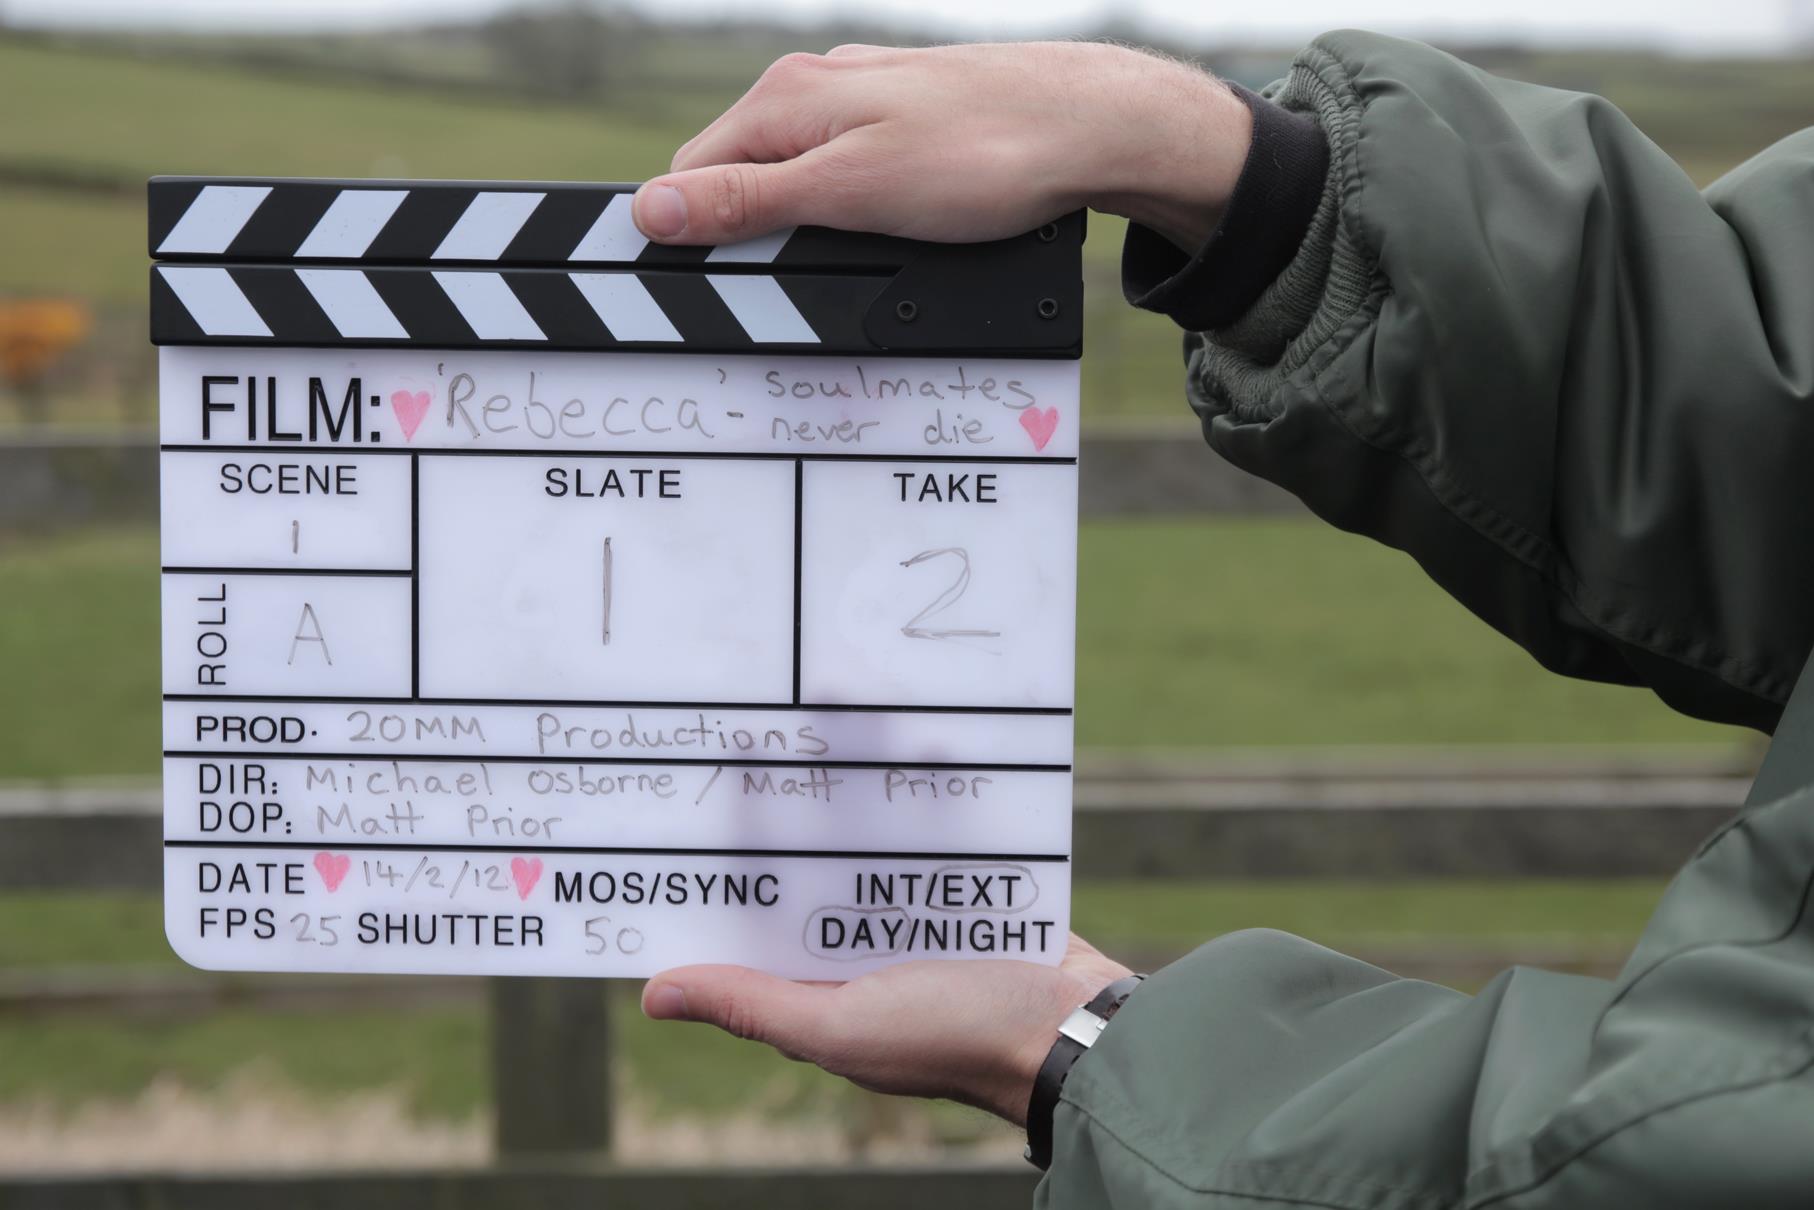
Every single scene, slate (another word for shot), take and roll is written onto the board to signify the part of the production that is being captured. Sometimes audio clip information might be included too. The production company, director and cinematographer is also written on the board along with other important information such as the date, the frame rate of the camera for that particular shot, the shutter speed or angle, scene information (whether it is day or night, interior or exterior) and finally, whether sound is being recorded and synced or if there’s no sound (mos).

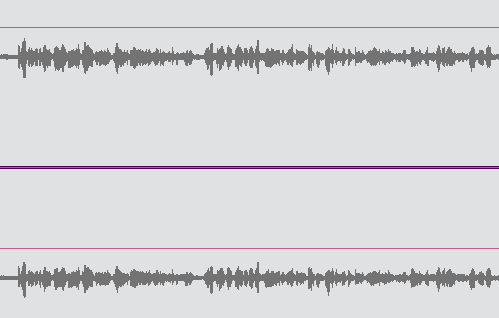
Slating scenes accurately is crucial so syncing up the footage with the sound in post is a smooth process. Added to this, having visual logs for every shot allows the editor to sift through rushes quickly, knowing exactly which point of the film he or she is at, rather than having to watch or listen to every take in full. For most scenes a loud clap is required to create a noticeable spike in the audio levels, making syncing a breeze.

What kinds of clapperboards are available?

Make no mistake, there is such a thing as a professional clapperboard. Although you can find cheap ones in fancy dress shops or on eBay, these are not built to withstand the daily rigors of set life. From inexpensive chalk boards to fully digital acrylic boards with inbuilt timecode, there are many options available. Boards with timecode allow both the camera and sound departments to be perfectly synced all the way through production. You can even sync footage using an iPad with this handy app (but it’s not quite the same in my opinion!).

If you are looking to purchase a clapper board in the UK then I recommend these guys who offer a wide range of boards to suit various budgets. It’s where I got my first one and she’s still going strong!

Sometimes it's good to have options

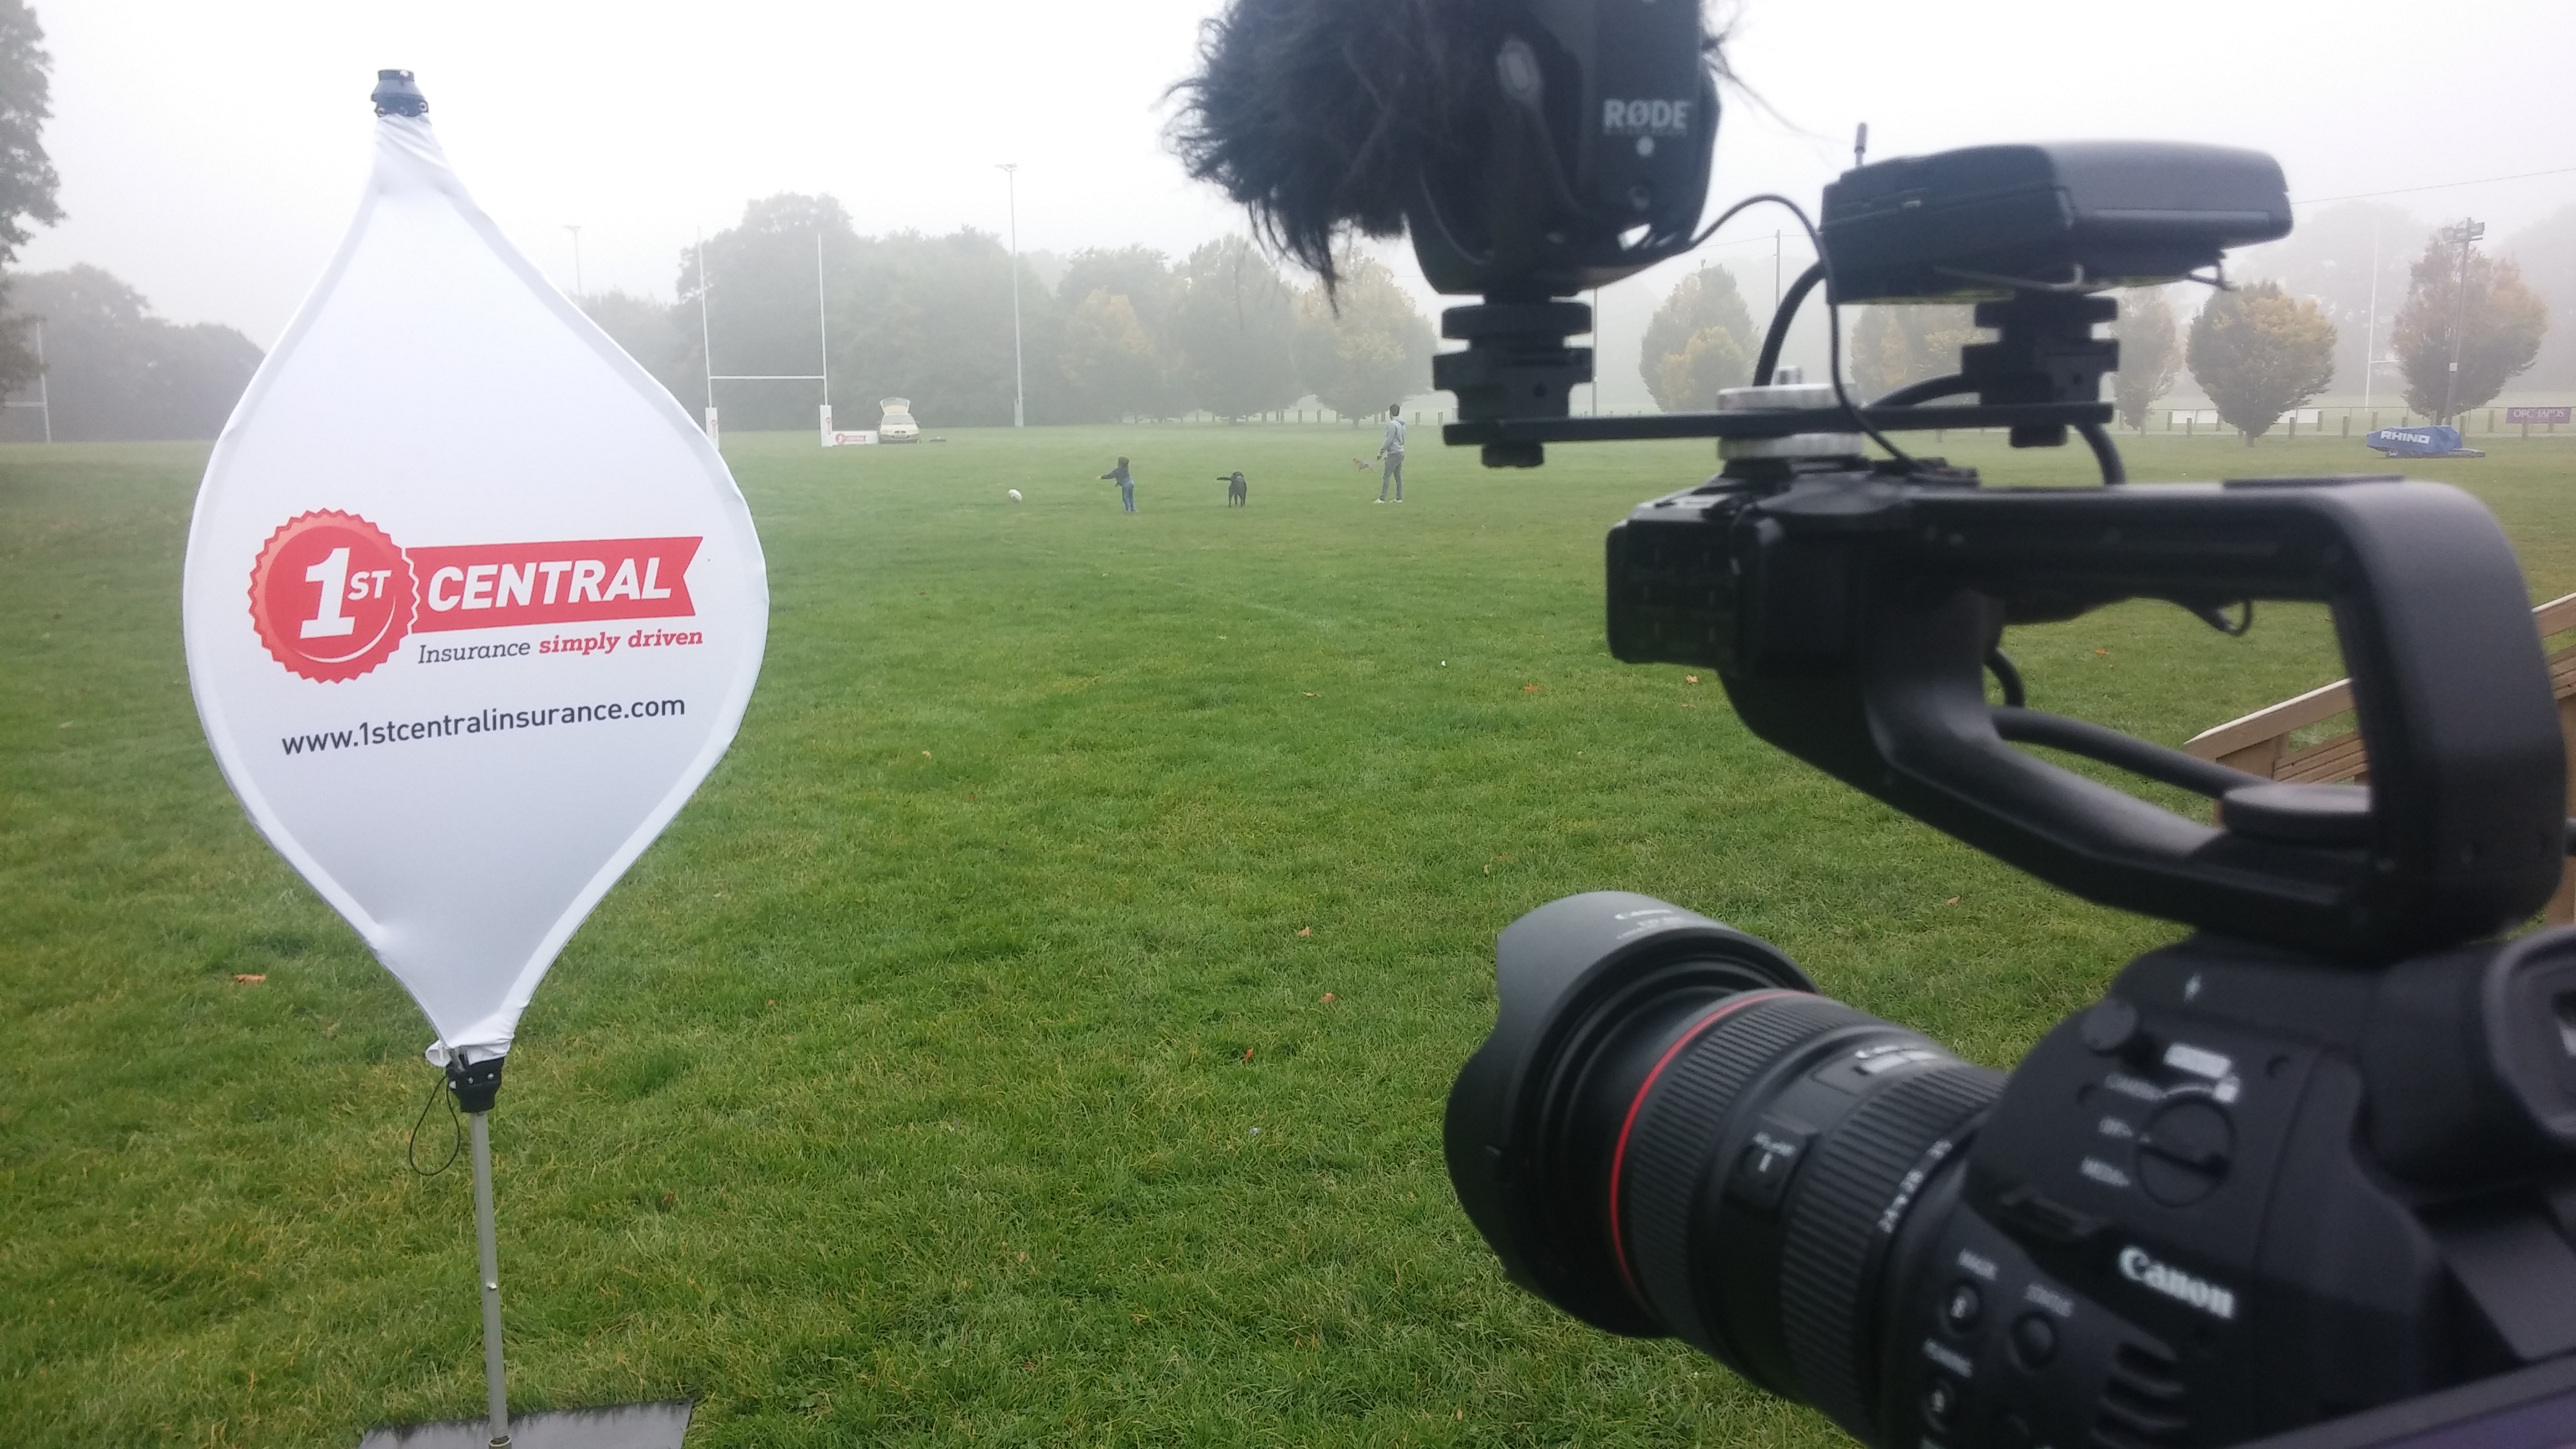
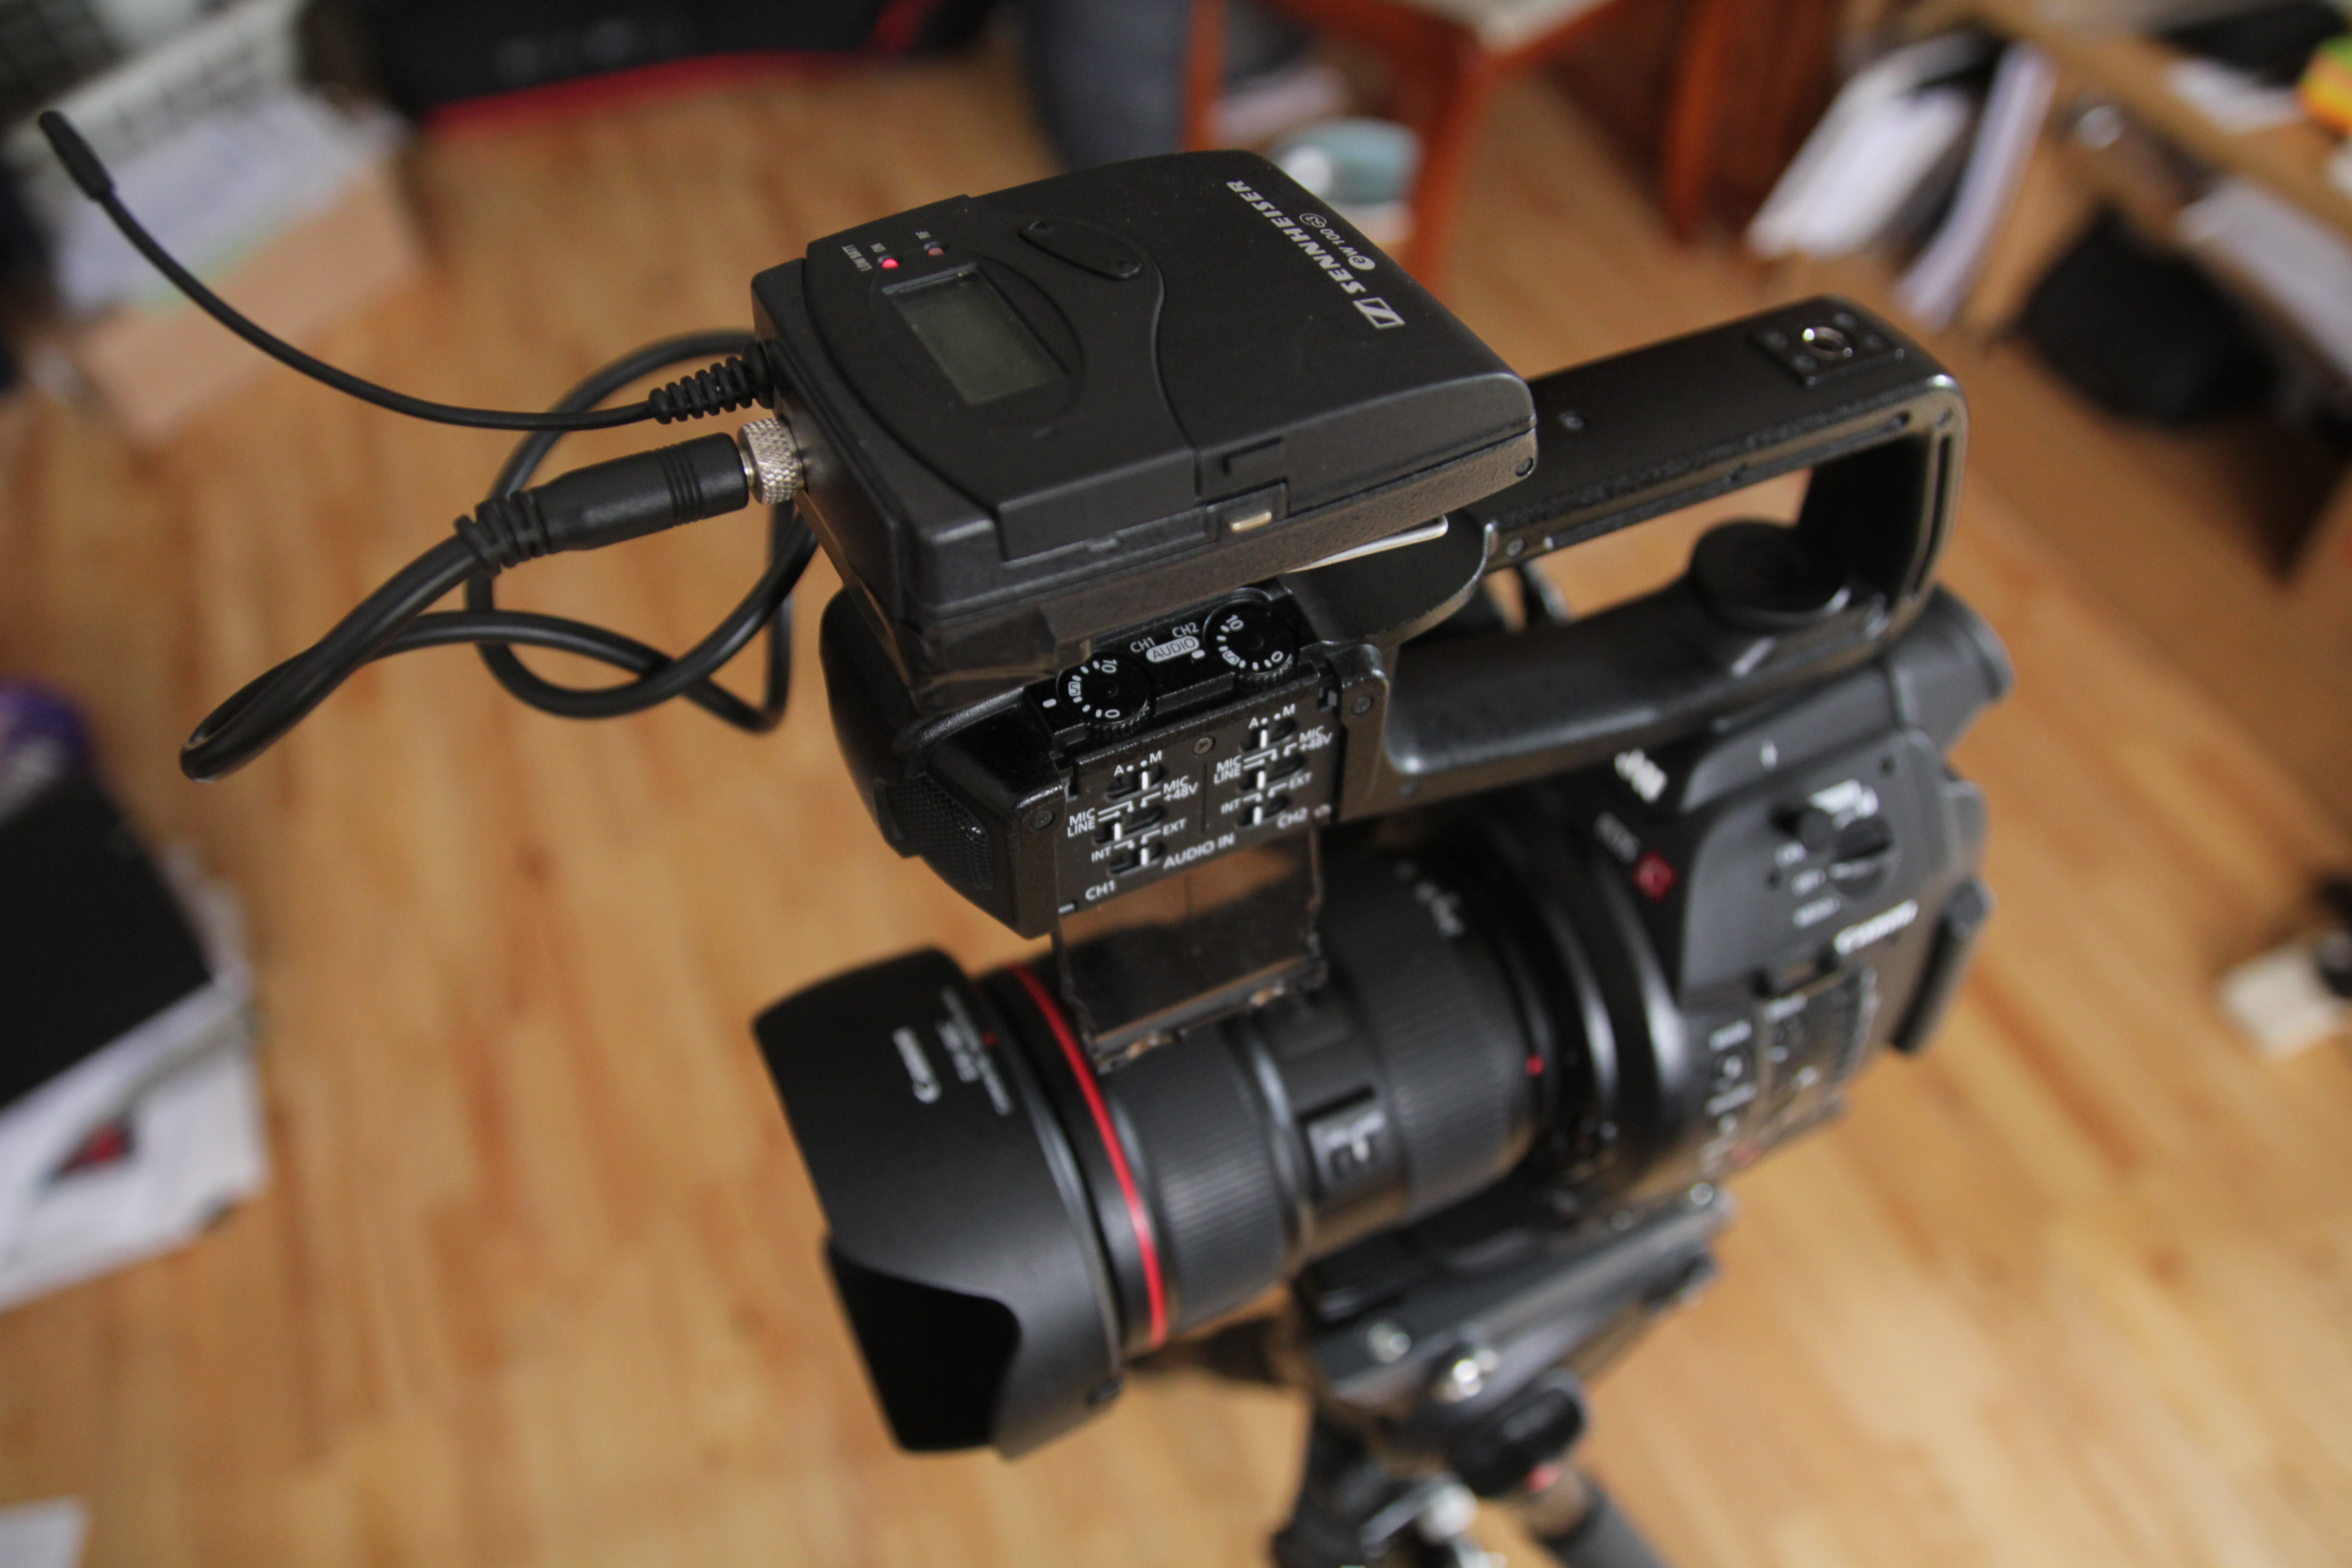
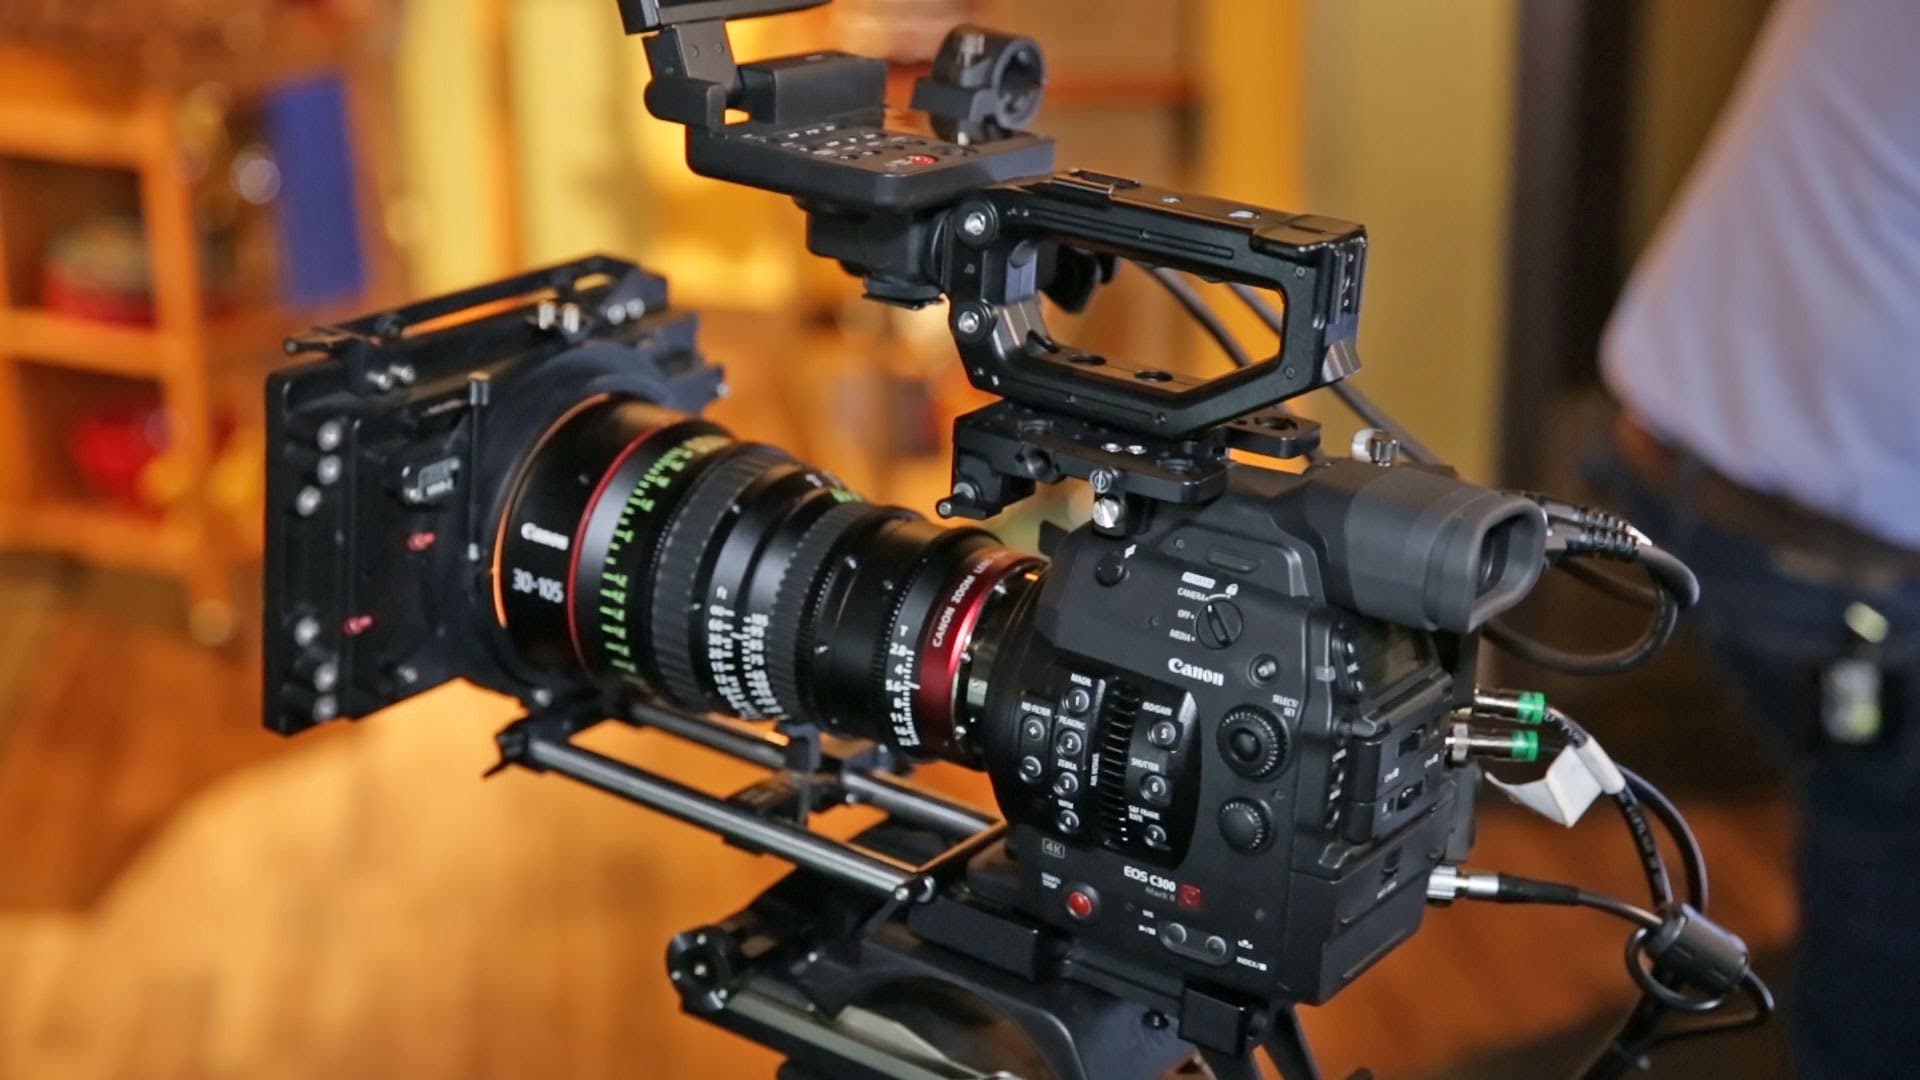
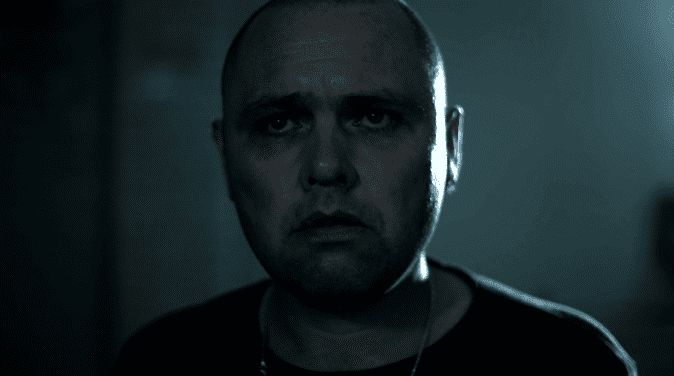
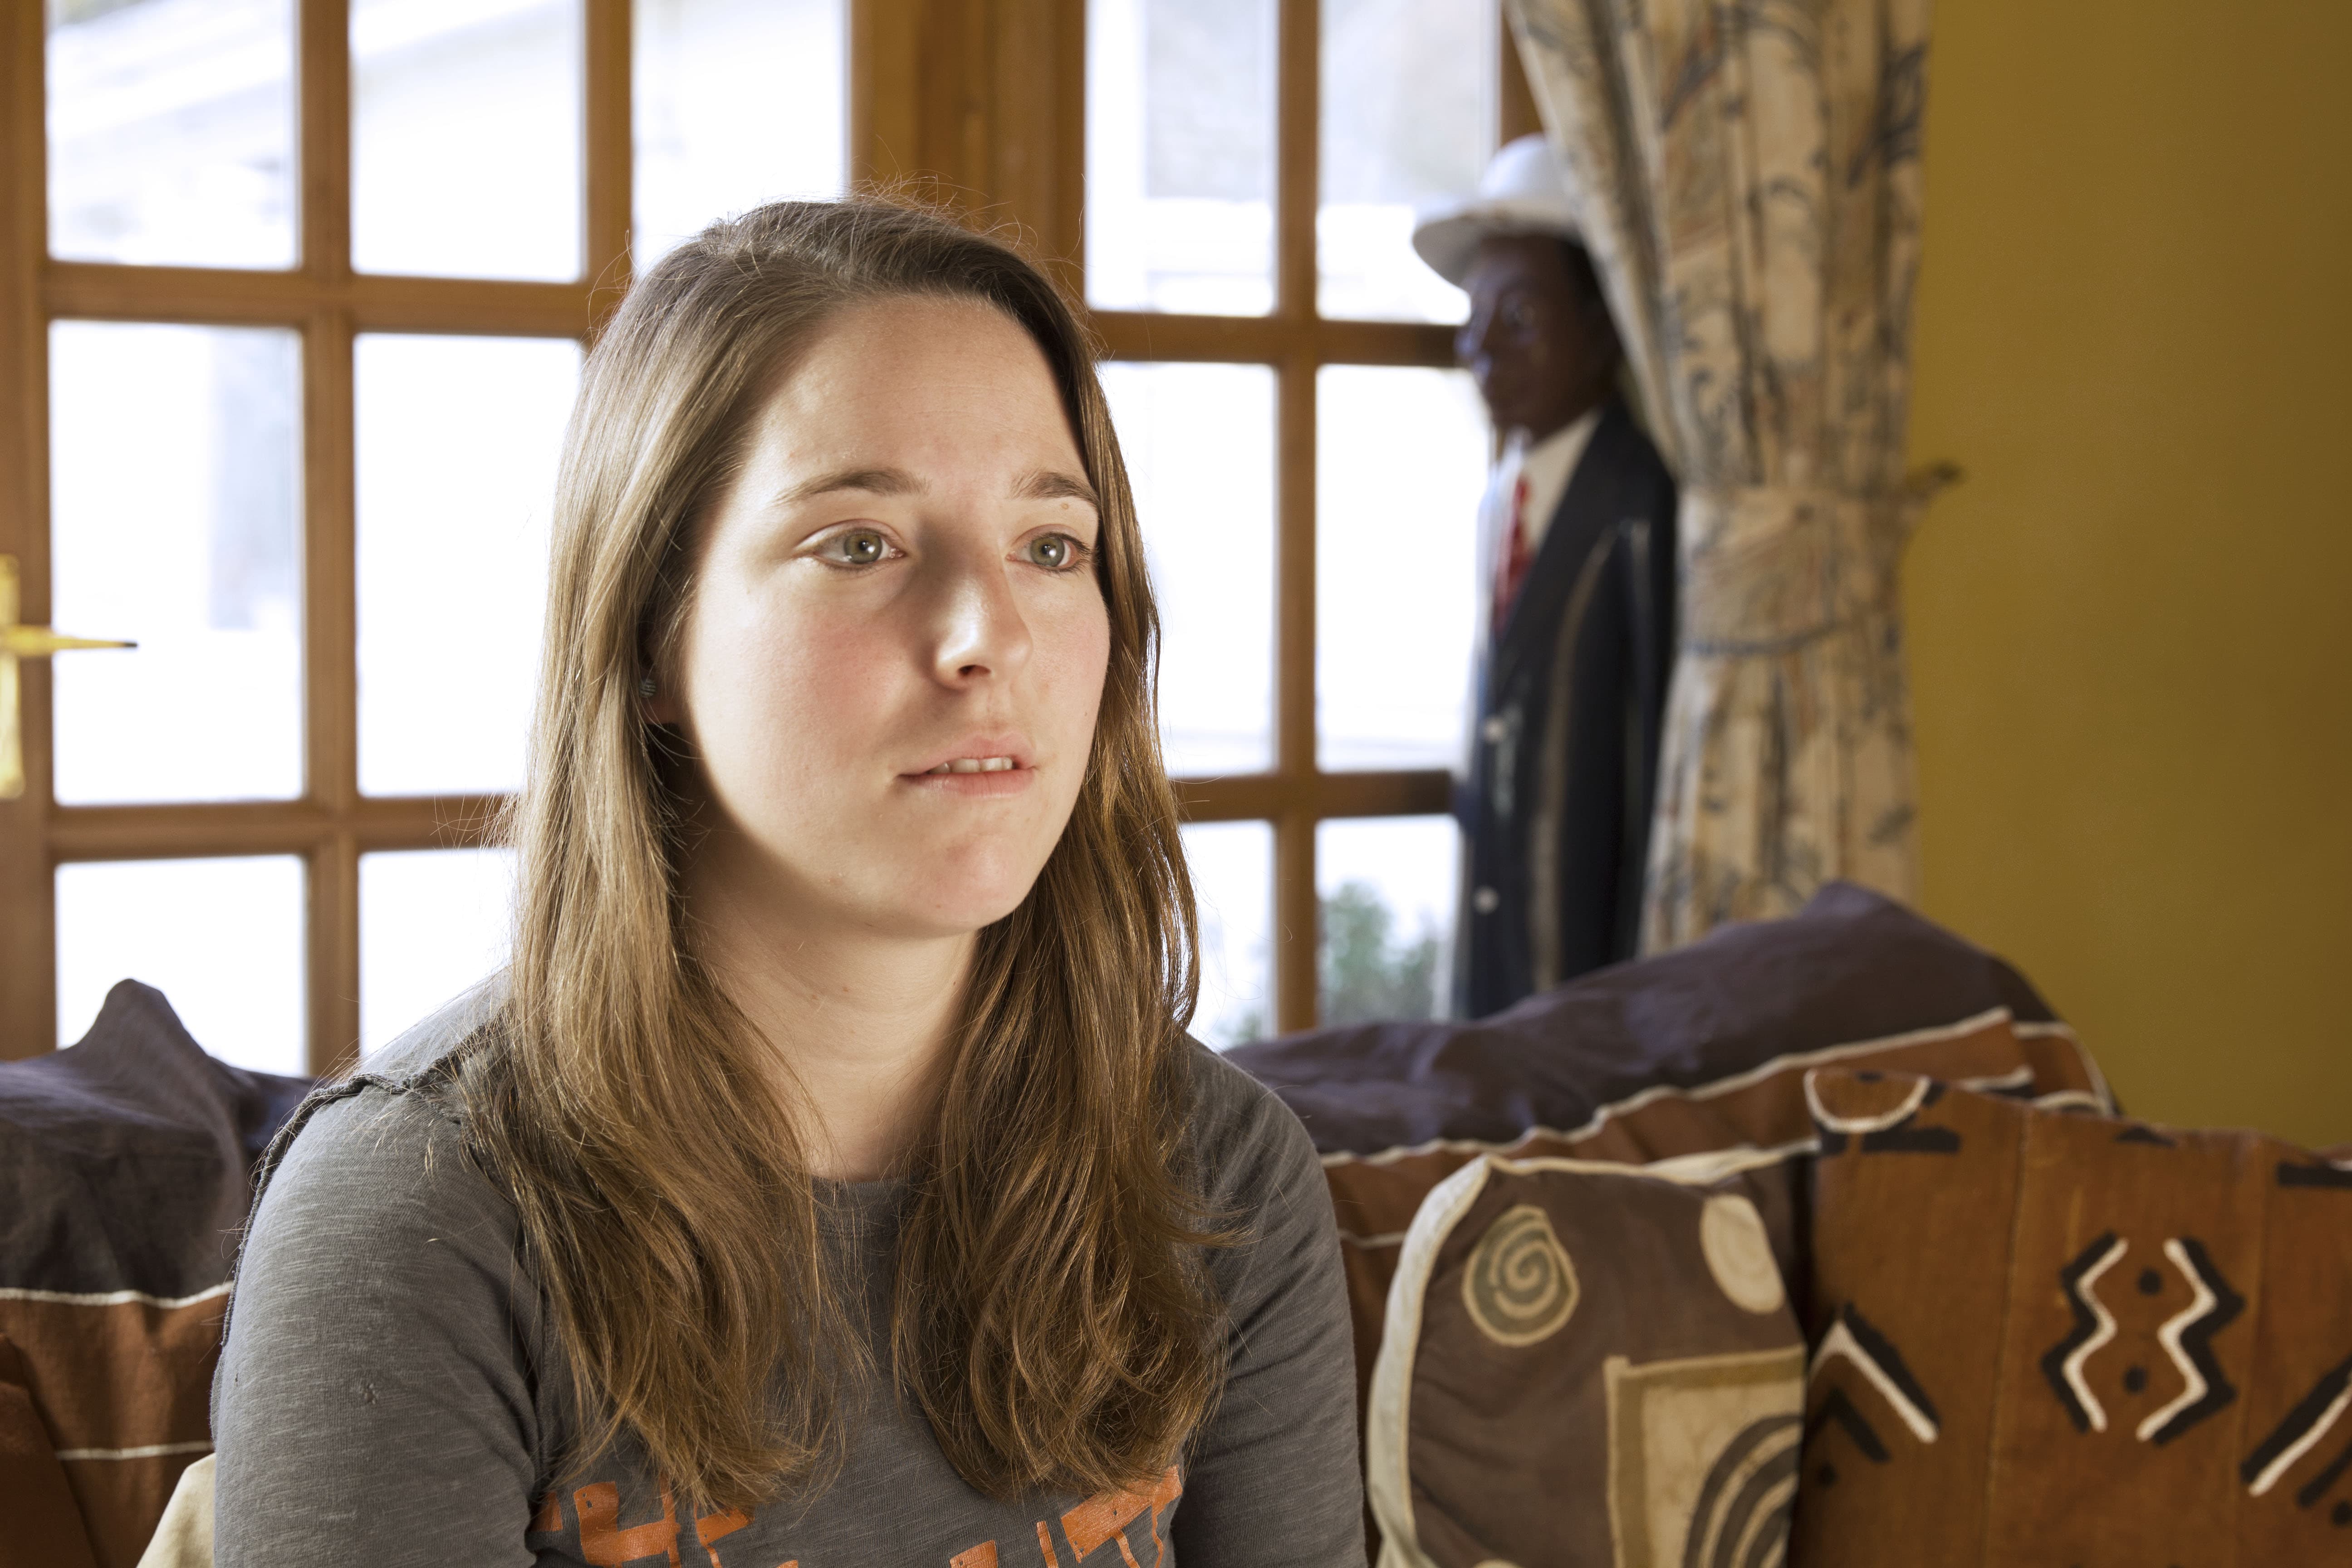
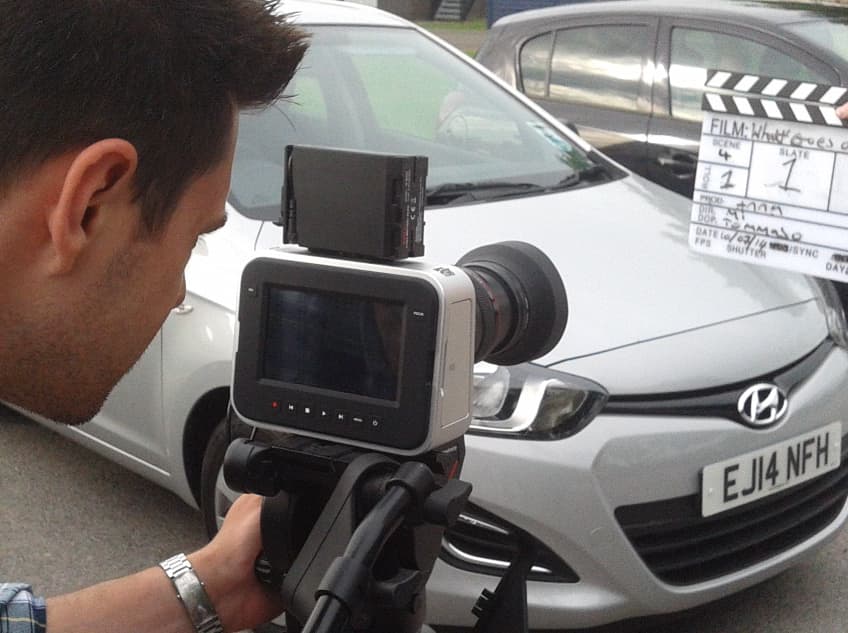
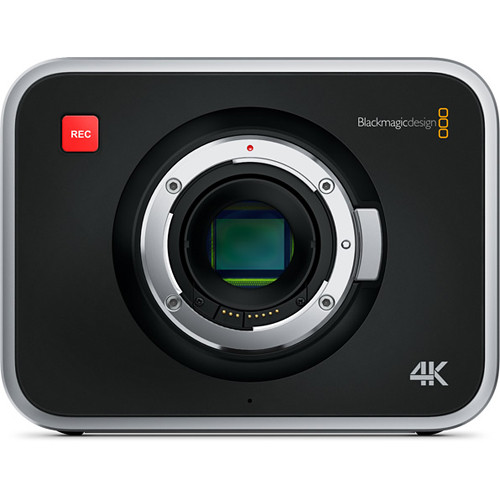
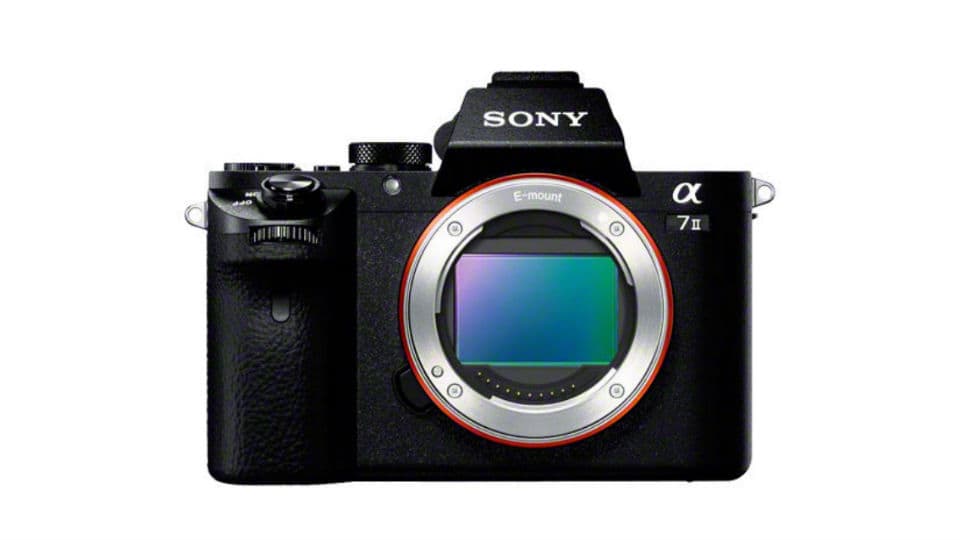
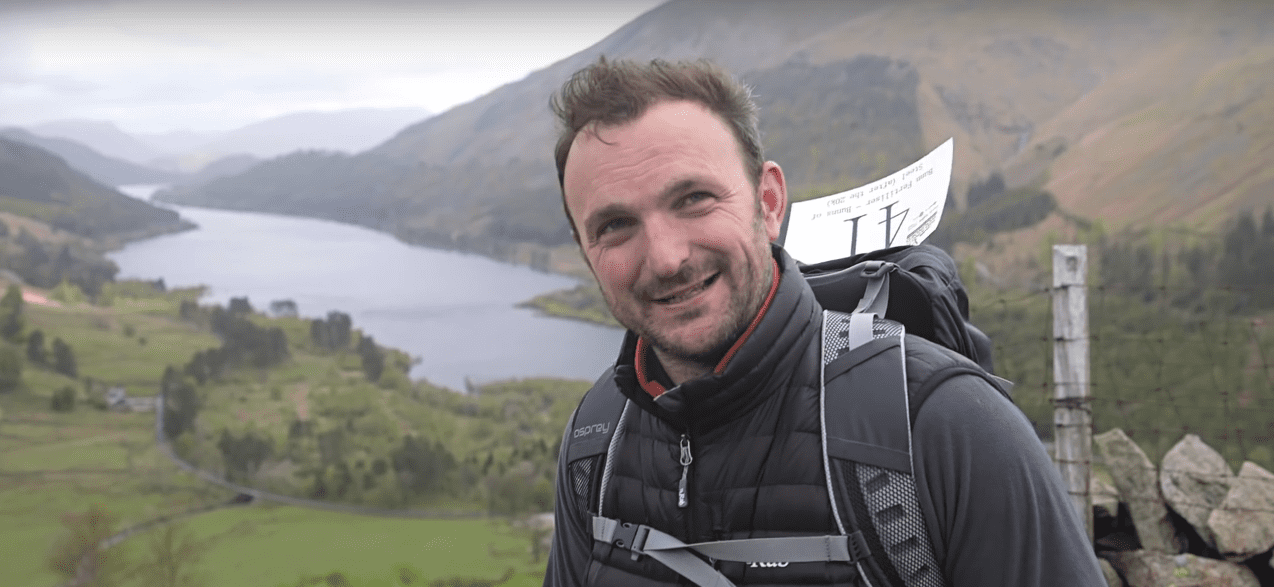
Sometimes you have to record straight into camera, and that’s OK (although some cameras are better than others for this)

As with all tools, there is a time and a place.

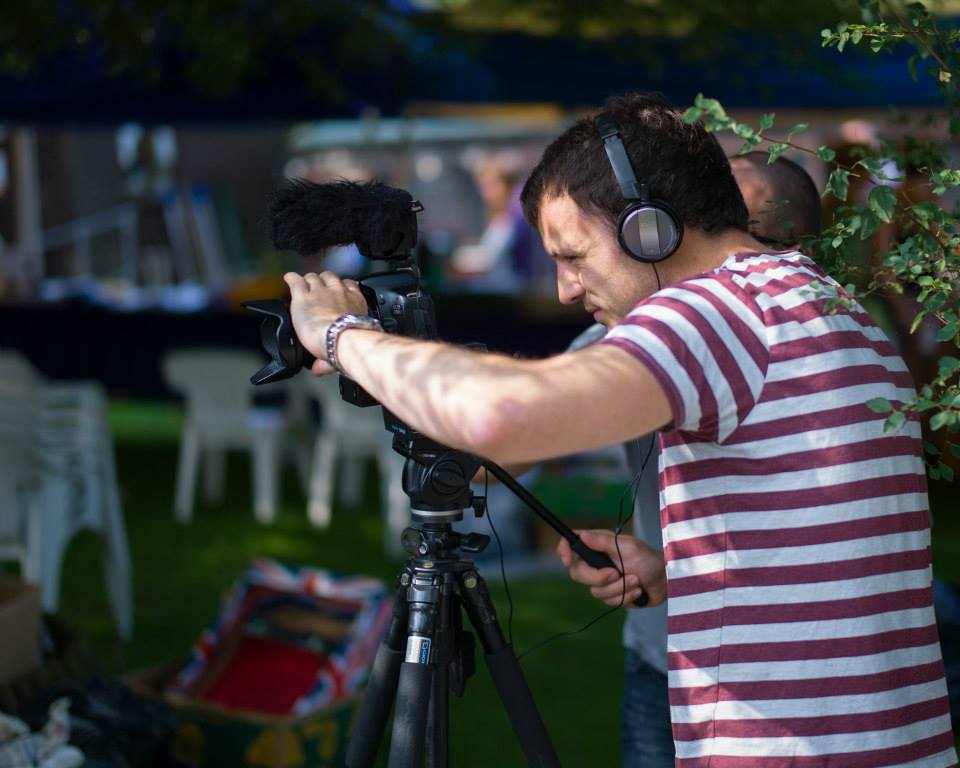
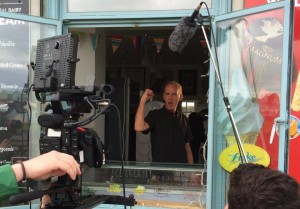
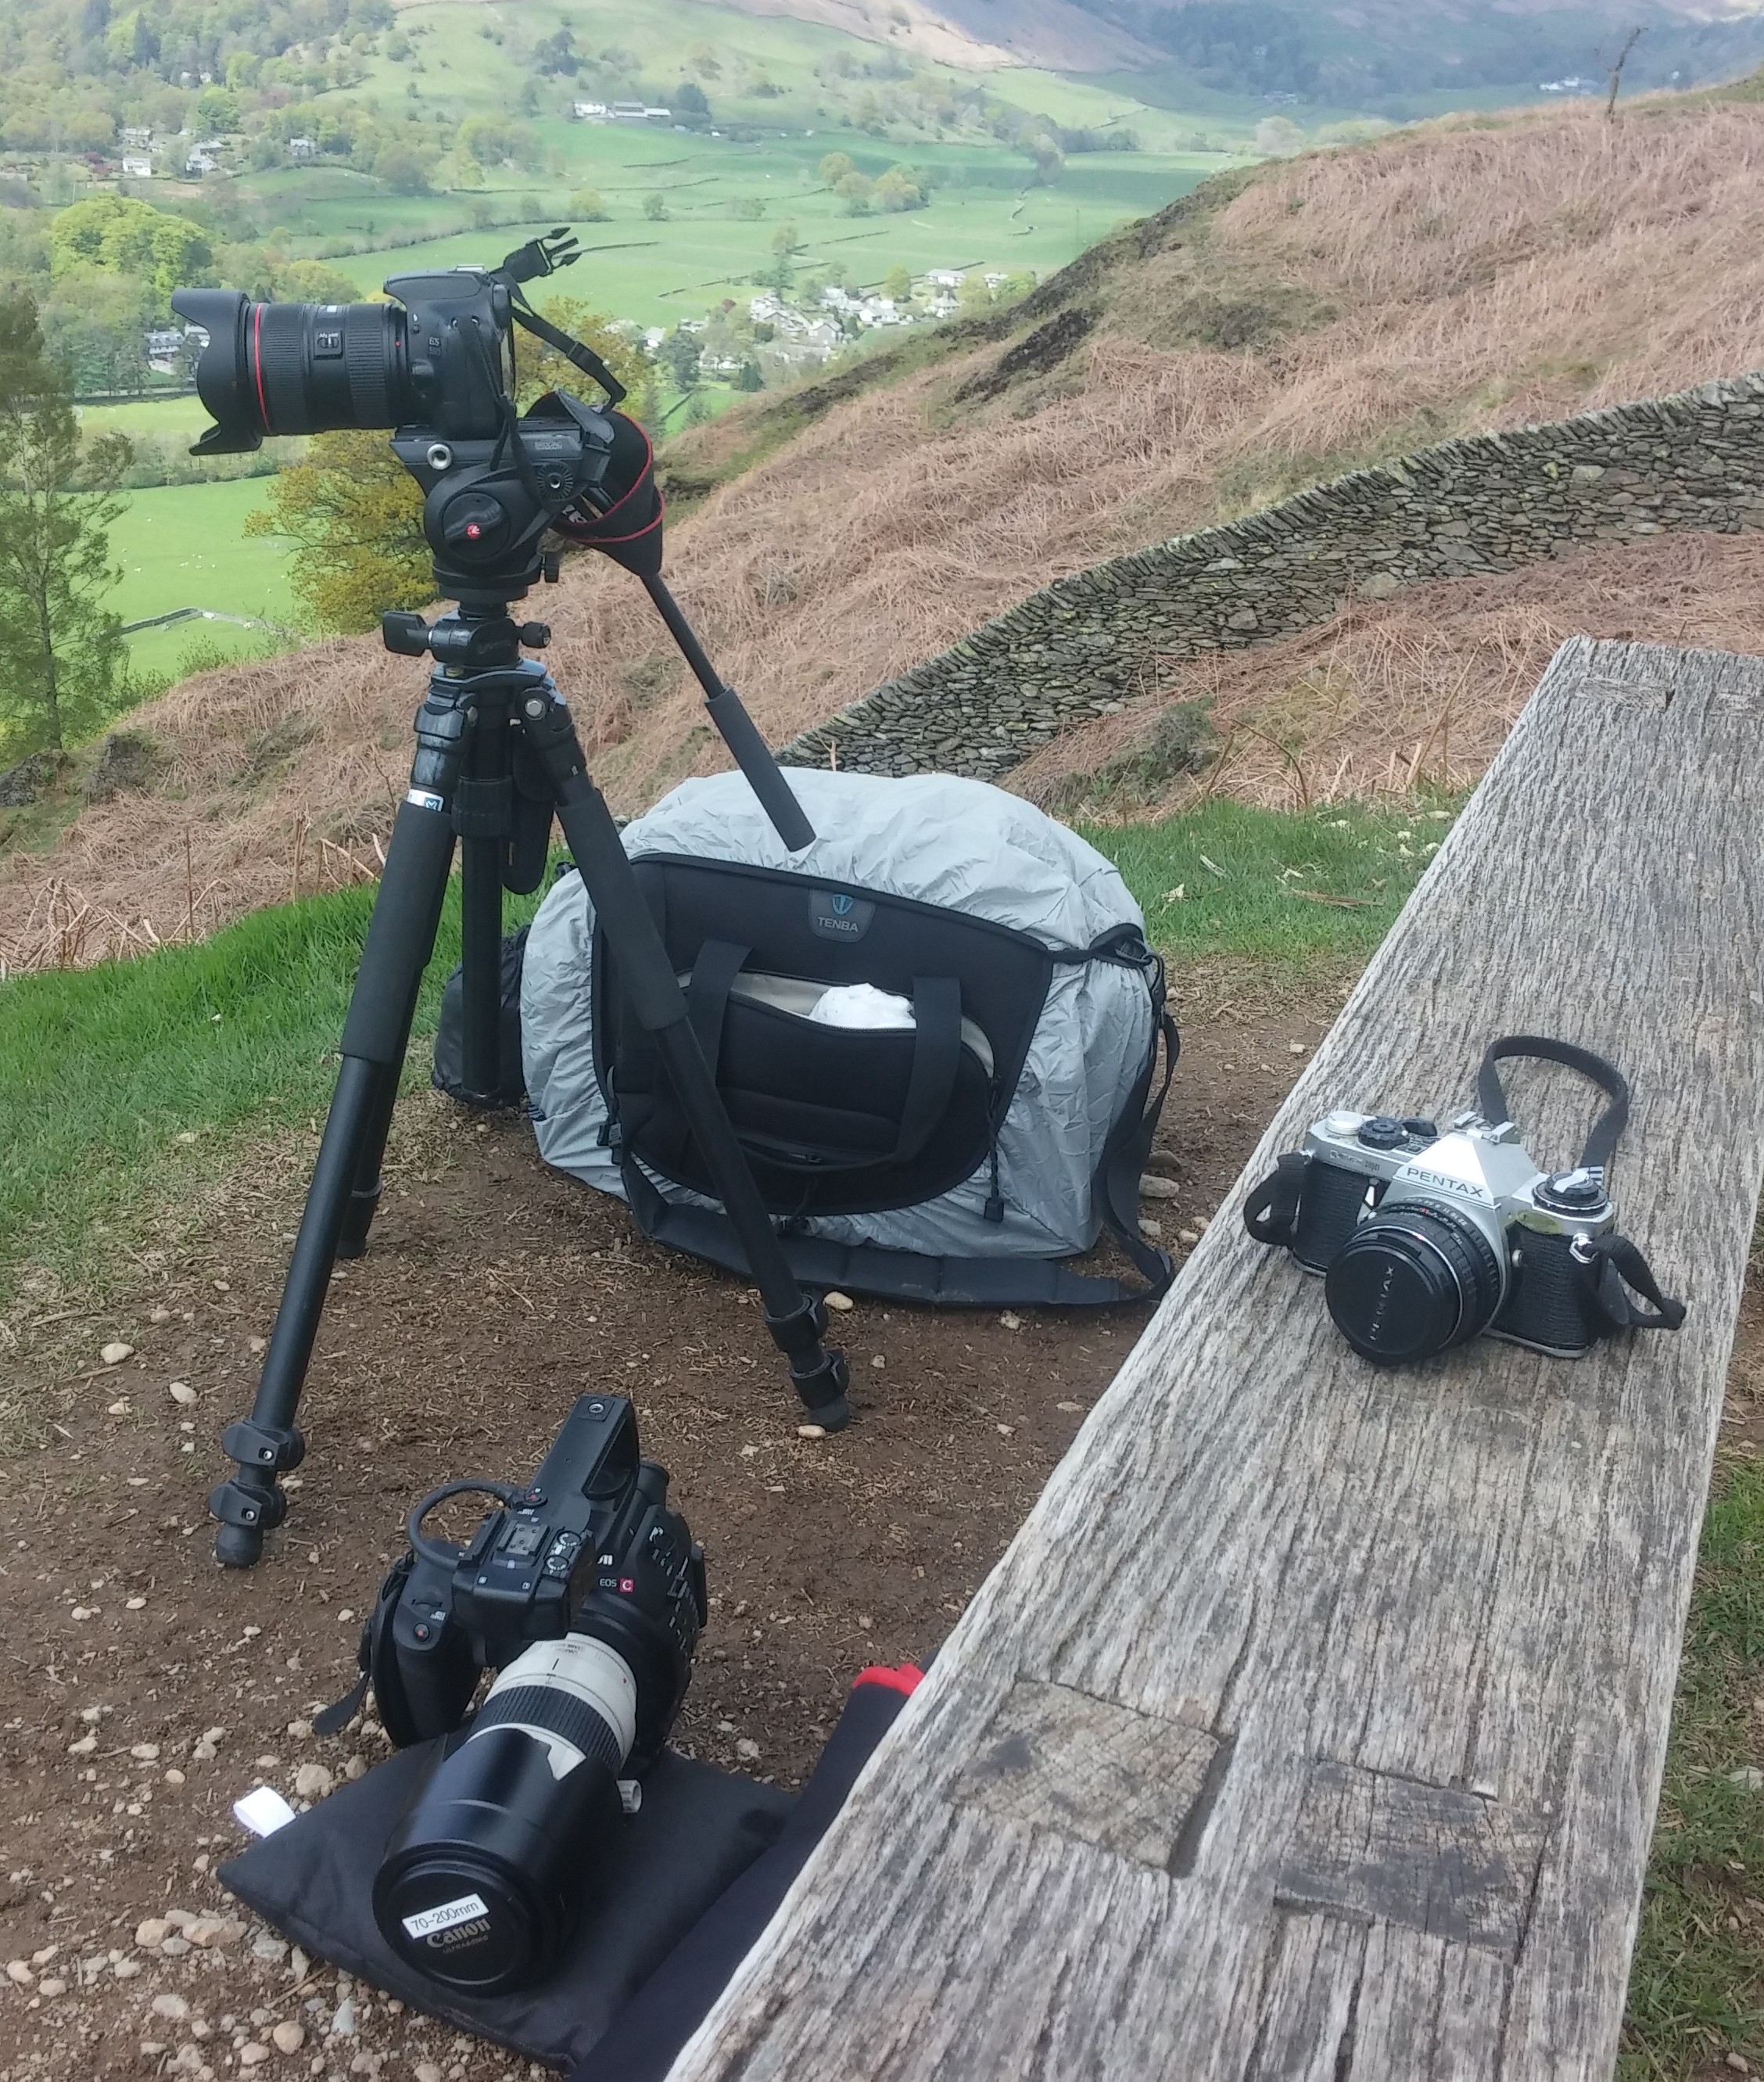
Make no mistake, there are certain situations where a clapperboard is not essential. Sometimes you have no choice but to record sound directly into camera (events, video journalism, documentaries etc.) due to time, budget & personnel restraints. In some situations the effort required to record sound separately and sync it up afterwards actually gives you more work with little noticeable gain, costing you time and money. Decide carefully if a board is for you and how often you may use it.


An example of  a typical slating process on set when sound is being recorded:

1st Assistant Director: OK, silence please. We’re going for a take. Turnover.

Sound mixer: Sound is rolling!

Camera operator: Camera speed!

2nd AC: Scene 41, slate 6A, take 1, mark.

[2nd AC claps then leaves shot]

Camera operator: Set.

1st Assistant Director/Director: Background action! And..action!

Slating shots that have no sound

For shots without sound the 2nd AC would highlight ‘mos’ (motor only sync) on the clapperboard and when slating would put their hand in between the sticks, hold it in shot and not clap.

Syncing at the end of a take (end boarding)

For those moments when syncing at the start of the take isn’t possible then the 2nd AC will clap at the end of the take, turn the board upside down and add ‘on the end’ after they’ve marked it.


So there you have it. Hopefully you’ve found this information useful so that when you’re next armed with a clapperboard you’ll know exactly what to do. Now as you return to creating great work, you might just find yourself being a little more efficient. Happy shooting!


Sennheiser - one of the leading brands for audio equipment.

Tips for improving the audio in your video

The first tell tale sign of a video amateur is bad audio. It doesn’t matter how beautiful your images are, how long your steadicam shot is or how interesting your talent is; if your audience is struggling to hear the content they probably won’t give you the time of day. As sound is half of the picture it is crucial that video producers get their audio knowledge up to scratch.

So, what are some of the common causes of bad sound and how could we solve these issues?

Poor location choice

Can you rely on the natural light alone?

A thorough reccie will allow you to (somewhat) find out if you’ll be disturbed during filming

Background noise is probably the biggest problem when it comes to clean sound recording. Where ever we go, whether that be in the city or the countryside, some sort of background noise will try to interfere with our recordings. This could include traffic noise, chatter, sirens, aircraft, footsteps, air conditioning..and the list goes on.


Solution: If you are fortunate enough to do a location reccie, consider the audio elements as well as the visual. Filming under flight paths, by main roads, next to the staff room etc. should all be avoided where possible. If your location looks great but you’re going to be interrupted every 2 minutes, is it really the best place to film? Consider what time of day may be best to do the recording; if the office empties out at lunch time, why not film then? Also, turn off any appliances and equipment that you’re allowed to if they emit unwanted noise. It all goes back to a little foresight and planning before your shoot.

Poor acoustics

Recording in wide open rooms with hard floors and few furnishings can make your recordings sound reverberated. While it is easy to add reverb in post, it is much harder to remove it from a recording. Acoustically treated rooms sound much better to the listener, particularly if recording voice overs.

Solution: Where possible try to shoot in rooms with soft furnishings. Consider using old carpet to reduce the reverb somewhat and this will also reduce any sounds of footsteps. If recording voice overs, either use a studio that has been sound proofed, or set up carpet and pop shields close to the artiste to treat their voice as much as possible.

Unsuitable microphone choice & placement

Sometimes it's good to have options

Sometimes it’s good to have options

You can still record good sound if there is some background noise, but how manageable that noise is all falls down to your choice of microphone. Using the inbuilt mic on your camera is rarely the best option. These mics are often of lower quality, have poor bass response and aren’t usually that directional. High quality shotgun mics may be good alternatives but even those with the most directional pickup patterns can’t completely eliminate some background noise. Lapel mics can also be a good choice but if your subject moves a lot expect to hear a lot of rustling. You also might have trouble attaching a lapel on certain outfits!

Solution: Only ever use your camera’s inbuilt mic for reference so that you can get rid of that tinny sound and reduce the likelihood of any handling noise. Shotgun mics can be great on location, but consider whether having one attached to your camera is going to get the clearest recording or if you need to get it in closer to the subject and purchase a ‘deadcat’ or ‘fluffie’ to eliminate wind noise if you are on location. If using a radio mic, attach stickies and under/over covers to eliminate wind and clothing noise. If possible, find somewhere to attach your mic where there is less chance of your audio becoming muffled  – under a tie or a shirt collar for example. If you have the luxury of both a shotgun and radio mic, record using both into separate channels so you have options! Lastly, if your camera has AGC (automatic gain control), for Pete’s sake turn it off!

Imperfect recording technique

There are numerous ways that your recording technique can affect the quality (or lack of) in your recordings. Turning your microphone’s gain up so high that there is distortion and choosing a mic input when you should be using line are both suitable examples.

Solution: Different equipment manufacturers and sound recordists will have their own opinions on what is a safe level to record at. Some may recommend your maximum recording level hit -18db as it peaks, but some may prefer it to be closer to -12db or even -6db (which is a little dangerous for my liking). It’s important to remember that once a microphone distorts it is pretty much impossible to recover, whereas sound that is recorded slightly too quietly can always be amplified. However, recording as close to your devices’ nominal level is best as too low a level will result in amplification of hiss. This page from the Final Cut Pro user guide explains it well but basically you’ll want to use microphone and recorder combinations with the lowest signal to noise ratio possible. Before you buy any audio equipment do your homework first and look out for comments made by other users regarding this.

One way I found to get a cleaner radio mic recording into my C100 was to select line input in and turn up the output of the receiver quite high

One way I found to get a cleaner radio mic recording into my C100 was to use a line input in and turn up the output of the receiver

One thing to remember is that recording into a designated audio recorder rather than a camera will in most cases give you the cleanest audio as some cameras have quite noisy preamps. On location this might not always be practical but in an acoustically treated studio this is definitely the best method. Either way it is always good to test and get to know your equipment before you go out on a shoot to see how you can get the cleanest recordings possible.


Insufficient mixing & EQ

audio waveformIs the music drowning out the dialogue? Does your subject become lost amongst the layers of foley? Recording good sound at the outset is important but mixing and equalizing that sound appropriately is just as important in order to produce a product that people want to listen to.


Solution: Check your levels using the audio meters in your editing program on both your speakers and through a set of headphones. You may notice things through your headphones that you didn’t notice otherwise.  Experiment with EQ and see if you can make any improvements, continually referring back to the original audio. Maybe you’ll discover something, maybe you won’t, but there’s no harm in trying things out. Use fade ins and fade outs where possible so that no source jars when it starts or stops. Find out more about EQ here.

Too much noise reduction

Ever watched a video that sounds like it was made underwater? If so, one cause of this is too much or inappropriately applied noise reduction in post. It sounds bad; worse than most cases of background noise!

Solution: Get it right at the recording stage – do what you can to reduce the background noise. If this isn’t entirely possible, utilize noise reduction and other plugins such as high pass filters to eliminate certain frequencies. The latter cuts off all frequencies below a certain level, allowing the higher frequencies to pass through which can be good for consistent low level noise from an appliance for example. With this and any audio filter be prepared to spend time tinkering if you want the best chances of reducing the unwanted frequency without affecting the voice.

Not listening!

 filming headphones

Despite what anyone may tell you I am a good listener!

Pretty self explanatory, really!

Solution: Always wear a decent pair of headphones and be prepared to playback takes if you can to ensure you’re recording the cleanest sound possible. Other things to listen out for include unsuitable gaps between questions and answers in an interview (you need room to cut), spikes in the audio from background noise (the consistent sound of traffic may be OK but a siren will stand out) and interference.

If you have even the slightest doubt about your recording, go for another take if you can. You will thank yourself in the edit.


These tips are just the beginning and should only be the start of your research into sound recording. However, by taking these points on board and applying them to your productions you should start to see a noticeable improvement in your audio. Plan as much as you realistically can, be prepared for the unexpected and when scheduling allow for interviews and pieces to camera to take a bit longer so you can get it right the first time.

How to choose the right lens for the job

Following on from my earlier article about how to choose the right camera for the job it made sense to follow up with one on how to choose the right lens, a major factor that will help you with your choice of camera. The two go hand in hand and your decision on which camera to choose could actually be dependent on the lenses you plan to use.

My stance on choosing lenses is very much the same as cameras:

No lens is perfect. But, for each job there is a perfect lens (or lenses).

Even then, it is subjective.

You see, just like cameras, lenses have their own quirks and variants that make them ideal in certain situations and a nightmare in others. It would be easy to assume that cost alone would be the main consideration but just spending more on a piece of glass doesn’t necessarily make it perfect for your project.

Consider your situation. Do you have a short term brief to meet or a long term investment to consider? If you are stuck choosing a lens for your camera, here are some factors to consider before your investment becomes a money losing opportunity:

Video Production Brighton

mmm, such choice!

Price

First and foremost. What’s your budget? Typically, lenses become more expensive the better they are in low light, the less they breathe when focusing and the sharper they are. Image stabilization, build quality and brand can also affect the cost of the glass considerably.

Return on investment

Are you shooting a one off job or a series of projects? Knowing exactly what you need, rather than what you would like will narrow your choice down and then it’s a matter of working out how likely you would be able to make a return on your investment with the options left to you. Is a £3K cine prime really your best choice to buy when you mostly shoot talking heads? On the contrary, is spending a little bit more going to mean that your lens will outlive your next 2 cameras?


Mount type    EF mount

This is a big one. Different lens mounts have varying choices that go along with them and this will of course affect your choice of camera. Here are just some of the options available to you:


EF (Canon) – Popular mount choice for Canon cameras and some third party cameras such as the Black Magic Production Camera.

F – (Nikon) – Another popular choice of mount with a huge range of lenses available to choose from and numerous adapters to adapt them for other systems.

A & E (Sony) – Both A and E mount lenses are rising in popularity due to the likes of Sony cameras such as the A7S and FS7, although some would argue that there is less choice here than some of the other mounts.

PL (Arri) – Geared towards cinema, originally designed for 16mm and 35mm film cameras. Extremely high quality but out of reach for most who are looking to buy.

IMG_9025

Is your 24 really a 24?

Angle of view and crop factor

There are countless combinations available to you when it comes to choosing lenses and cameras so it’s important to understand field of view and crop factor before you accidentally make the wrong purchase.

Crop factor refers to how much a lens magnifies the image when a camera’s sensor is smaller than a full frame sensor or an equivalent 35mm film camera. Most lenses are designed using full frame as a reference, however it’s the sensor size that determines what your actual angle of view would be.

For example, a 24mm lens on a Canon 5D, which has a full frame sensor, will give us an angle of view equivalent to 24mm (73.7 degrees to be exact). However, on a smaller sensor camera such as the Canon 600D (APS-C sensor) there is a crop factor of 1.6 meaning 24mm is magnified by 1.6. Our 24mm now gives an angle of view equivalent to about 38mm on a full frame sensor (or 51.9 degrees). This is quite a jump when you think about it, so making sure you know what angle of view you need before you decide is crucial.

70-200 devils dyke

Could you do with a little extra reach?

Crop factors can be a disadvantage when you need wide angles, such as in this example, but on longer lenses they can give you much greater range which could work for you. It’s also good to know that there are lenses designed specifically for crop sensor cameras, so wide angles aren’t limited to full frame users alone.

To learn more about crop factor check out this excellent field of view calculator from Abelcine.


Type of production

What do you currently shoot or plan to shoot? This will determine which lenses will fit your needs best. Consider the following:

  • What size screen your project will show on – any optical imperfections will naturally be magnified in a cinema
  • Sharpness required – you’ll get more sharpness for your money when choosing primes over zooms
  • The size of the camera crew – do you have someone to help you change lenses safely?
  • Project turnaround – do you have time to change lenses for every shot?
  • The location & portability – do you like to travel light?
  • If you need to zoom – how unpredictable is your subject or location?
  • Your lighting conditions – are you shooting a lot in low light?
  • Screw in filters or mattebox – what kind of ND, polarisers and other filters will you be using?
  • The grip you have available – will you always have a rig or is image stabilization essential?
  • Follow focus – to attach or not and if so, how?
  • Aesthetics & personal preferences – is beautiful bokeh (background blur) or minimal distortion a priority? What about the way a particular lens handles contrast and saturation?

With answers to these questions you should get a clearer idea of whether you need primes, zooms or perhaps a bit of both.

Examples

As you can see there is a lot to consider when making a lens choice. In fact, you may just be a little more stuck than you were before. However, have no fear as here are a couple of practical examples of lens/camera combinations I’ve used and the pros and cons of these choices.

WWTW

The 24-70. Good for close ups..

Walking with the Wounded: Cumbrian Challenge

The brief: 3 minute highlights video of fundraising event. Positive and engaging.

Location: The Lake district

Camera: Canon C100 with Canon 24-70mm f2.8 L & Canon 70-200 f2.8 IS L


Screenshot 2016-01-28 11.07.55

..and for GVs.

The C100 has a crop factor of 1.3 so my 24mm became a 31.2mm and my 200mm became a whopping 260mm. Being in the great outdoors having zooms covering this range was excellent and being able to get shots of the walkers from a great distance was essential. The widest angle was still wide enough to get establishing shots; anything much wider probably would have weighed me down unnecessarily.


Screenshot 2016-01-28 11.08.28

The 70-200 was good for flexibility on the mountainside..

In fact, talking of weight, the telephoto lens was a beast. As it opened up to f2.8 it was quite heavy but being in the great outdoors during the day meant that I never needed this extra stop of light. In this case, the 70-200 f4 IS would have been more suitable as it is smaller and lighter (as well as cheaper). Image stabilization for me was a must on the telephoto though as it wasn’t always easy to use a tripod and it was quite windy up on that mountain.


Screenshot 2016-01-28 11.28.28

..which resulted in a good variety of coverage

Other suitable lenses:

Canon 24-105 f4 IS L – This would have given my 24-70 greater range and image stabilization at the expense of 1 stop of light and some sharpness.

Canon 28-135 f3.5-5.6 IS – If I only wanted to take one lens this may have been the best option. Incredible range and image stabilization at the expense of aperture and sharpness.


Noose

Brief: Short horror film. Moody and suspenseful.

Location: Hotel interior

Camera: Canon 5D mkii with Zeiss ZF primes and EF adapter

A short film I did a few years ago. Full frame was the choice for this project because low light ability, shallow depth of field and a wide angle of view were essential to getting a cinematic look whilst showing the space within the rooms. The Zeiss set hired included an 18, 25, 35, 50, 85 and 100mm so were a fantastic range for drama and being primes, were very good in low light. What’s more, their sharpness and very aesthetically pleasing bokeh (background blur) made them an exceptional choice for the project.

Screenshot 2016-01-28 11.54.47

The 18mm showed the space of the hotel perfectly without distorting the edges

Screenshot 2016-01-28 11.50.02

The Zeiss lenses have exceptional bokeh

On the flip side changing lenses slowed us down on what was already an incredibly tight schedule plus there were no focus gears on the lenses themselves (we had some complicated camera moves) so we had to apply and reapply focus rings quite often. What’s more, being Nikon mount we had to also attach and reattach EF adapters which once again, slowed us down. Of course, we could have chosen to use a zoom lens to speed things up but our maximum aperture would have been lower and there would be a greater chance of distortion in the corners of the image.

At the end of the day image quality really mattered here and by looking at the stills you can see why I would choose Zeiss primes again in a heartbeat.

Other suitable lenses:

Canon EF cine primes – Incredibly sharp and optimized for cinema with manual iris, focus rings and no ‘breathing’ when focusing, these lenses would have been an excellent choice. The EF mount would have made them quick to change too, however, all of this would have come at a much higher price.

Canon L series primes – These would be around the same price to hire as the Zeiss but with the Canon mount for convenience. No focus rings again and aesthetics that are in my opinion not as pleasing (this is just personal preference) but they are certainly a good economical choice, especially for sharpness.


These are just a few examples to get you thinking and of course these are just my own opinions, but as you can see it’s a bit of a minefield out there. There are so many factors to consider and what one person needs in their lenses may be unnecessary for another so ultimately it’s down to you to decide what your priority is. It also doesn’t help that new lenses are being introduced regularly, although fortunately nowhere near as much as new cameras are.

One thing to remember though is that old lenses aren’t necessarily bad lenses! If they are free of mould and scratches and the like, they could be perfectly usable. In fact, newer lenses with electronically controlled apertures (Canon are particularly guilty here) limit your choice of format unless you’re prepared to buy expensive powered adapters such as Metabones. However, older manual lenses such as the Nikon M42 variety can be used on many modern cameras (with adapters if necessary) usually at a much lower cost but sometimes rivaling the quality in areas. In fact many vintage lenses have characteristics that make them rare and unique (this deserves an article in itself) hence their appeal to collectors and photography lovers.

At the end of the day do your research and only get what you need. By concentrating on producing high quality work and making sensible choices you’ll realise it’s not just about the camera or the lens, but the person behind it.

Video Production London
Video production is an appealing career choice, but its not without its challenges

10 things they don’t tell you about working in video production

Universities, film schools, specialist courses – all can be a great place to start if you want to equip yourself with useful skills for a job working in video or film production. However, there are some things that just can’t be learned in an educational environment. Only by talking to those already working in the industry and gaining experience yourself will you learn some things that no book or lecture could ever prepare you for. So listen up, we’ve got a few industry insights here. Some are positive and some are not, but if you want to work in this industry you had better listen to the pros first before you dive in at the deep end.

Video Production Company Brighton

Fatboy Slim appreciated the gig!

1. Every new job you land, no matter how big or small, becomes a huge personal victory.

This is especially true to start ups and freelancers. It is much harder to get new clients than it is to get repeat business from an existing one. Even landing little jobs that only last a few hours can give you that warm feeling inside that something is working because people want to hire YOU. This in turn will help you stay driven and motivated. Enjoy it!


2. How tremendously adaptable you sometimes have to be.

To get where you want to be in your career you may find yourself sooner or later doing something that you don’t really want to do (well, that’s life!) but you’ll realise that it’s a necessity to making any sort of progress. Whether it be learning a new skill in an area you’re not confident in or taking on work in a completely different industry just so you can survive until your next video job comes in, if you really want to succeed you’ll do what it takes. You may just find it character building too.

3. Marketing is so incredibly, ridiculously important.

Whether you freelance or run your own business, you simply can’t avoid the subject of marketing or you will fail. Word of mouth is often described as one of the best ways of getting work in an industry as small as this, and this is true, but first impressions count and knowing who it is you are trying to work for and how to target them is key to starting new working relationships. Included in this is the ability to sell yourself, plus with growing demand for online video content the marketeers out there should be your best friends!

4. GAS.

Not the poisonous kind, unless you let it get the better of you. GAS stands for gear acquisition syndrome. It is actually a thing. In the western world we are suckers for consumerism and just love to own stuff but this is especially true in video production for cameras are sexy, lenses are bokehlicious and a DJI octocopter – well, who wouldn’t want one of those?

Video Production Brighton

I’ll take them all please

It’s very tempting to spend lots of money and think your career will instantly bloom but if you’re not careful you could get stuck in a never ending process of continually needing to buy stuff and never make any money as a result. For some of us of course it is important that you buy the right tools for the job but perhaps consider whether you really do need that new flashy gizmo or if hiring would be a more sensible option. And don’t forget, your talent counts for something too.

There’s some brilliant advice on the matter in this filmmaker magazine article by DOP Sean Porter including one bit that really stuck with me:

“We have to be very cognizant about the impact, however minute, we make when we mix our creative responsibilities with enterprise. Your gear is a powerful influence on your work, both good and bad. I think stepping up means knowing which is which, even if it’s not the answer you want to hear.”

Wise words.

5. How to balance multiple jobs.

This for me, and I’m sure many others, is probably one of the hardest things about starting off in this industry that’s on this list. I’m not just talking multiple film or video jobs; I’m referring to balancing the self employed work with the employed. The paid with the unpaid. The desirable with the reliable. The big question that nobody seems to have the answer to is:

How can you get experience without a job when you can’t get the job without experience?

You have to start somewhere. Maybe you’ll be working part time so many days a week so you can focus on the video work on your days off – if you can afford to live off part time wages. But then, what if your perfect job comes up while you’re at work and you could be potentially missing out on your big break? If you keep trying to get time off from your reliable work are you likely to keep that job for long? On the contrary if you always keep your diary open, how do you know that you’re definitely going to land more video work to pay the bills? Juggling the reliable and the desirable work can be an absolute nightmare and it’s one thing that no educational institution can ever prepare you for.

My advice is to keep your options open and explore the different possibilities available to you until you find something that works. Everybody needs to earn somehow but what ends up working for one person may not work for someone else. I recently wrote about how my non video job helped me learn new transferable skills but the most important thing to understand is you have to be prepared to work your socks off, whichever path you decide to tread.

Oh, and one more thing. Dealing with a clash of job offers never gets any easier.

6. When to say no.

I must refer again to the article mentioned earlier by DOP Sean Porter, who deals with this point in great detail. Knowing when to say no can be another one of the hardest things to deal with in this industry. Taking on too much work could leave your clients unsatisfied or affect your personal life and relationships in a negative way. It’s another thing that can only be learned through experience and through applying a good level of judgment every time an opportunity arises. We’ve all accepted those jobs we’d wished we’d declined but it’s all about learning from these mistakes so that our future selves won’t curse our present selves into oblivion!

money

Budgeting can be hard when your income fluctuates

7. Steady sources of income can disappear suddenly and you may not know why.

A client may go on sick leave or change premises, marketing budgets may be slashed or a competitor may offer your clients better value. In fact, there are a whole host of reasons why you might lose a steady client and it can be very hard and frustrating when this happens, especially if you don’t know why.

The answer? Don’t take it personally, avoid complacency and learn to be like a gecko – adapt! Don’t stress and remember that factors which are beyond your control can be a blessing as well as a curse in your work life. It also pays during busy times to save for a rainy day.

8. How to manage your taxes.

Tax returns, accounting, filing..yawn. It may be boring but unfortunately it’s something that none of us can avoid doing, whether we freelance or run a business. Not to suck the fun completely out of the creative industry at hand but the more you learn about tax returns and the like the earlier on in your career the easier it will be for you to stay on top of your money and make sensible decisions throughout. You wouldn’t want any nasty surprises now!

The first place to look for information on all things tax is the HMRC website.

9. Your competition may also be your friends.

It’s not all doom and gloom. Working in such a small industry means we often bump into familiar faces and that includes the competition. The beauty of this, unlike most industries, is your competition could not only help to keep you on your toes but they could potentially be a reliable stand in for you when you need a helping hand or could loan you equipment and vice versa. There’s also a thing called referral fees for the business minded among us!

Video Production Brighton

Time to take a break?

10. How to switch off and relax.

Last, but certainly not least. You spend so much of your time and energy hacking away at your career that no matter where you are on the ladder, it can be nigh on impossible to switch off from work when you’re worried about things like where your next pay cheque is, if your clients will like your work and what your competitors are up to. Whether running a business or working for yourself and with dangerous cross overs between work and play on your social media accounts, switching off from the world of work can be very difficult indeed. It could be viewed as a good thing as we are just that determined to succeed, but don’t let it consume you. Allow yourself some ‘me time’ and enjoy those rare opportunities to turn off your phone. Your other half will appreciate it!

There is no real single secret to a successful career in any of the creative industries, but hopefully these insights will help you make the right decisions early on. If you make mistakes along the way however, that’s OK, it is part of your professional development no matter what career you decide to embark on (except for the tax issues – we wouldn’t want you getting in trouble!).

Light meters – do we need them for video?

It was my birthday earlier this week and one of the presents I received from my family was a light meter – a Sekonic Flashmate L-308s to be exact. This little gizmo is hardly the most glamorous gadget in the arsenal of video gear and probably nowhere near the top of most camera peoples’ wishlists, but nevertheless I decided that it was time to get one. Now I shoot quite a lot of video and you may be wondering why I would ever need a light meter when most video cameras have histograms, wave forms, zebras and other exposure aids built in. It’s perfectly valid to question why anyone would want to spend more money on an item that is, in theory, debatable as to whether it is really needed in these modern times.

In this digital age and with the rapid advancement of technology has the light meter become more of a relic from a bygone era rather than an essential video making tool? Do photographers even need to use them anymore now that most shoot digital? Do we really need light meters for video?

The short answer is yes. But it’s not as simple as that. Depending on what you shoot, the answer may actually be no. To decide if you do need a light meter or not it’s worth considering the reasons why one might have one in their kit bag. You may be surprised at how many reasons there are:

sekonic light meter

Sekonic – a widely adopted brand of light meters

1. To get the most accurate exposure:

First and foremost and the most obvious reason for owning one. I’m not discounting inbuilt light meters in digital cameras but the truth is a quality light meter will always be the most accurate way to measure exposure because that is their primary purpose. Inbuilt light meters usually feature modes that rely on averaging the exposure by taking several readings across the frame. Using an averaging mode can sometimes result in the camera been tricked into the wrong exposure because it averages the whole scene rather than taking a reading of the subject you are focusing on, meaning your subject could end up over or under exposed. Using a light meter here can allow you to expose the correct area of the frame first time round.

To control the highlight in this image a flag was held partially in front of the light source so it didn't wrap around the face too much.

The back light here was deliberately over exposed so that it was unrecoverable in post but if I wanted to I could have measured it so it was specifically 1 or 2 stops over the rest of his face.

2. It is easier to control your contrast:

Once you have established optimum exposure of your subject, a light meter can be used to balance the other areas of the frame to help create the look your production desires. For instance, you may want everything to be flat and even for a corporate video or high contrast and moody for drama. You could always judge by eye but knowing exactly how many stops over or under areas of your image are you can have confidence knowing that you’re being accurate. What’s more, if you know the dynamic range of your camera you can expose your images in a way that lets you have a greater degree of flexibility during colour grading if you want it.

Can you rely on the natural light alone?

3. You can have a more efficient location recce:

When you visit a location how do you know what equipment to bring if you don’t know how good the natural light really is? Our eyes can be deceiving and lead us into thinking the natural light can do all the work but really the only way to be fully prepared is to measure that light and then make the decision.


talent and lighting

Metering will improve your efficiency in setting up.

4. You can light a scene before the talent arrives (and quicker):

This is a very important point. If we could only light when the talent (or a stand in) was in shot we would never get anything done. Of course, once the talent is in the frame you may want to make some small adjustments but being able to set the exposure beforehand will help save you and everybody else’s time and money. Adding to this, if you have to run back and forth between adjusting a light and viewing the histogram or waveform this can be quite time consuming.


which camera?

It doesn’t matter which camera you decide to use, a light meter could assist you with exposure for any model that lets you set exposure manually

5. Video & photography skills often overlap. Embrace this:

For the DSLR video shooters out there, you’ve probably learned a thing or two about photography whilst you’ve been at it. You may have tried out long exposure and timelapse photography out of curiosity, the latter of which can certainly add an interesting element to your videos. Much of this may be a result of simple trial and error until you get pleasing results (this is certainly how I used to do it), however using a light meter can help you to reduce this method and once again save you time. What’s more, you could go further down the photography route later on and so having a greater understanding of exposure and light now could actually make you more employable in the future.


dog 35mm film

This photo of the old family dog ‘Dolly’ was taken on my old pentax 35mm film camera. Although it’s a lovely photo, if I had taken a reading off of her fur rather than relying on the inbuilt meter to average it out then it wouldn’t have appeared slightly over exposed, as being a golden lab her fur was actually a shade darker.

6. You open up the possibility of shooting on film:

Ever had that burning desire to go old school? We all have. With Kodak’s recent announcement of a new (yes, new!) Super 8 film camera you may just get tempted further into experimenting with film.

Now, many 35mm stills cameras have inbuilt spot meters, as do super 8 cameras, however, once again they may not always be the best option for you, especially if these meters calculate an exposure based on averages. Of course with digital cameras you can readjust your exposure and snap again but with rolls of film this can be an expensive thing to do so you have to be much more conservative with your shots. Taking proper exposure readings will eliminate the need for guess work and ensure you become comfortable with the format.

And finally..

7. You look like you know what you’re doing:

In other words, you look like a pro. That’s a good thing, right? Oh, and you can give accurate orders to an assistant (this is invaluable)!

So, taking these points into consideration, what kind of video shooters could benefit from using a light meter?

I believe the answer is anyone who wants or needs to light their productions to a high standard. This includes those who work in (but is certainly not limited to) commercials, drama, green screen and stills photography. Aspiring DOPs certainly need one, hence why I got one. For conferences, weddings, run and gun documentaries and corporate videos, you probably won’t need one. In these instances you can simply rely on your camera’s exposure aids and you won’t have to fork out for an expensive item that may just end up gathering dust.

At the end of the day the decision of whether you need a light meter or not is down to you and it all depends on what you shoot and/or what you want to shoot. Light meters aren’t the cheapest tools out there so, as with everything else, only get one if you really need it. If you decide that you do need one however, it could be one of the most important investments you’ll ever make in your video career.

If you would like to find out more about lighting check out this article on why good lighting can sometimes be more important than the camera and how a cheap reflector could be your most important lighting accessory (after the light meter of course!) .

Why a reflector is your most important lighting accessory

The 5 in 1 reflector: cheap and incredibly useful

Cheap, light and with so many uses, your 5 in 1 reflector is a lighting accessory that should accompany you on every shoot.

Lighting in video production is not just about flicking switches. When I was just starting out as a freelancer I was guilty of believing this; that lighting simply had to be turned on and that was that. I recently wrote about how lighting could actually be more important than the camera itself and that lighting can sometimes be deceptively simple but what should be noted here is the idea that the subject isn’t always referring to the lights themselves but to the modifiers as well. In fact, I’d say that half of lighting is actually modification. Flags, floppies, bounce, scrims, nets, diffusers..there seems to be so many different lighting accessories about that it’s hard to keep track of what they actually do. These items are all examples of lighting modifiers, however in this case I’d like to focus on the simple 5 in 1 reflector – a low cost, multi use modifier that really is an essential tool for any film maker.

But it’s just a reflector?

No it’s not. If you’re thinking that, you probably haven’t explored the many uses even the cheapest of 5 in 1 reflectors has to offer. Having 5 different sides allows you to do a lot in a variety of shooting situations whilst remaining portable and convenient.

Lets take a look at the different sides of a typical 5 in 1 reflector and how you might use them in your moving image productions:

White

Tip: If you need something bigger to bounce, polystyrene board is cheap, light and in your local DIY store

Tip: If you need something bigger to bounce, polystyrene board is cheap, light and available at your local DIY store

Any white reflective surface is often referred to as ‘bounce’, the reason being that a hard light is bounced off the surface and onto the subject to create a nice soft light with minimal shadows. Your hard light source could be a powerful tungsten lamp or the sun.

Soft light is commonly used in corporate environments

Look at the difference between a hard light shone directly at the subject (left) and a hard light bounced off a reflector (right)

Look at the difference between a hard light shone directly at the subject (left) and a hard light bounced off a reflector (right)


Bounced light can be used as the key light (main light source) when even lighting is required or as fill (to fill in shadows created by the key light) when a higher degree of contrast is needed. It is commonly used in all matter of video and film productions for a flattering image.

Black

Tip: If you need a flag to block out a large area such as a big window a tarpaulin is an effective solution.

From experience, you can never have enough flags.

Your matte black surface is vital in situations where you want to cut out light. This could be to control exposure, shape light or even remove light from the image entirely. It is often referred to as ‘flagging’ or providing ‘negative fill’ and you would be surprised at the number of situations that you might find the need to do this.


For situations where your reflector might not be big enough a tarpaulin is a great way of flagging a large area such as a full window

For situations where your reflector might not be big enough a tarpaulin is a great way of flagging a large area such as a window.

Can't see your screen? A flag would be handy here..

Having difficulty viewing your LCD screen? A flag would be handy here..

The problem with powerful key lights is that it’s easy to lose control of them, in that light can get in some areas of the image that you don’t want it to. Some lights have barn door attachments which can help but this may not always be enough to control the spill. Simply holding up a flag can make all the difference. The other thing to consider is how long you are filming for and if natural light likely to change throughout your shoot. Flagging any uncontrollable light sources allows you to start from scratch and build your lighting design from the ground up, even allowing you to shoot night scenes during the day!

To control the highlight in this image a flag was held partially in front of the light source so it didn't wrap around the face too much.

Without a flag partially cutting the back light, the beam here would have over exposed half the actor’s face.

Diffuser

Tip: There are many different types of material that diffuse light in varying amounts. One popular and cheap method of diffusing large sources on low budget films is to use a shower curtain.

Tip: There are many different types of material that diffuse light in varying amounts. One popular and cheap method of diffusing large sources on low budget films is to use a shower curtain.

Sometimes you may not want to directly cut out light but soften it instead, so it creates more subtle shadows. Hard light sources such as direct sunlight can create strong shadows and too much contrast as a whole, in which case placing the diffuser between the light source and the subject can make it appear much less harsh. The surface of your diffuser may appear similar to the bounce but on closer inspection you’ll find it much more translucent.

lighting at kinetico cropped

Hard light shone through a diffuser is softened but without a huge reduction in overall output.

4X4-TRACE-FRAME-460x346

The diffuser is essentially a cheaper (and more portable) version of a trace frame.


By diffusing a hard light source you are able to soften the light but also keep the spread. Moving the diffuser further away from the light source will soften the shadows even further.

Tip: Another popular low budget method of creating higher contrast is to use tin foil.

Tip: Another popular low budget method of creating higher contrast is to use tin foil.

Silver

Silver is incredibly useful in creating contrast quickly, by making certain parts of the image ‘pop’ out from the rest. Whilst it must be used carefully to avoid blinding the subject, it has a surprising number of uses such as creating highlights (areas of the image that are deliberately over exposed for creative effect), filling in shadows and for creating texture (such as a rippling effect from light reflected off water).


Silver - a bit more kick to your fill than normal bounce.

It can provide a bit more kick to your fill than normal bounce.

Silver can be used to create a rippling water or a 'glow from the TV' effect.

The uneven texture of silver means it can be used to create effects such as that of rippling water or a glow from the TV. Easiest to see in a moving image (yes, watching breaking bad counts as work!)


Tip: Although not as powerful as silver, gold can help increase the contrast in your image too.

Tip: Although not as powerful as silver, gold can help increase the contrast in your image too.

Gold!

Always believe in your..

Ahem.

In my opinion this is the least useful of the 5 for the moving image, but it still has some useful applications. Gold is mostly used for creating a warming sunset effect or for texture and can be particularly flattering in fashion and beauty films.

An up lighting effect for warmth.

A subtle up lighting effect for a bit of warmth.

So there you have it – your reflector has so many uses that it really is your most important lighting accessory – and I’ve only begun to touch the surface. Bouncing, diffusing and flagging each deserve their own articles but just knowing how you can start doing these modifications with your reflector will take you a step closer to raising your production values, and that’s whether you’re in a studio or on location and working in controlled settings or operating run and gun.

If you care about production values then there are really no excuses for leaving your reflector at home. In fact, once you start utilizing one you’ll probably want another (and if you need to google how to fold it back into its bag, that’s OK – we’re all guilty!).

Happy shooting!

Christmas films: Our top 10 picks for the festive season

Hopefully by now you’ve done most of your Christmas shopping (if you still need some ideas, check out our 12 stocking filler ideas for filmmakers post) and you can put up your feet, grab yourself some mulled wine and put on the telly. Christmas is a wonderful time for catching up on the latest blockbusters, seeing the ones you missed and reliving the classics. Here are some of our favourite Christmas films we’ll be watching this festive season, in no particular order. Have you seen them all?

1. Jingle all the way (1996)

This is without doubt one of the best Christmas films to have ever existed. Period. What’s not to like about it? Arnie plays a struggling father as he tries to get the latest trendy action figure ‘Turbo man’ for his son after repeatedly disappointing him. But when every single action figure in town has sold out on Christmas eve will he be able to make it up to him? If you don’t like this film, well, ‘GET OUUUT!’

2. Die Hard (1988)

OK so you’re seeing a familiar theme here. Action heroes in Christmas films! Yes this is a Christmas film, whether it was intended or not, and it’s one of the best! Anyone who has ever watched TV at Christmas knows that this is always on, so there’s no chance that you’ll miss it. Bruce Willis plays John McClane, a tough New York cop who has to save, amongst all others, his wife from a bunch of German hostage takers at a Christmas party in LA. Move over Professor Snape, this is one of Alan Rickman’s finest performances as the particularly wicked leader of the group, Hans Gruber.

3. Home Alone (1990)

A Christmas film list wouldn’t be complete without this title. Amazingly I hadn’t actually seen it until a couple of years ago. How on earth did I grow up in the 90s and miss this, I hear you ask? Obviously my childhood was deprived. And I was probably watching Die Hard. Even still, no matter what age you were when you first saw this, it is undoubtedly a classic.

Macaulay Culkin plays the 8 year old Kevin who is accidentally left at home alone (as if the title didn’t give it away) when the rest of his family go on holiday without him. After the initial fun of having the place to himself he discovers two burglars are trying to rob his house and so he sets up a series of booby traps to stop them. A bit of fun for all the family. It’s particularly awesome because it obviously inspired Skyfall.

4. The Muppet Christmas Carol (1992)

We do like our 90s films at Mustardcreative. This one is another absolute gem retelling the popular Charles Dickens Christmas Carol story but with a Muppet twist on things. Starring Michael Caine as the bitter Eberneezer Scrooge and all of our favourite Muppets including Kermit, Gonzo and of course, Beaker! The ghosts of Christmas past, present and future visit Eberneezer (did anyone else find it a bit scary in places as a kid?) and try to stop him from being such a miserable old git. Brilliant stuff.

5. Black Christmas (1974)

Talking of scary, here’s one for the horror fans out there. Black Christmas (the original, not to be confused with the 2006 remake) is a terrifying and suspenseful slasher film that supposedly inspired Halloween. A sorority house is terrorized by strange phone calls over the Christmas period and things quickly becomes much more sinister when one of the girls goes missing. With shots from the point of view of the stalker and some of the creepiest maniac rambling I’ve ever heard, this film is certainly not for the faint hearted!

6. Miracle on 34th Street (1994)

If you don’t fancy having nightmares this Christmas then perhaps this classic will probably be more up your street. This version is actually a remake of the 1947 version (we’re a little biased when it comes to 90s films though!) and is a classic in its own right. It’s about a little girl called Susan who thinks she has found the real Santa Claus and it stars Mara Wilson as the girl, Richard Attenborough as Kris Kringle (or is he actually Santa?), Wilma from the Flintstones and that guy who would’ve made a great James Bond. Magical and heart warming, it’s one of our faves.

7. Lord of the Rings Trilogy (2001-3)

We couldn’t possibly choose one Lord of the Rings film, they’re just all too damn good. So we chose the entire trilogy. Now they may not be very Christmassy but every year the trilogy seems to be on and I make a habit of watching it every time. These films are pure escapism and fantasy with some of the most gorgeous landscapes and epic battle scenes ever to be shown on film. It’s difficult summing up these films in a small paragraph because they are just that grand, so if you haven’t seen them yet (and if you haven’t then I would like to know where you’ve been hiding all this time) then maybe this Christmas is the time! Indulge yourself!

8. Elf (2003)

After growing up at the North Pole, Buddy is distraught to find out that he’s not really an elf and goes to New York City to find his true identity and hilarity ensues. Will Ferrell has us roaring with laughter here as Buddy and stars opposite the brilliant James Caan who plays his quite serious father and has trouble accepting his childish son into the family. If you’re up for a bit of silliness and a giggle then this flick’s for you.

9. The Lego Movie (2014)

Oh my word, a fairly recent film?! Well yes, everything is most definitely awesome here. This film was a big surprise to me when I first saw it and I can safely say it will become a Christmas tradition. A family friendly adventure about Emmet, a construction worker who becomes destined to save the world from the evil Lord Business who is trying to glue the Lego universe into eternal stasis. Behind this concept is a very clever script, some of the best animation ever seen (supposedly nearly every piece of lego in the film was real), an all star cast (including Morgan Freeman’s first ever role in an animated film) and more references to those special moments from a lego lovers childhood than you can shake a stick at. This film is undeniably a Christmas classic and it’s not even Christmassy.

10. Die Hard 2 (1990)

Because one Die Hard isn’t enough. And it snows again. Delightful!

So, there you go. When the weather outside is frightful, stay in and put on one of these classics. But if we have made a mistake and have forgotten to include your absolute favourite Christmas film in this list then do let us know in the comments!

So from all of the team here at Mustardcreative we would like to wish you a very merry Christmas and we’ll see you next year!

Christmas is only just around the corner now..

12 stocking filler ideas for filmmakers

Every Christmas I’m told that I’m difficult to buy for (usually by the missus) and that I’m fussy and/or everything I want is expensive. Well, yes the A7S mk ii is expensive, I explain, but it really is such good value for money because..*rambles on about techie stuff again*

Filmmaking and video production, whether just a hobby or your career can be an expensive thing to get sucked into, however there are so many smaller, less expensive items that are so incredibly useful that might not necessarily be at the top of our shopping lists, yet when we get them we wonder how we ever survived without them. So to all the partners and families of the filmmakers and techies out there, here are some big hints for stocking filler ideas – 12 to be exact – one for each day of Christmas. Some are practical, some are a bit more fun. Now you’ll never be stuck for prezzie ideas ever again!


  1. Step up and step down rings
IMG_7048

Tip: Make sure you buy the filter the right way round. The first number will be the thread size of the lens it attaches to and the second number will be the thread size for your filter.

Nothing is more annoying as a camera operator than being out on location setting up the perfect shot when you decide you need to use a filter but it doesn’t fit the lens you’re using. Step up and step down rings allow camera ops and photographers to adapt their filters for use on other lenses with a different thread size. It’s a much cheaper option to buy these little rings than buying the filters a second time. The trick to this though is knowing what size filters and lenses the person you’re buying for has, so a bit of investigative work is needed here!


Where to find them: Amazon, eBay

2. Camera cleaning accessories

camera cleaning kit

Tip: Camera cleaning accessories often come in kits

Inexpensive yet invaluable, having the means to clean a lens out in the field is essential, no matter if it’s a camcorder or DSLR. Rain, dust and fingerprints all provide unwanted artifacts and blemishes in images and every shooter should be prepared.

There are several options here for the buyer including lens pens, lens tissues and cleaning fluid and blowers. Essential items for your film making friend that won’t break the bank.

Where to find them: Camera stores, Amazon, eBay

3. The Guerilla Filmmakers Handbook

Guerilla filmmakers handbook

Tip: This book also includes forms, documents and software on a CD, making it exceptional value for money.

If the person in mind is serious about film making and hasn’t already got this book then let’s just say you’ll be doing them a big favour. Packed full of interviews and information about pretty much every role in the film industry from pre production to exhibition, this book is a goldmine for tips and invaluable advice for those looking to make independent film.

Where to find it: Waterstones, Amazon


Love film

Tip: Love Film and Amazon Prime Instant Video claim to have over 70,000 titles available, old and new.

4. Love Film or Amazon Prime Instant Video gift subscription

With probably the biggest selection of films out there to rent, treat your loved one to a bit of film catch up. If they’re planning their next film then believe it or not, this would actually help them do some work and with options of 3 month, 6 month as well as 12 month subscriptions it doesn’t have to cost the earth.

Where to find it: Amazon


5. Multi tool

multitool

Tip: If you can’t afford a Leatherman then have no fear as there are some great multi tools out there at very affordable prices.

Not just useful at home but invaluable on a film set. Whether they need to cut their gels or change camera plates a multi tool is so useful that it doesn’t just make your loved ones’ job easier but makes them look more professional too (plus if you live with them, they might help out with DIY more often!). A perfect practical stocking filler.

Where to find it: DIY stores, Amazon


bond poster

Tip: If you decide to get a poster, make it a goodun’!

6. Film posters

Everybody loves a poster of their favourite film and your loved one is no exception. Just hope that their tastes aren’t too obscure! If you’re feeling extra nice you could always get it framed too. A perfect present for home or office.

Where to find it: Online, HMV


7. Intervalometer

intervalometer

Tip: Of course you’ll get the right one so it fits the lucky person’s camera, yeah? Do a little homework first.

Intervalometers or remote switches can open up a DSLR to the wonders of timelapse photography. By being able to set intervals between shots and not shake the camera when taking stills you’ll be giving them a whole new range of creative opportunities. Branded ones can be expensive but there are a host of third party offerings online at much friendlier prices.

Where to find it: Camera stores, Amazon


8. Roll of film

Pentax and film

Tip: Check which format they shoot on first. 35mm and medium format film are most common.

Yes, some of us still shoot on film. Not because we’re not up to date with technology, but because we love the aesthetics and the grain that film gives us. It’s pretty expensive to shoot everything on film nowadays in this digital landscape, but a role of 35mm film only actually costs a few pounds and can usually allow for 24-36 photos. Save them a few quid, and if you’re feeling extra generous look out for online deals where processing is included.

Enough to show you care, not too much to make you poor, but if your loved one shoots analogue they’ll be forever grateful.

Where to find it: Camera stores, Boots


9.  Subscription to a magazine

Tip: Hint hint, if anyone reading this knows me, I wouldn't mind this! Err, a tip..the ASC magazine does a greener digital edition too..

Tip: Hint hint, if anyone reading this knows me, I wouldn’t mind this! Err, a tip..the ASC magazine does a greener digital edition too..

Whether it be a trade journal or an amateur film making publication there are a host of magazines out there that would make a creative very happy indeed. Which one would suit your loved one best?

  • American Cinematographer (print & digital)
  • Videomaker
  • Sight and Sound
  • Total Film

(These are just a few examples)

Where to find it: A good old Google search (as with everything else really)


10. Multi hot shoe adapter

Tip: Adapters with 3 hot shoes are also available

Tip: Adapters with 3 hot shoes are also available

One hot shoe just isn’t enough. What’s a hot shoe I hear you ask? It’s a little slot on top of a camera where you attach accessories for your camera. The thing is, there are many incidents where a videographer or photographer might want to put on more than one item. A flash and a transmitter, or a light and a radio mic. I have no idea how I ever survived without this. Now, go help a brother out!

Where to find it: Amazon, camera stores


11. Grey/white balance card

grey white card

Tip: As with most things these cards come in sizes big and small.

Getting an exact exposure and perfect white balance should be the highest priority for any aspiring DOP or photographer. These cards are inexpensive, portable and scream professionalism. Buy these to brush up their skills and make them look good. A perfect little stocking filler.

Where to find it: Amazon, camera stores


12. Thermos flask

flask

Film making often involves getting up at the crack of dawn, hanging around on location for hours on end and battling the elements. If your loved one loves their hot drinks then this is probably one of the best items you could buy them. Keep them going through those dark winter months and they’ll never forget how awesome you are!

Where to find it: Supermarkets, Google!


So there you have it, now that you have a few hints for stocking fillers go and get that Christmas shopping done!


Video Production Companies London
Shooting for Boots Makeup Shoot

How to choose the right camera for the job

The C100's form factor and weight made it the perfect choice on a recent trip to Gibraltar

The C100’s form factor and weight made it the perfect choice for a day trip to Gibraltar

I’m terrible at making decisions sometimes. When presented with a multitude of options for anything in life it’s so easy to spend too much time overthinking which options to take that you end up wasting unforgivable amounts of time being indecisive and not actually getting anything done. The process of deciding on a camera to use is one of those tasks that I, and I’m sure many others in this field, have been guilty of in the past for spending far too long on. Many hours can be lost to Youtube comparison videos and the forums if you’re not careful. Sounding familiar? There are so many options available to us that it’s understandable why it would take so long to decide, but time is money after all and we’ll get left behind if we ‘oom’ and ‘ahh’ for too long.

And the award for most expensive wedding video ever goes to..

Lets face it – all of us techies would love to have the latest and greatest cameras for all of our projects. Wouldn’t it be great if we could shoot in 4K or 6K (or even greater) every time? Having the ability to shoot super slow motion on a full frame sensor with internal ND in a lightweight body would be pretty amazing right? Why would anyone want you shooting for them if you don’t have the most up to date technology possible?

We’d better stop dreaming I’m afraid.

Not to rain on the parade or anything but the fact of the matter is we can’t always have the most advanced technology every time. Most of the time this is down to money, but even if you had all of the money in the world to buy however many cameras you’d like, you’d probably reach the same conclusion as me eventually:

No camera is perfect. But, for each job there is a perfect camera. 

Think to yourself what your favourite film is. Why is it your favourite film? Did the choice of camera have anything to do with it?

Probably not.

You probably chose it for its story or maybe the acting. Perhaps you chose it for its cinematography, but remember the camera only did half the work. There was a person operating that camera and they would’ve probably made a conscious decision as to why that camera was the tool for the job in their current situation.

The right camera for the job

It’s very easy to get into the gear mindset and only think specs, but really if you want to be taken seriously as a professional then think of the equipment as merely tools. Cameras are obviously much more exciting than other tools in other industries, but realistically that’s what they are.  You are there to do a job and they are there to help you do that. The camera manufacturers want us to think differently, but then they want our hard earned cash! The key is finding the camera that will help you do your job, whatever it may be, as efficiently and effectively as possible whether you are buying or hiring.

So what is your situation? Do you have a short term brief to meet or a long term investment to consider? If you are stuck choosing a camera, here are some factors to consider before your dreaming becomes a money losing opportunity:

  • Price

The most obvious thing to consider. As with any other product the more features a camera has, the dearer it will be, whether you’re buying or hiring. Set yourself a budget.

  • Return on investment 

If you’re buying it’s sensible to think about how long it will take (or – gulp – if) you’ll make a return on your investment. We’d all like an Arri Alexa, but do we all earn that much in a year? Similarly if you’re shooting on a long project, would it make sense to hire a camera for that period when you could actually save money in the long run by buying?

  • Accessories

What do you actually need to make your camera perform how you want it to? Does it work straight out of the box or are there other bits required? Do these additional items cost much or take long to set up? Will these accessories remain useful if you decide to upgrade further down the line? Have you thought about which lenses you’re going to use? (that’s an entirely different subject in itself)

  • Target audience

Crucial, this one. What do you actually shoot? What are your clients asking for? Do you want to move into shooting something different? An Arri Alexa is probably going to be a bit overwhelming for talking heads!

  • Workflow

How quickly do your clients need their video? Do you need to shoot with edit friendly codecs for speed? Or do you require something more efficient for storage? Can your editing system handle 4K or do you plan to upgrade in the future? Do you need flexibility in the grade?

  • Image

It would be lovely to not have to worry about this but unfortunately in the world of business first impressions are made very quickly and this can mean the difference between landing a job or not. Whilst this is mostly attributed to personality, punctuality and presentation, the same can also be applied to the equipment you use. If your clients think you’re using cheap equipment are they likely to pay top dollar? If you shoot on a DSLR have you ever had someone ask you ‘Are you doing stills?’. What impression do you want to leave?

  • Style

OK, so we’re allowed to have a little bit of fun while we’re selecting our tools. Every camera out there has a distinct look and processes colours and skin tone slightly differently from the next. You might just simply prefer the look of one over the other, regardless of specs. Try some cameras out and see what you like. Are you Canon or Sony? Black Magic or Red?

Sony or Canon?

Are you Sony or Canon?

As you can see there is a lot to consider when choosing a camera and we would all want to know that we are making the right choice. Lets look at some examples, in this case some up to date 4K cameras, and think about when they could be used as effective tools and when they may just be a big fat waste of money:

Arri Amira

arri amiraEveryone knows that Arri is king when it comes to cameras, as was evident when cinematographer Roger Deakins commented that the Alexa was the first digital cinema camera to challenge 35mm film.

The Amira is essentially a slimmed down ‘documentary’ style version of the Alexa. With HD, 2K and 4K options, a range of Pro Res codecs, slow motion up to 200 fps, internal ND, interchangeable lenses and huge dynamic range, this camera really has everything I would love to have in a camera. Most importantly, the images it produces are superb. I mean they would have to be as this camera retails at over £20,000. Would probably be hiring this one me thinks.

20151020_093951

I was fortunate enough to spend some time recently with the Amira. An incredible camera but with the weight of accessories you might think twice about shooting on it entirely handheld.

Best for:

  • Broadcast and high end drama, documentary, commercial etc.

Worst for:

  • Event work and majority of online output (impractical and uneconomical)


Black Magic Cinema Camera

blackmagic_design_blackmagic_production_camera_4k_964119From my experience Black Magic seem to be a bit like marmite. Most people seem to either love them or hate them – there’s no in between. Why’s that? To start with, the specs for their production camera are very good with lots of frame rate options, huge dynamic range and popular lens mount options all within a small body. What’s more it comes at an unbelievable price for a 4K camera at just over £2000 currently. Where it falls short however is in its battery life, impractical screen and ergonomics. It sounds tempting but if you decide to invest in some accessories for it then suddenly it’s not so cheap.

BMPC: Ideal size and weight for a car rig.

BMPC: The ideal size and weight for a car rig.

Best for:

  • Low budget drama, commercials and music videos or 4K on a budget

Worst for:

  • Anytime you have to shoot quickly, as a lone shooter or in low light, i.e. documentaries & travel (impractical)

Sony A7S mkii

sony a7s iiThe A7S took the DSLR world by storm last year mostly due to its incredible low light capabilities attributed to its full frame sensor and it’s affordable price tag. Now the mkii is here and whereas previously you could only record 4K footage to an external recorder this new version offers internal 4K recording as well as some other nice features including frame rates up to 120fps and several variations of S-Log for greater dynamic range in the grade. At £2500 it is certainly an affordable 4K camera, but it may not be for everyone. As a DSLR it still lacks some features associated with professional video cameras including XLR inputs and is limited to recording no longer than 30 minutes. Its battery life is also not great and the Sony E mount offers far fewer lens options than EF or PL for example. If you decide to invest in accessories, then once again, it may not actually seem that cheap after all.

Best for:

  • Travel

Worst for:

  • Conferences, weddings and other long recordings (impractical)

C300 mkii 

canon_0635c002_eos_c300_mark_ii_1134579

A recent offering from Canon, the C300 mkii builds upon the success of the original C300 which became a widely recognised video production workhorse. The original camera was popular for broadcast, news gathering and corporate work and the C300 mkii looks set to improve on this build with new codecs and frame rates on offer, 4K recording, inbuilt ND, popular lens mount options and a form factor that makes it ideal for shooting as a single operator. But with only being able to shoot 4K at 30p, a heavier build than the previous model and a price tag far higher than the spec-tacular Sony FS7 (which is in the same league but does offer slow motion in 4K) this camera may be too much for some at £13500.

Best for:

  • Broadcast and online (anything that requires a single operator)

Worst for:

  • 4K slow motion requirements (non existent)
Video Production Companies London

The original C300 has dropped in price substantially since the mark ii release. Great if you don’t need 4K.

These are just a few examples to get you thinking and of course these are my own opinions, but as you can see it’s a bit of a minefield out there. There are so many factors to consider and what one person needs in a camera may be unnecessary for another. It also doesn’t help that new cameras are being thrown at us left, right and centre all the time and the old models are becoming obsolete quicker than ever (which hurts us financially for sure!). The plus side of this camera boom however is there are so many options available that there is something for every budget, whether you shoot HD or 4K.

Get what you need and concentrate on producing high quality work – remember it’s not just about the equipment but the people and the creativity behind it.

5 tips for shooting better interviews

Interviewing: an essential skill in video production

Interviewing: an essential skill in video production

Here at flycreative we know a thing or two about filming interviews. Interviews are the heart of many video productions and most corporate, event and documentary shoots will at some point involve someone speaking to the camera in depth about a subject. Whether the topic is eCommerce or the plains of Nebraska, it is our job as video production professionals to capture and create engaging content, regardless of our knowledge of the subject at hand. Whilst the subject may change however, our approach does not and there are some key considerations to be made whenever an interview is approaching.

Being able to conduct an interview is an essential skill for any videographer or producer, but are your skills up to scratch? Here are 5 top tips for shooting better interviews:

1. Location, location, location!

As they say in business, it’s all about location, location, location. This is important aesthetically as well as practically. Here are some things to consider when deciding on a location:

  • Background – What is it? Does it portray your subject in a positive light? Are there any brands or logos you should be avoiding?
  • Lighting – Where is the best available light? Do you need or want to bring in your own?
  • Sound – Are you likely to be disturbed? Is there likely to be music or interference here?
  • Practicalities – Do you need permission to film here? Are you causing an inconvenience to the public? Is it safe to be here?

Reccie your location in advance if possible, whether that be a day before or 10 minutes before your client arrives. Any preparation time is useful and being prepared makes you look professional. If you can’t realistically reccie in advance then ask your client to send a couple of photos of the available space. The more you know in advance the more you will be able to select the right equipment for the job – there’s no point lugging around a full lighting kit if you only have 10 minutes with your subject. Food for thought.

It was definitely worth the climb for this background.

Sometimes you just get lucky with a view.

2. Be considerate with your composition.

Make your subject and the frame look flattering. Always shoot at the height of your subject and ensure that their eye line is level. Use the rule of thirds to create a nice composition, allowing space for text if necessary and have your subject angled slightly away from the camera. If your subject is not a professional actor or presenter then you’ll probably find you’ll get superior results having them speak off camera.

Office interview

Level, uncluttered and a suitable eye line. Bob’s your uncle.

Think about your depth of field – lenses with faster apertures will give you shallower depth of field and if shooting outside you will need to use ND so you can stop down your lens and retain a nice bokeh. Don’t let your depth of field get too small however as some people can be quite animated and you’ll want them to stay consistently sharp. If you can, shoot with a high quality prime over a zoom lens for often             increased sharpness, faster apertures and nicer bokeh although there are some excellent zoom lenses out there too.

Finally if you have time, change your framing and conduct the interview again (this works best for shorter interviews and is of course irrelevant if you are shooting 4K where you have the option to pan and scan if your output is downscaled). Giving yourself the option of a medium shot and a close up gives you options in the edit and can really bump up the professionalism of the final product that little bit more.

3. Think about lighting and make time for it.

Good lighting can hide the fact that you may not have the latest hi tech camera and the results can make you look very professional indeed. Even minor lighting adjustments can make a huge difference to the final image:

  • Daylight exteriors: On a sunny day where the lighting is high contrast, consider your subject’s position carefully in relation to where the sun is. Try to avoid flare and over exposure from shooting directly into the sun as well as having your subject squint into the sun! A 5 in 1 reflector can also be useful in many situations here.
  • Night time exteriors: Utilize any lighting fixtures at your disposal such as street lights. Set your white balance carefully and watch out for those street lights appearing too warm! It would also prove useful having a decent flicker free LED (and a twin hot shoe adaptor).
  • Interiors: For interiors you may be faced with certain difficulties such as low light, a mixture of colour temperatures and tight working environments. If you don’t have much lighting equipment or time at your disposal then you can use any incoming daylight to your advantage (although if the weather changes then this may prove difficult for longer interviews). If natural light is being used for your key light then you need to think about your colour temperature and balance to daylight if you require a warm ‘positive’ look to your footage. If tungsten or interior lighting is providing most of your ambient light then consider the use of practical lights to increase interest in the image and overall exposure. If shooting in someone’s home utilize any lamps that they may have.

The key to lighting is obtaining control. Whether that be removing, changing the colour or softening a light source the point is if you have some degree of control then you can stylize your footage in a way that compliments the product and your abilities too! In fact, lighting can sometimes be more important than the camera itself..

IMG_1596

If you want high production values, don’t forget to light.

4. Get good sound (for the love of God).

No one likes bad sound. It is usually the first tale tale sign of an amateur. Here are a few dos and don’ts regarding the matter:

Do:

  • Hire a sound recordist if your budget allows. Giving yourself less responsibility technically allows you to focus on getting results.
  • Use the best mic and cables you can afford.
  • Remember your windshield if filming outside
  • Record externally if you can, especially in studio environments. Quite often you can get cleaner audio on an external recorder than recording in to camera, due to noisy pre amps.
  • Generally aim for maximum levels between -12db and -18db when recording, although this is subject to individual preference. You can amplify somewhat in editing, but once a clip peaks it’s a goner.

Don’t:

  • Ever record using your inbuilt camera mic unless there is an exceptionally good reason. Always use a high quality radio mic or shotgun mic.
  • Record without headphones. Duh!
  • Record if you can hear music in the background. Some background noise at a consistent level can be useable and sometimes removable however.
  • Accept a take if you’re not 100% happy. If in doubt, do it again. You’ll thank yourself in the edit.
  • Let your clients walk off with your radio mics!

Remember, sound is half the picture. Don’t neglect it!

Sennheiser - one of the leading brands for audio equipment.

Sennheiser – money well spent.

5. Plan your questions & listen.

Whether you’re shooting an hour long interview or a dozen vox pops on the fly, you can still plan your questions in advance to achieve optimum results.

Speak to your subject about the question (s) you’ll be asking and find out what they would say in response before you roll the camera. Without the camera recording many people will find the pressure reduced slightly, resulting in more genuine answers (you can also sneakily use this time to do sound checks). When you do start recording your aim is now to get them to repeat what they’ve already said which makes it much easier.

Once the camera starts rolling listen carefully to the answers provided and work with your subject to make sure that what they are saying is relevant and efficiently worded. It’s OK to help them rephrase a sentence if it’s proving to be a bit of a tongue twister. Take notes if you can so that nothing gets repeated. You may get some ideas for cutaways here too.

Don’t forget – if your subject is looking off camera and there is no presenter as such then their answers must always be in full sentences. Make sure they allow a second of silence between your question and their answer and look out for potential cutting points within their answer. If you like the sound of an individual phrase within a sentence get them to repeat it as a standalone line. The beauty of video making is that we can often go for a second take; if in doubt go for it. Give yourself options in the edit!

This interview had all the right ingredients.

This interview had all the right ingredients.

If all of this seems a bit daunting at first, don’t worry. With a bit of practice and application of these techniques the quality of your interviews will increase over time and will gradually become second nature to you. For some inspiration, take a look at some of the interviews we have conducted over the years..